JetWooBuilder
Creating Single Product Template
This block explains the entire process of creating the Single Product page template to use for WooCommerce products in several consistent steps.
Follow them in order to create a new or use a pre-designed Single Product template using dynamic WooCommerce widgets and set it for WooCommerce products.
Preparing for Adding New Single Product Template
Here you can find the information on how to prepare content before displaying it with dynamic content widgets made for WooCommerce Single Product pages.
First, let’s open the Dashboard and here navigate to Products tab. Click Add New button and here create a new product.
You need to specify the following information on the Add new product page:
- Add the Product name;
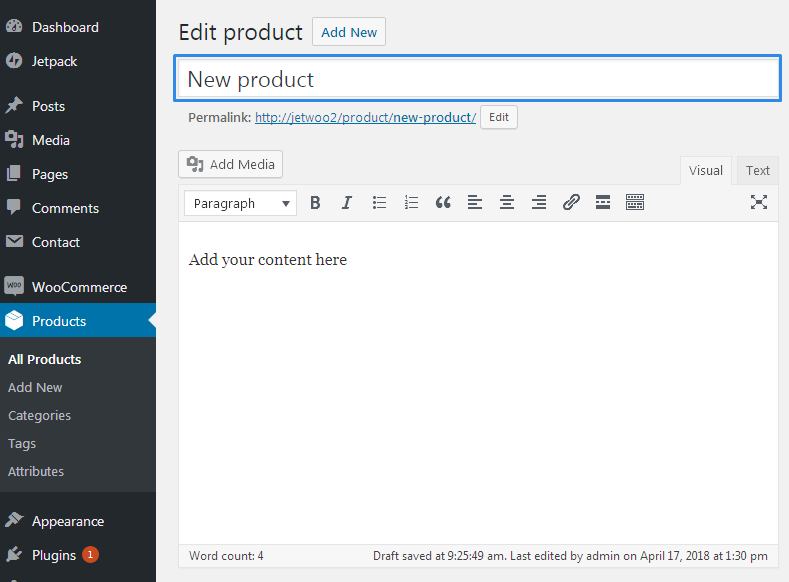
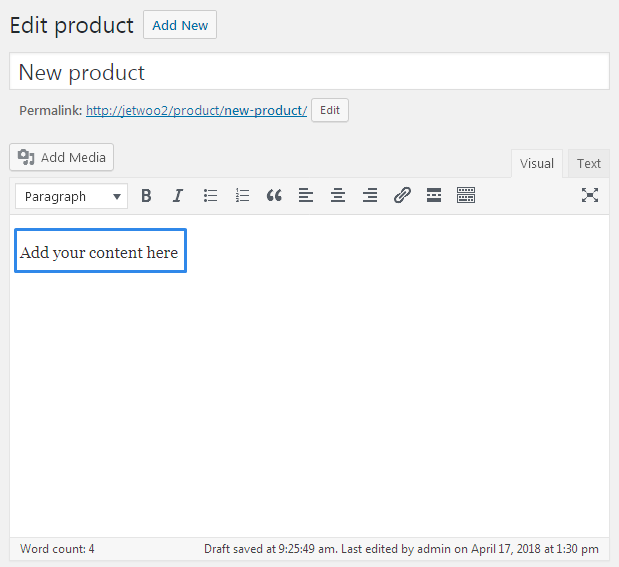
- Add content in the required field;
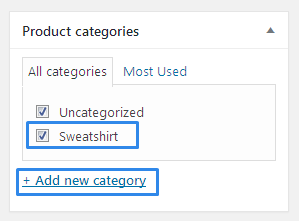
- Set the product categories;
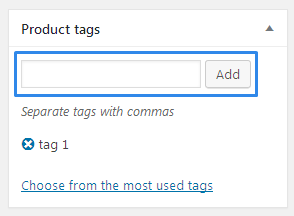
- Specify the product tags;
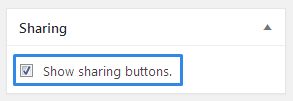
- Enable Show sharing buttons option (in the case you’re using JetPack plugin for adding social sharing);
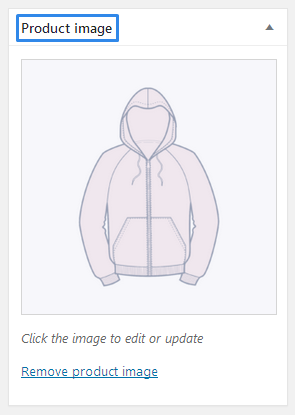
- Add Product image;
- Set the Regular price in the Product data;

- Set the Sale price (if the product is on sale);
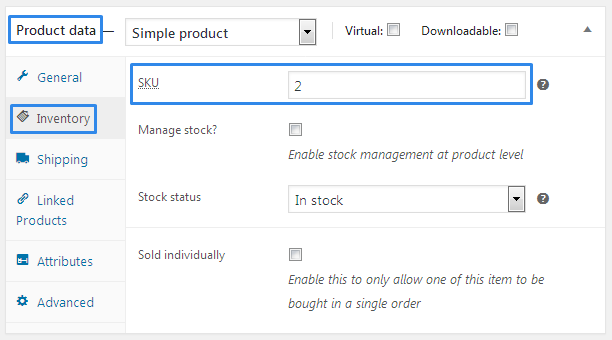
- Add the SKU value in the Product data > Inventory (needed to speed up the search for the product);
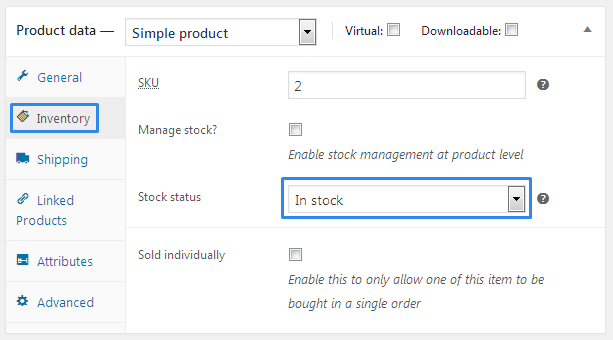
- Change the Stock status to In Stock (otherwise the Purchase button will be inactive);
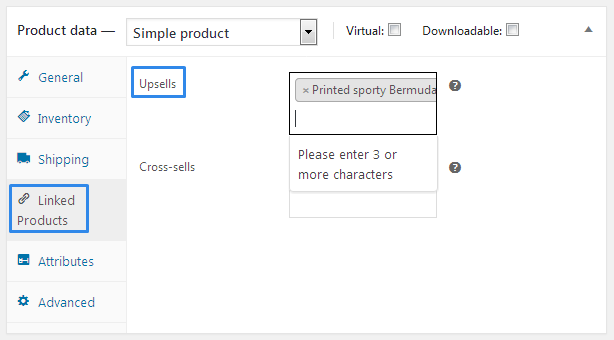
- Set the Upsells in Product data > Linked Products;
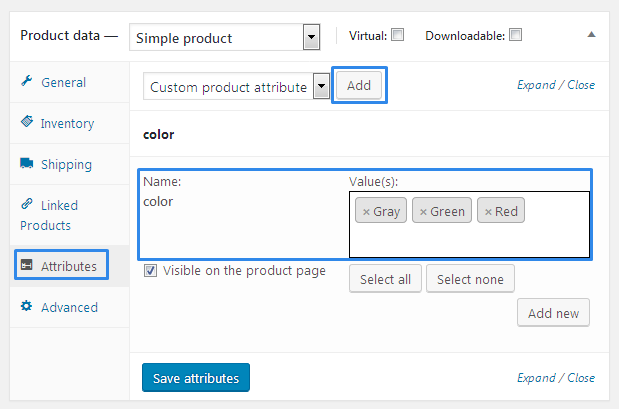
- Set the attributes for the product in Product data > Attributes;
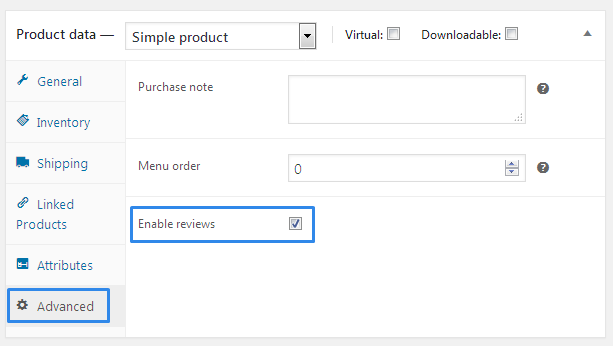
- Check Enable Reviews in Product data > Advanced;
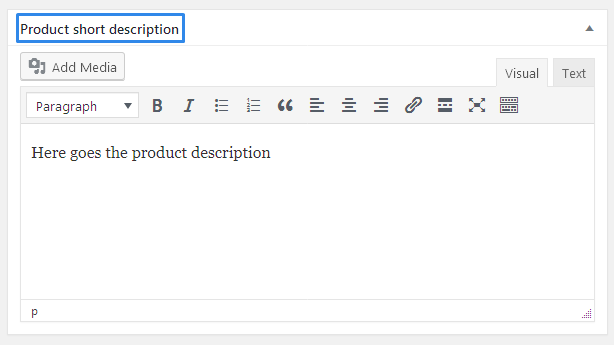
- Enter the Product short description.
Some of these actions can be skipped if you don’t need them (e.g., you can disable the reviews or don’t add upsells, social icons, etc.).
However, these steps are needed as necessary preparation before using JetWooBuilder in order to add content to the Single Product page.
Creating New Single Product Template
After all the information about the product is filled we can create a new Single Product page template. Follow the steps described below to learn how this can be done.
Let’s navigate to WooCommerce > JetWoo Templates in the Dashboard.
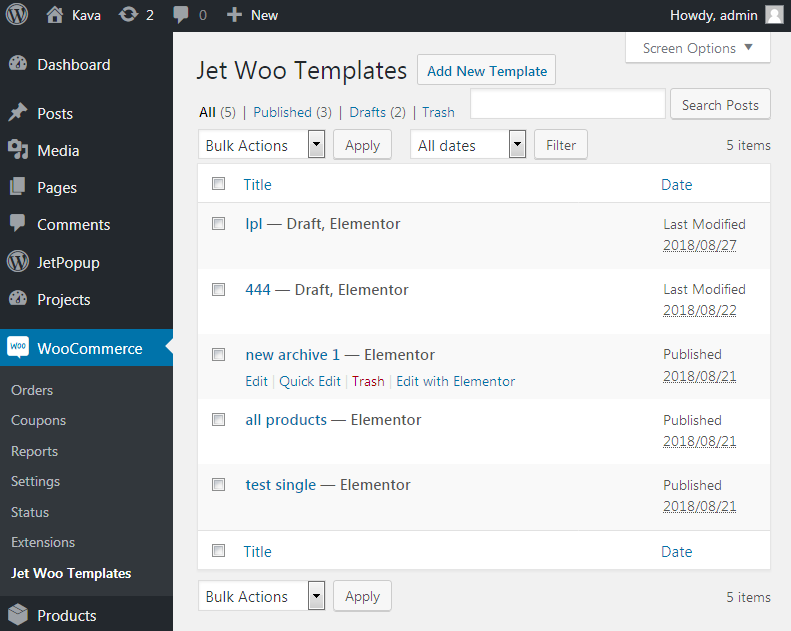
Here click Add New Template button.
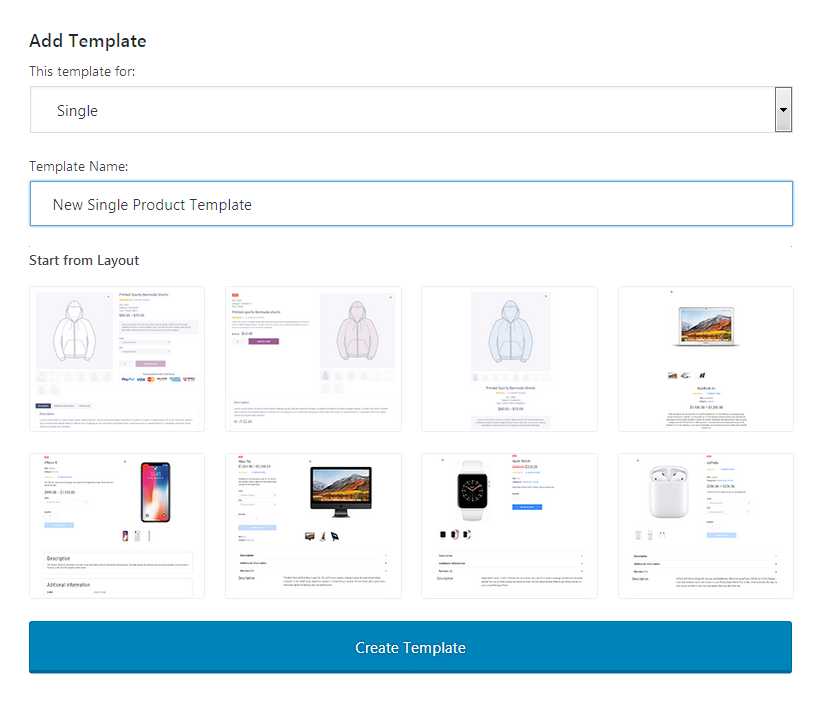
The button opens the popup window showing the set of pre-designed Archive/Single Product/Category/Shop pages. You can easily select one of them to use. Or you can start creating the Single Product template from scratch.
- Also, in this popup window you’ll have to specify:
- The template name - here you you have to type in the title of the template you’re creating;
- This template for - in this dropdown you need to select Single in order to start creating Single Product page template.
After everything is done click Create Template button.
Adding Content to Single Product Template
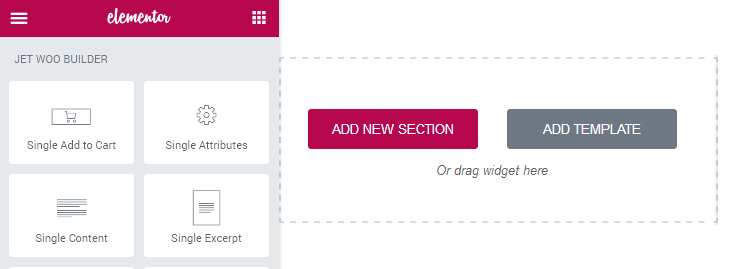
- Once you’ve created a template and navigated to Elementor editing page by clicking on Edit with Elementor button, the standard Elementor editor opens.
- You can create any page structure you need by adding the sections, add columns to the sections, duplicate sections and columns, add templates you’ve already created, and use now only the widgets added by JetWooBuilder, but also any other widget you want to place to the template, which is available in the Elements block.
-
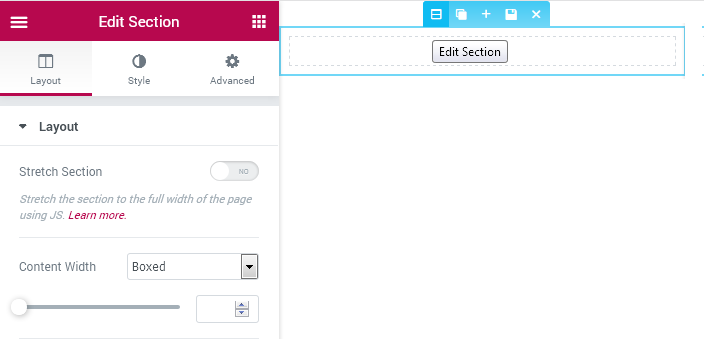
To add a new section click Add New Section button. Click Edit Section option in order to set the content width, section background style, paddings and margins, etc.
-
Select the preferable columns structure for the section. You can also drag the column borders in order to set the custom columns width. You can also edit the columns width, set the content position, etc, by editing the column.

-
After that navigate to Elements list and here scroll down to see JetWooBuilder widgets.
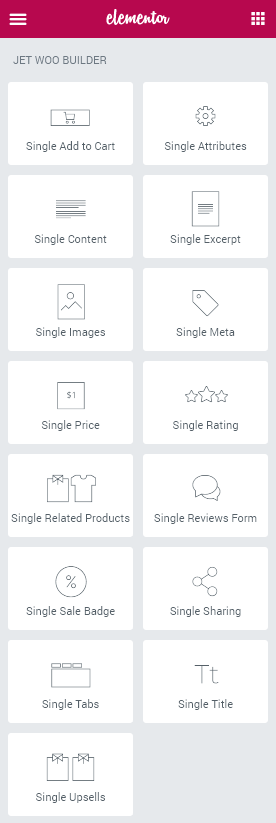
-
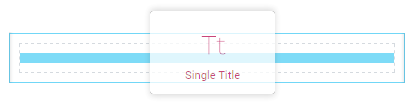
Drag and drop the widgets to the columns in order to place them on the page.
- After the page is built click Publish button to preserve the changes.
Assigning Single Product Template to Products
Navigate to WooCommerce > Settings in WordPress Dashboard. Open Jet Woo Builder tab and here locate options to choose.
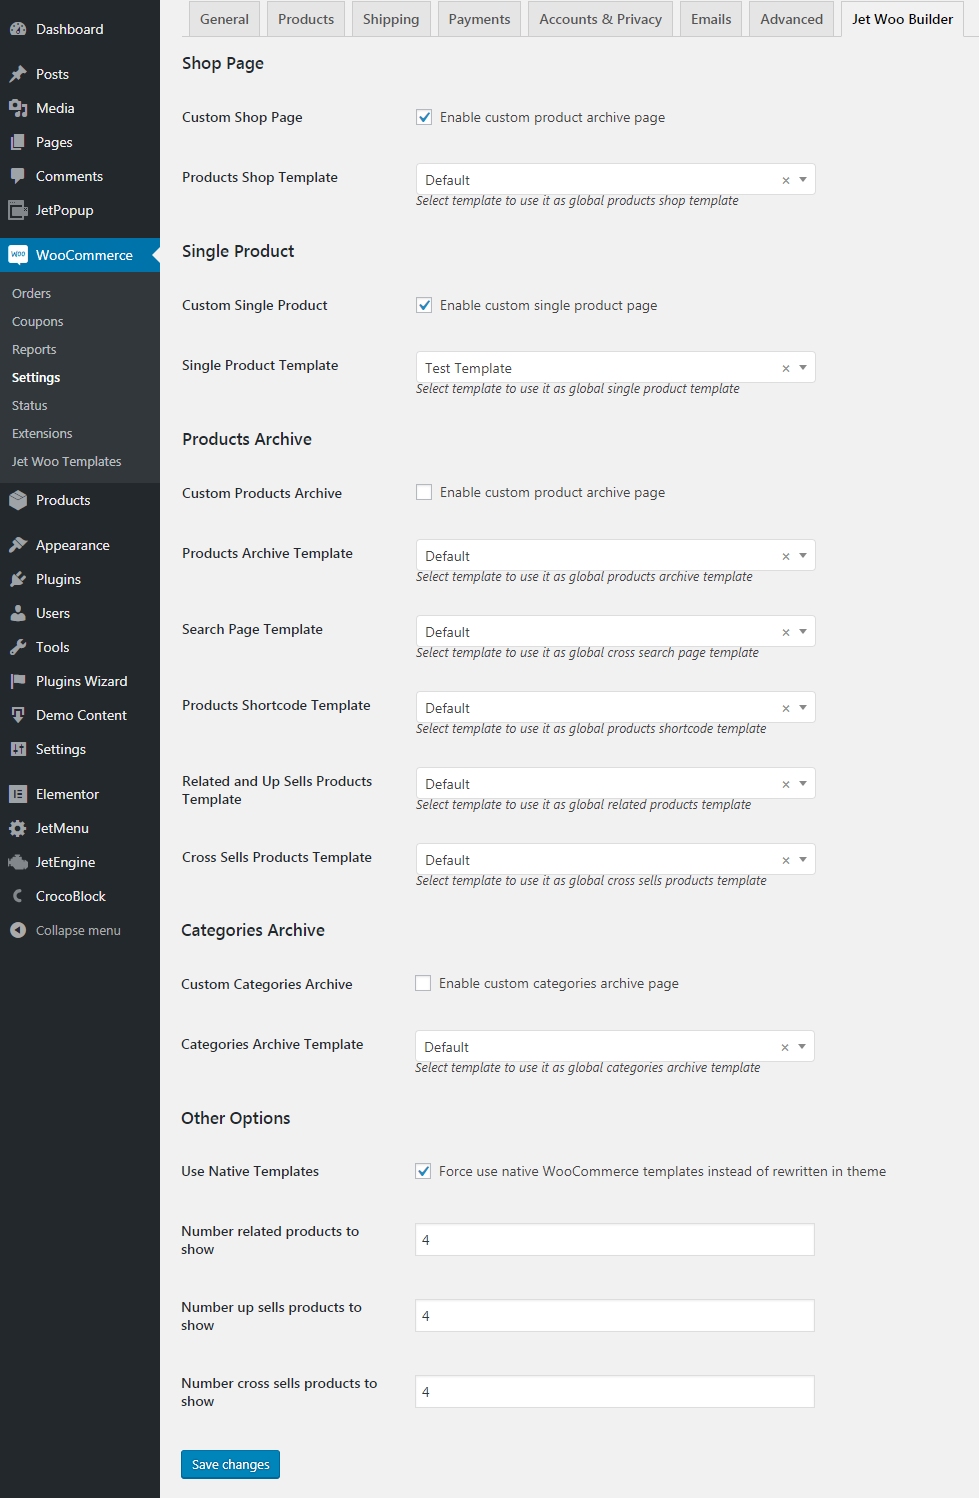
Custom Single Product - check this option in order to use the selected WooCommerce Single Product template for all the products. Leave the checkbox empty to use the separate templates of Single Product pages for each product.
Select the Single Product Template to apply for all the products from the list of available templates.
Check Use Native Templates option to use the native WooCommerce templates instead of the rewritten ones if the styles seem to break because they were previously rewritten.