JetWooBuilder
JetWooBuilder Installation
This block uncovers the process of installing JetWooBuilder plugin to Your website via WordPress Dashboard.
-
First, please, make sure you’ve installed and activated Elementor live page builder before proceeding to JetWooBuilder installation.
If there are any problems with installing Elementor feel free to read the detailed Elementor documentation.
Please, note, that You also need to install and activate WooCommerce plugin in order to use JetWooBuilder in tandem with it. You can download it here. You can always check how the plugin needs to be set up in WooCommerce documentation. -
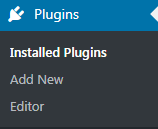
Log in to WordPress Dashboard using your login credentials and navigate to Plugins tab in the left column.
-
Click on Add New button to upload JetWooBuilder from your hard drive.

-
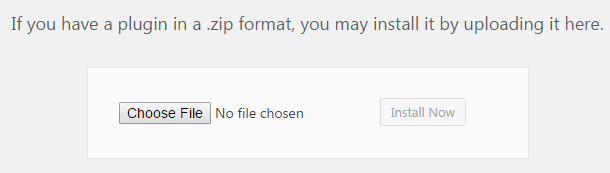
Click on Upload button. It can be found at the top of Plugins page. Browse the path to JetWooBuilder plugin and start installation.
- When JetWooBuilder plugin is uploaded and installed you need to activate it. Navigate to Plugins tab and locate JetWooBuilder plugin in the list of installed plugins. Click on Activate link under JetWooBuilder. As a result the plugin will become active.