JetMenu
Editing Menu with JetMenu
From this block you’ll learn how to create and edit a menu using JetMenu plugin.
- First, let’s navigate to Appearance > Menus tab on the left of WordPress Dashboard.
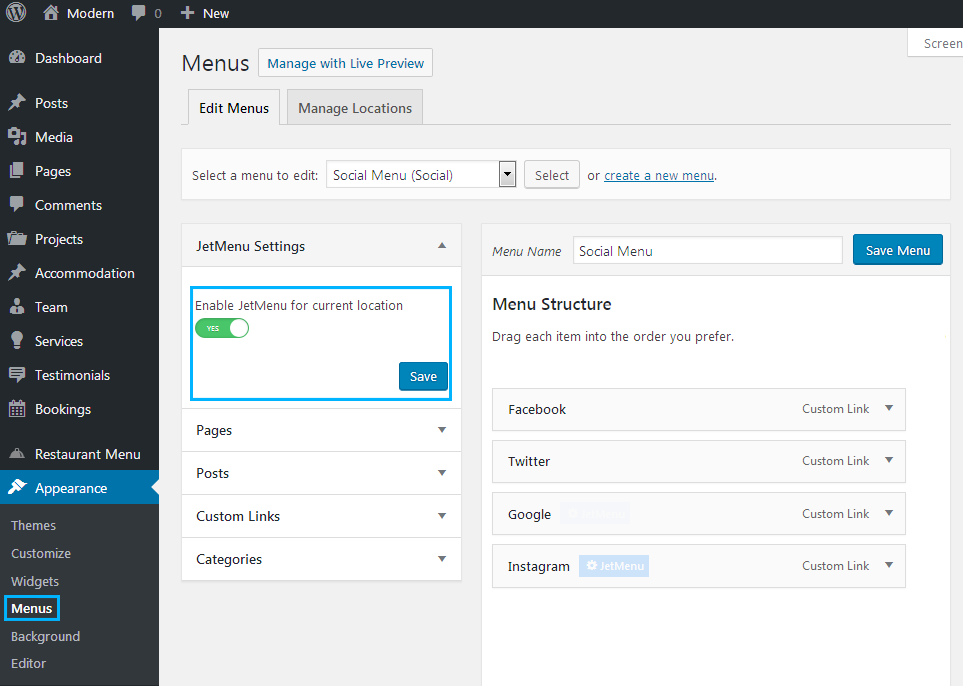
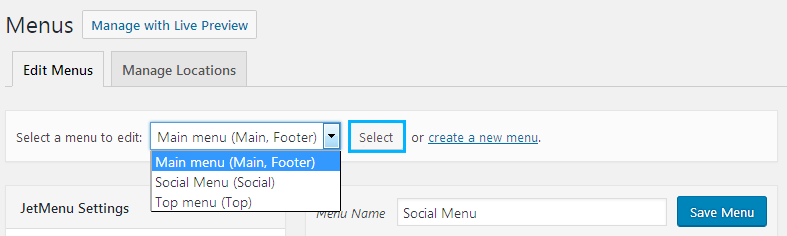
- Here you need to select the menu you want to edit from the menus dropdown list. Then click Select button.
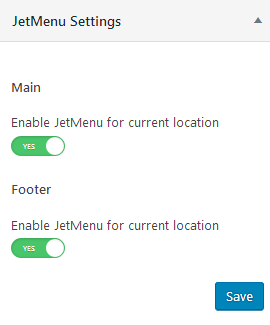
- Locate JetMenu Settings block. Here you should enable JetMenu for current menu location option. Then click Save button to save the changes.
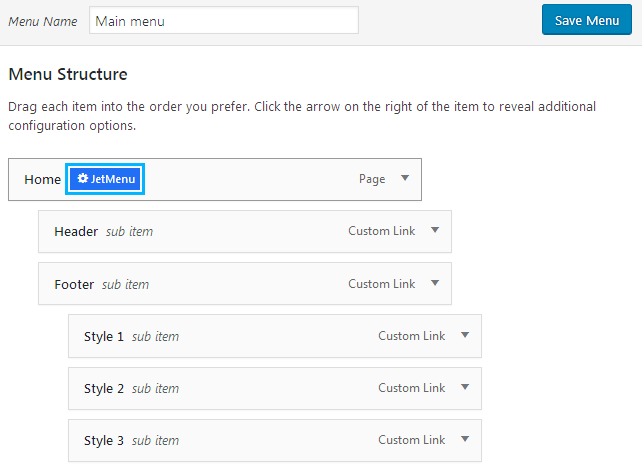
- Now let’s edit your existing menu with JetMenu plugin. Locate Menu Structure block and hover on one of the menu items. You’ll see JetMenu button on the right of the menu item title. Click on it to edit the item with JetMenu.
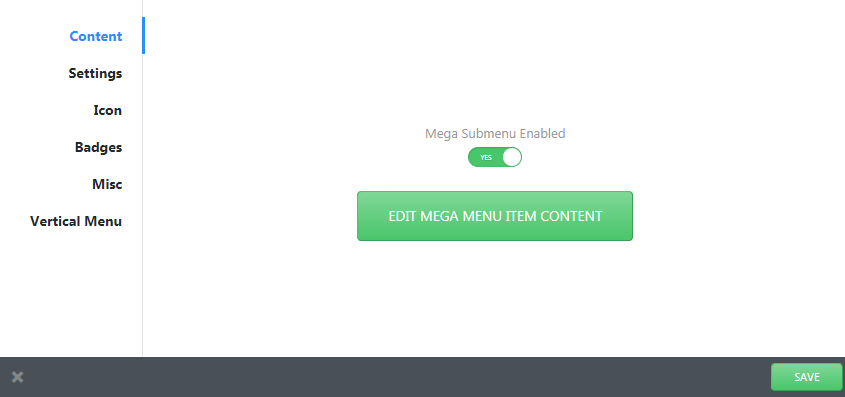
- A popup window will appear. It consists of several tabs: Content, Icon, Badges and Misc. Let’s overview each one of them.
Content
- Enable Mega Submenu option in order to create a submenu for the item.
- After that click Edit Mega Menu Item Content button to open the JetMenu content editor.
- A new window will open. It is similar to the one you see when proceeding to edit with Elementor.
- Click on Add New Section button to create a new section for the menu.
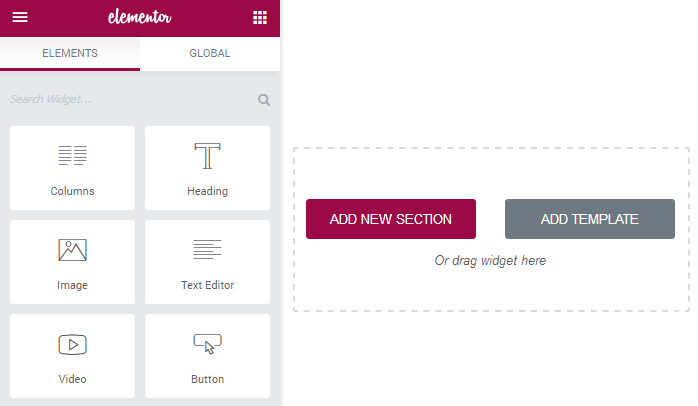
- Select the preferable section structure.

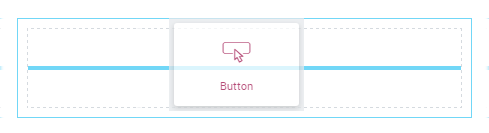
- Drop the content modules you want to add to the menu item (image, video, button, text, icon, animated elements, etc.). You can add the default Elementor content modules as well as JetElements ones.
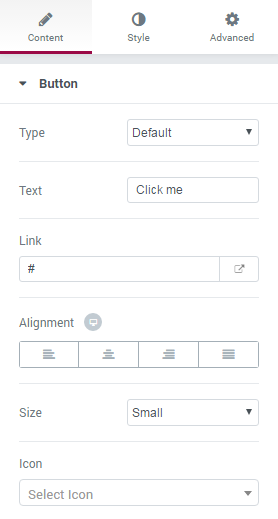
- You can customize the module’s content and style the same way you do it when creating content with Elementor. Please, feel free to check the Elementor documentation and JetElements documentation in order to learn how to do it.
- When everything is done, click Save button to save the applied changes.
- After that click on Back icon in the bottom left corner to return to the JetMenu Content popup window.
- Don’t forget to click Save to save the changes.
Please, note, that when you enable Mega Submenu for Elementor you create the mega menu using Elelemtnor page builder, and it will be displayed instead of the submenu items.
The default submenu will be disabled as it will be replaced by the Mega Menu content.
Settings
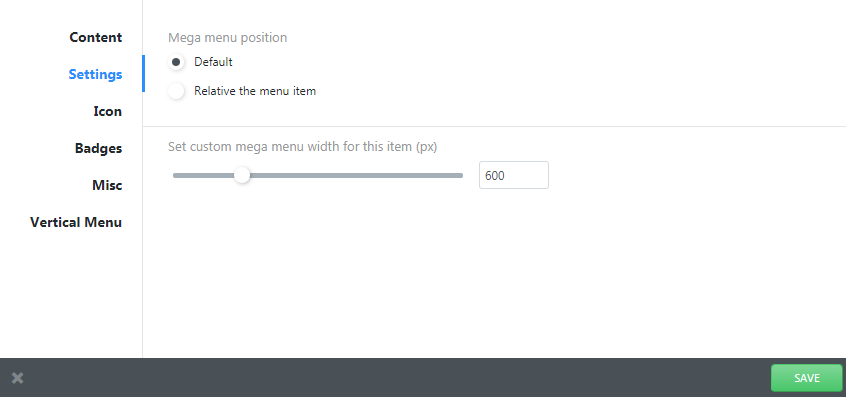
In this block you can set the JetMenu position.
Click on Settings block to view the list of all the available position settings of the mega menu.
- Default - this option allows to set the mega menu width as the container width.
- Relative the menu item - here you can set the mega menu width relatively to the menu item position.
- Set custom mega menu width for this item (px) - here you can define the custom width for the certain item of the mega menu.
Icon
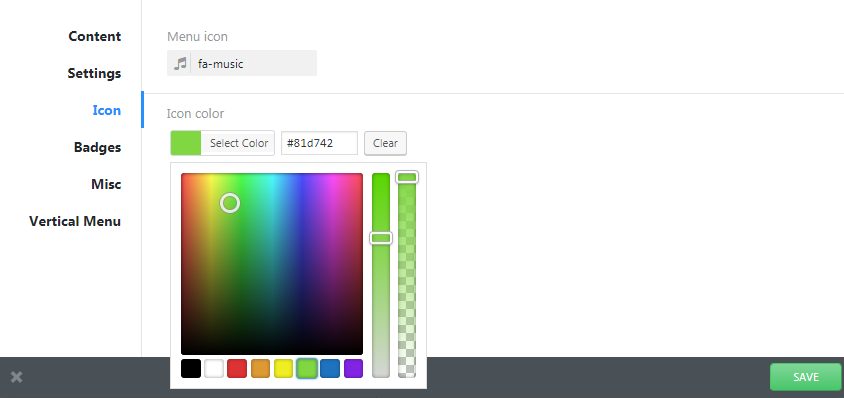
In this block you can set the JetMenu item icon and specify the icon color.
- Click on Menu Icon block to view the list of all the available icons and select the one you need.
- Then specify the icon color in the Icon Color block using color picker tool.
Badges

- In order to use the badge for the menu item switch to Badges tab. Here you can specify the item badge title, badge color and badge background color.
- Menu Badge - here you need to fill in the title for the menu item badge.
- Badge Color - set the menu item badge color using color picker.
- Badge Background Color - here you can set the badge background color using color picker tool.
Misc
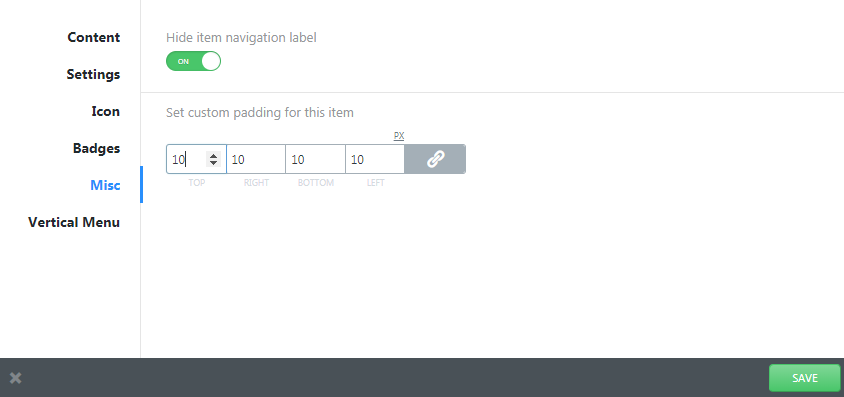
In this block you can hide or show the menu item navigation label.
- Enable Hide Item Navigation Label option in order to remove the navigation label from the menu item.
- Click Save button in the bottom right corner to save the changes.
Vertical Menu
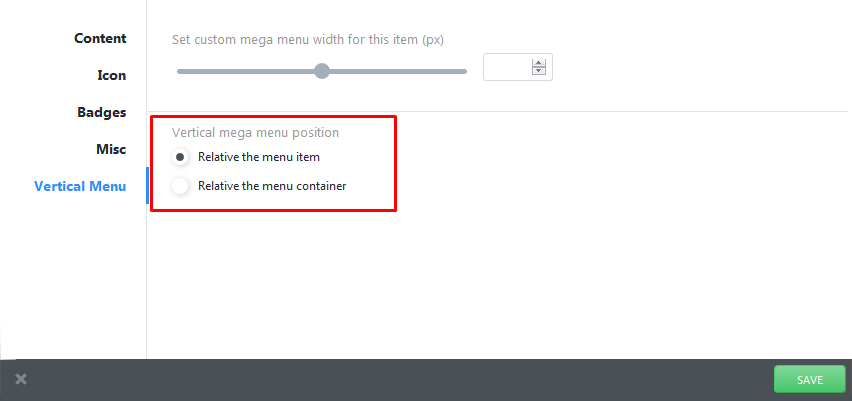
This block allows to select whether Vertical Menu is aligned at the level of the menu item or the menu container.