Kava Child Documentation
Creating Templates
From this block you can learn how to create new templates and work with them using JetThemeCore plugin.
- First, let’s navigate to Theme_Name Kava Child > My Library section on the left of the Dashboard. Here open My Library sub menu.
- In the Theme Parts block you’re able to view the existing templates for your theme or create the new ones.
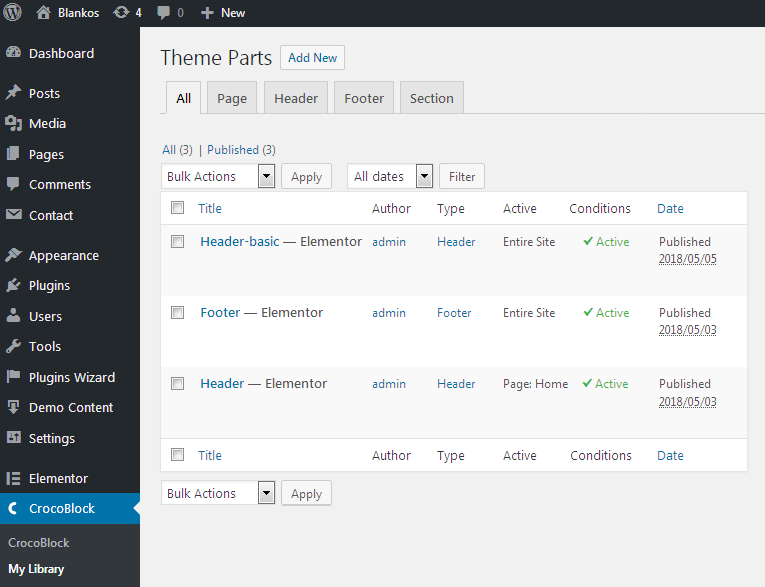
Theme Parts:
- All - shows all the existing theme parts;
- Page - displays the existing page templates;
- Header - here you can view all the existing footer templates on your site;
- Footer - here you can see all the existing footer templates on your site;
- Section - here you can view the list of the section templates.
- Every template shown in these blocks can be edited, removed to the trash bin, restored, etc.

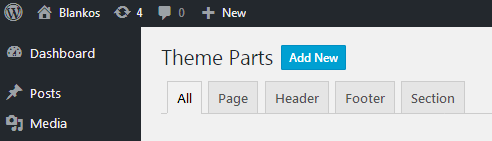
Creating Headers & Footers
From this block one can learn how to create header & footer templates and assign them for different pages.
- First, click Add New button located on the right of the Theme Parts title.
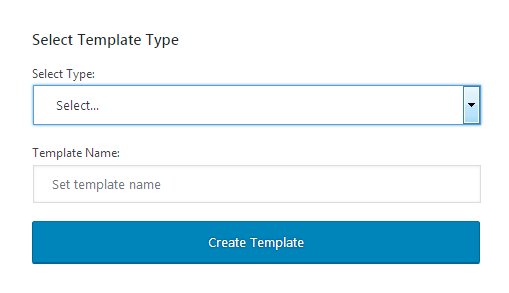
- In the newly opened window select the template type from the dropdown menu (page, header, footer, section).
- Type in the template name in the corresponding field.
- Use Elementor page editor to create a new unique header / footer. Note, that you also can use the pre-styled headers available in the headers / footers list. In order to access the pre-styled headers / footers click Magic button.
- After that navigate to Headers / Footers tab and here select the header / footer you want to use as a template on your website’s pages.
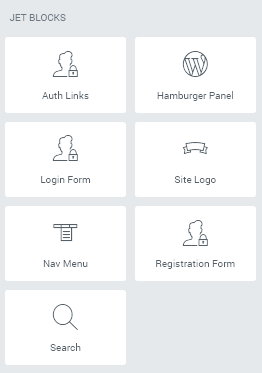
- You can use the JetBlocks widgets in order to add the authorization links, login forms, site logos, search or WooCommerce Cart to the header. Feel free to check JetBlocks documentation which contains the detailed explanations on how the widgets work.
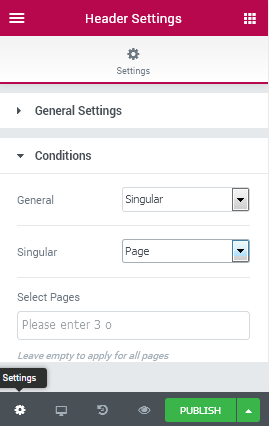
- When the header or footer is created navigate to Settings block (located in the bottom left corner). Here open Conditions sub menu.
- In General dropdown menu select to which pages you want to assign this header / footer.
- The header / footer can be assigned:
- To the entire site;
- To Single pages, such as:
- front page;
- post type;
- post, post category;
- posts from tags;
- pages child pages;
- page templates (such as Elementor Canvas, Elementor Full width);
- 404 page;
- Archive:
- all archives;
- post type archives;
- category archives;
- tag archives.
- After everything is done click Publish button in order to preserve the changes and set the header / footer to the selected pages.
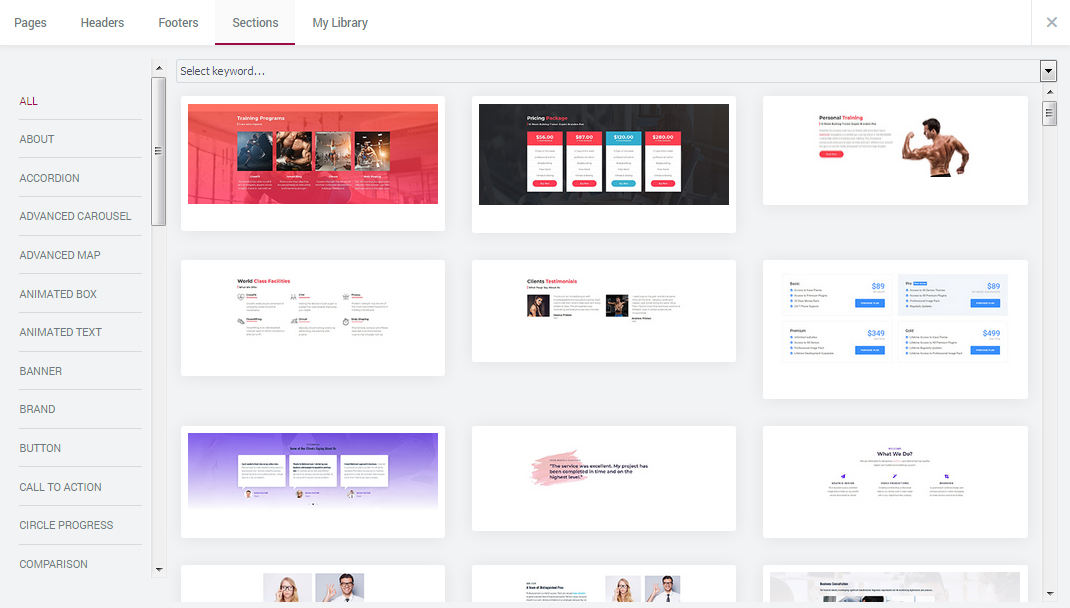
Using Pre-Styled Sections
From this block you can learn how to use the pre-styled sections available when clicking on Magic Button.
- In order to access the pre-made stylish sections open Elementor editor.
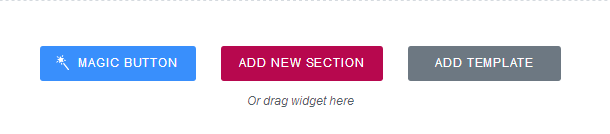
- Here you can see the three buttons. The Magic Button is located on the left of Add new section button. Click it to view all the pre-styled content available for usage.
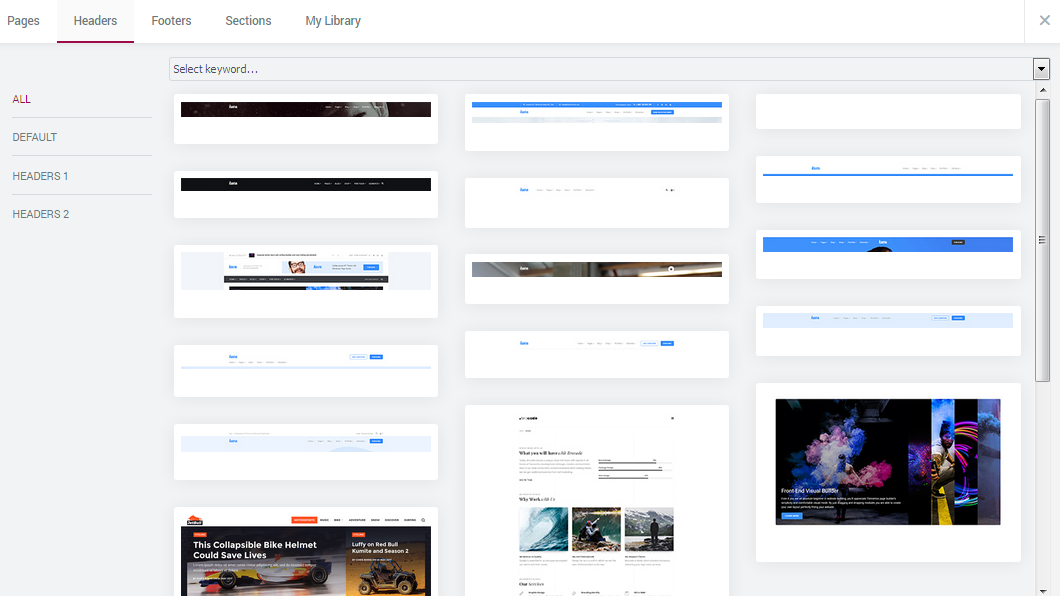
- The content is separated into Pages, Headers, Footers, Sections and My Library. Let’s overview each of the sections.
- Pages - the block contains different pages on various topics available for usage (such as Home, About, Services, etc). You can see the page categories on the left.
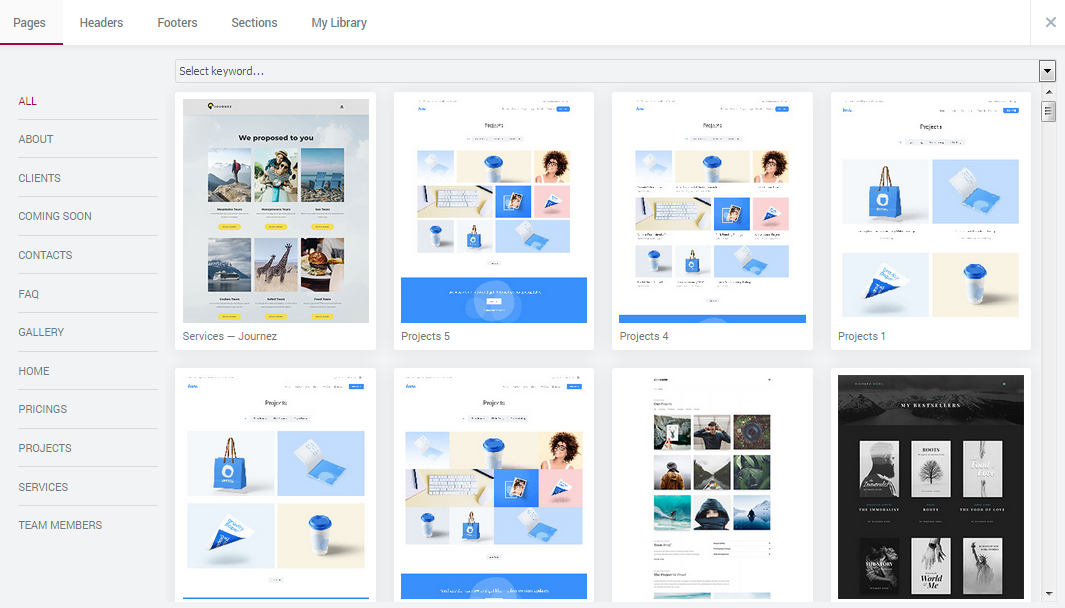
You can also search the page using the keywords. To do it input the keywords into the Search field at the top of the block.
Click on the page to preview it. You can also insert it to the page you’re currently editing, and clone it to the library.
- Headers - the block contains all the headers available for your use. Please, note, that in order to apply the headers to different pages you need to create a header template and assign it to the needed pages in Settings > Conditions.
- Footers - the block contains all the footers available for your use. Please, note, that in order to apply the footers to different pages you need to create a footer template and assign it to the needed pages in Settings > Conditions.
- Sections - here you can select the sections you want to use on the page. You can use one or more sections, mix and match them in order to get the necessary results.
- My Library - the block contains the templates you’ve saved into your library.
- Feel free to enrich the sectins with your own content, use different other widgets, changte the sectin styles according to your needs. After everything is done click Publish button to save all the changes.