Kava Child Documentation
Theme Installation
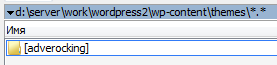
1. Add Kava Theme to your WordPress > wp-content > themes directory.
2. Then, add RockTheme to your WordPress > wp-content > themes directory.
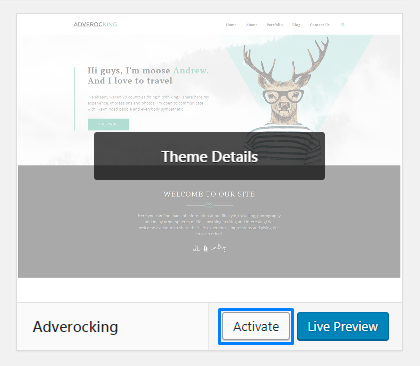
3. Next, navigate to Dashboard > Appearance > Themes and locate your RockTheme Theme. Click on Activate button.
Plugins and Content Installation
Jet Plugin Wizard Installation
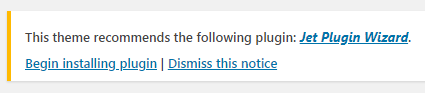
1. After theme activation you will get a notice which offers you to install Jet Plugin Wizard. To continue plugins and demo contents installation with Jet Plugin Wizard just hit Begin installing plugin link. You will be transfered to the page where you can select the needed plugins.
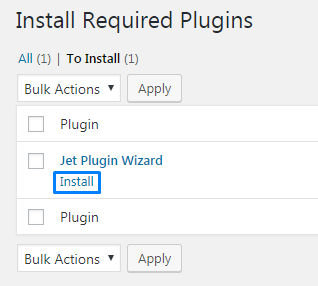
2. Then please click on Install link.
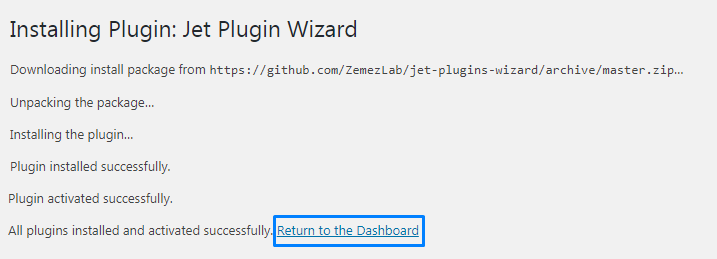
3. After Jet Plugin Wizard has been successfully installed and activated click on Return to the Dashboard link.
Plugins Installation
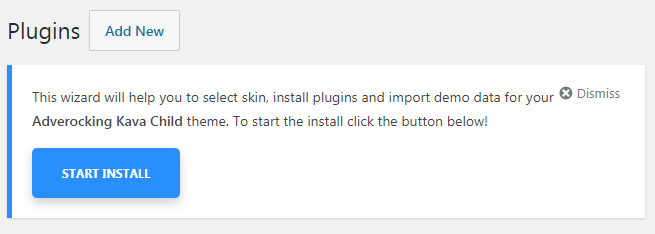
4. After installation and activation Jet Plugin Wizard you will get a notice which offers you to continue the plugins and demo contents installation with Jet Plugin Wizard. Then click on START INSTALL on the top of the page to start installation of the recommended plugins.
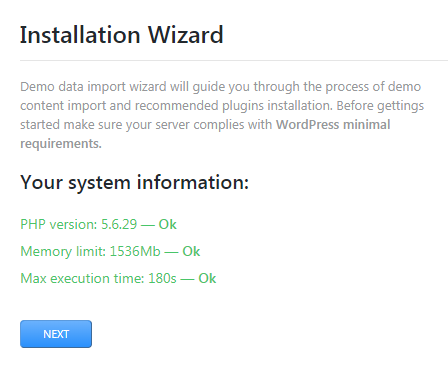
5. On the Wizard Home page you can check if your server configurations meet WordPress minimal requirements. If any doesnt't meet you can continue the installation process, but it will take more time and can drive to bugs.
If your server configurations meet WordPress minimal requirements please click on NEXT link.
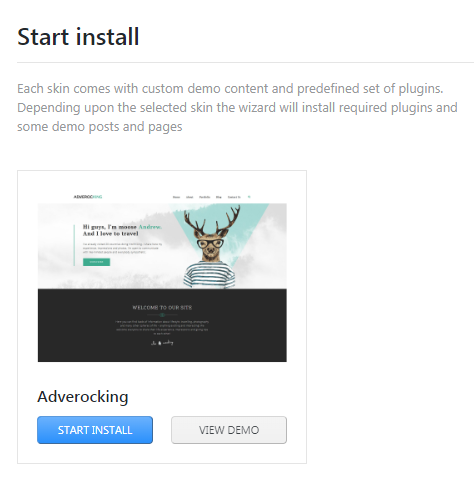
6. Click Start Install button to proceed with plugins installation.
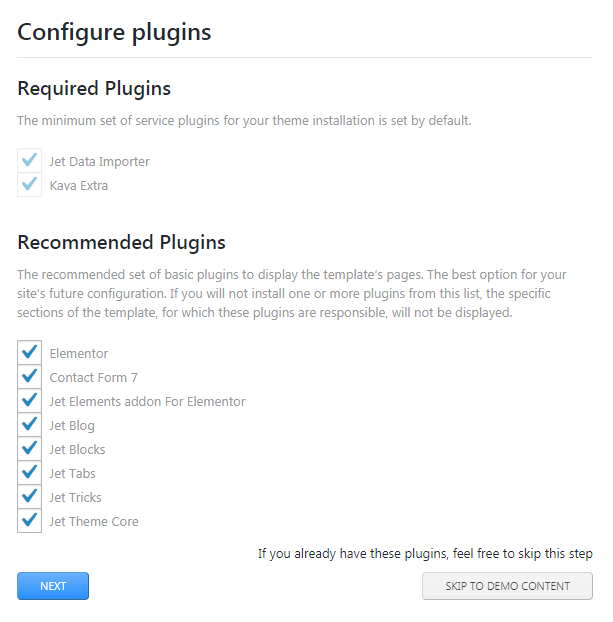
7. You will see the list of recommended plugins to be installed. Click Next button to proceed.
Demo Content Installation
8. After plugins installation you will get a notice which offers to append demo content to your existing content or completely rewrite it.
When you have taken the option please click on Next.

If you select Replace my existing content with demo content your whole content will be completely and irreversibly deleted!
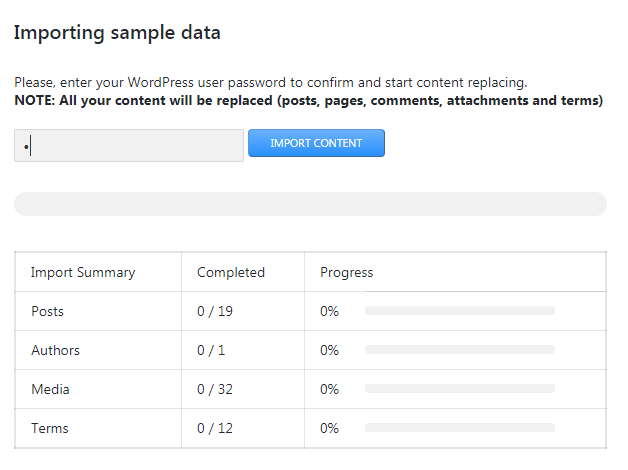
9. If you select Replace my existing content with demo content you will have to enter your password to confirm and start content replacing and importing sample data will start.
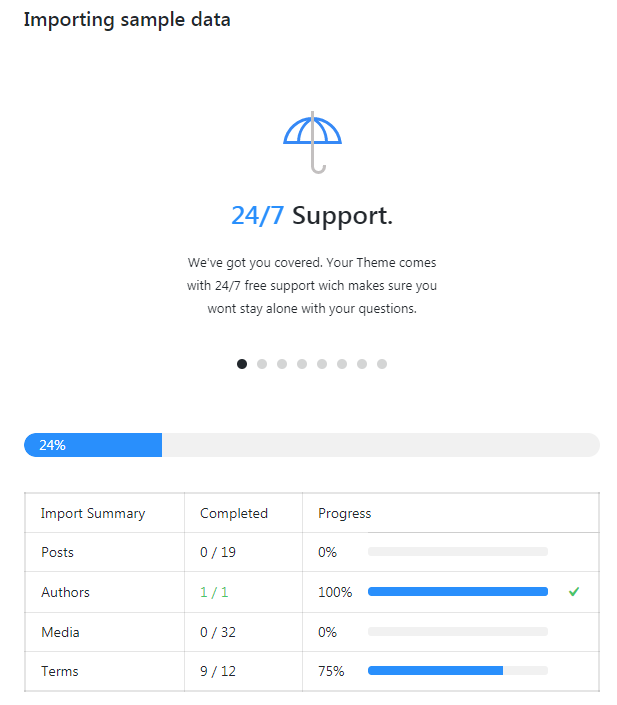
10. On this step Jet Plugin Wizard regenerates thumbnails for all imported images. This process may take some minutes.

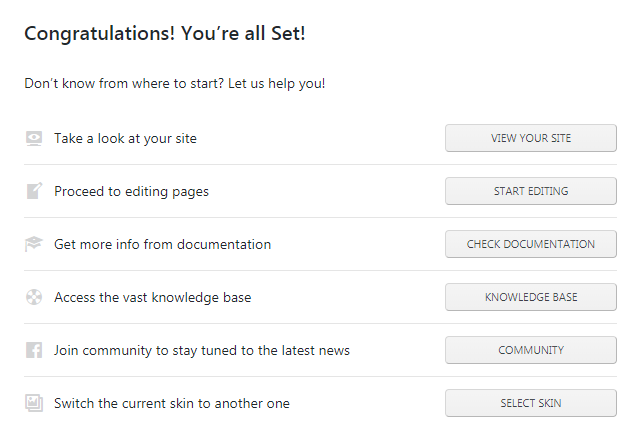
11. Import is finished. Jet Plugin Wizard offers you to select options VIEW YOUR SITE or CUSTOMIZE YOUR THEME.
Manual Plugins Installation
Installation via WordPress Dashboard
This block will give you information on how to install Jet plugins to Your website manually.
- First, make sure that you’ve installed and activated Elementor page builder before proceeding to JetElements installation. If you have problems with installing Elementor feel free to read the detailed Elementor documentation.
- Log in to Wordpress Dashboard using Your login credentials and navigate to Plugins tab in the left column.
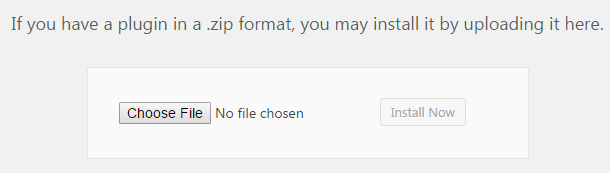
- Click on Add new button to upload Jet plugins from Your hard drive.

- Click on Upload button, which can be found at the top of Plugins page. Browse the path to Jet plugins and start installation.
- When Jet plugins are uploaded and installed you’ll need to activate it. Navigate to Plugins tab and locate the needed plugins in the list of installed plugins. Click on Activate link under the plugins. As a result the plugin will become active.

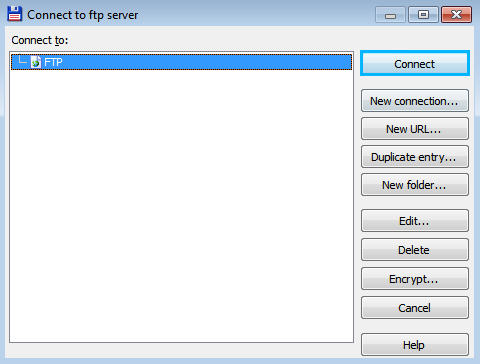
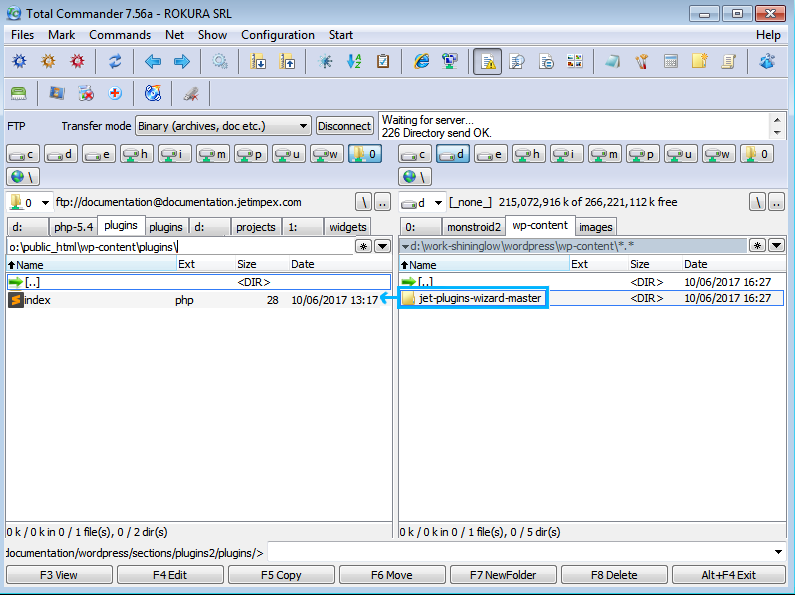
- First, let’s establish an FTP connection using any FTP client that is convenient to you (Total Commander, Filezilla, etc.).
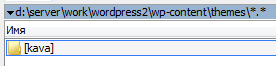
- Locate wp-content/plugins directory in the WordPress root folder and upload the folder containing all plugin files to it.
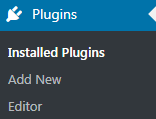
- Now you need to log in to WordPress Dashboard and navigate to Plugins > Installed Plugins tab in the left column.
- Search for the new plugins you’ve recently uploaded and click on Activate option under the plugin title in order to activate them.
- As a result, the plugins will become active.
Installation via FTP