This plugin will help you export posts, comments, widgets, settings etc., from one site to another. With a single click of a button the plugin generates an XML file that can be imported to another website.
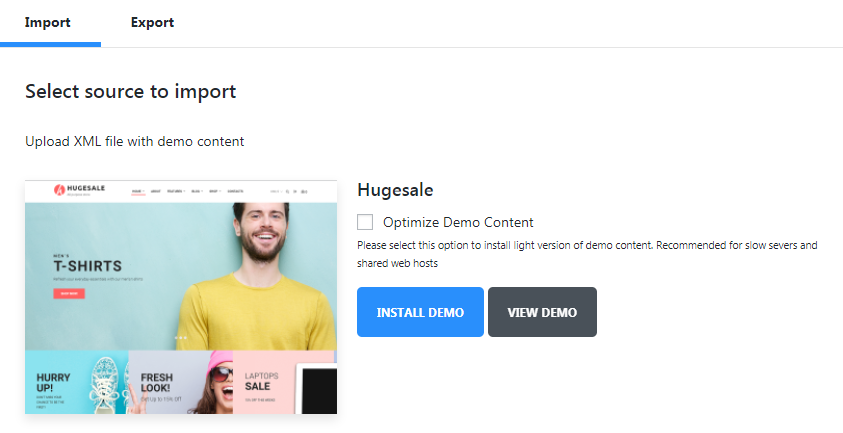
After the installation the plugin adds a new block - Demo Content where you can export or import the content.
Note: The images are not exported separately, they are downloaded from the server during the import.
File Import
To import the content, you need to upload the XML file and press Start Import.
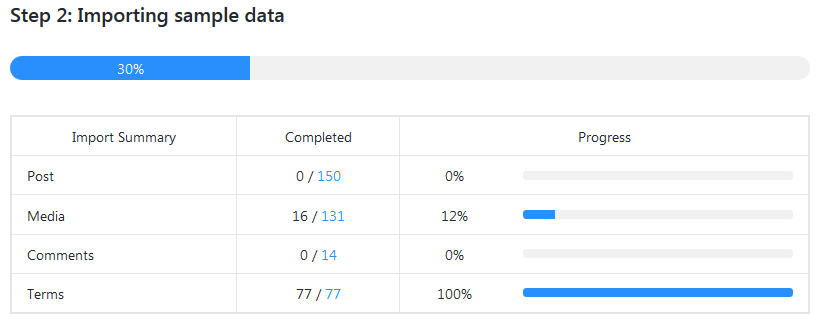
Once the import begins you will see a box with progress bars.
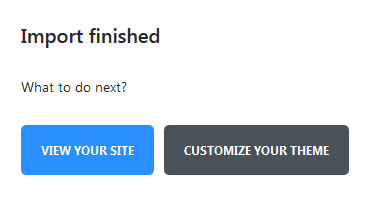
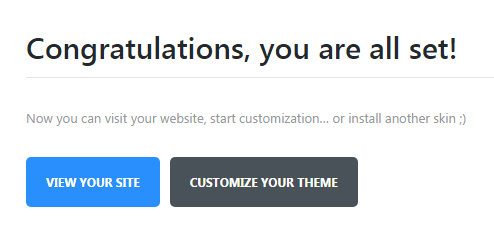
After the import is complete you can view the site or customize it.
File Export
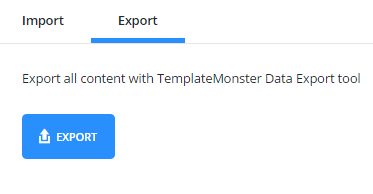
To export the data, you only need to press an Export button and an XML file will be created automatically.
Array Structure
XML importer settings. Features:
enabled
enable/disable XML importer;
use_upload
show/hide the files upload form;
path
path to the pre-installed sample-data;
import
import settings;
chunk_size
number of processed items at 1 importing step. The less this number is, the more steps will be during the importing process, and less time will be spent for 1 step. For this reason, it is strongly recommended to reduce this number for the themes with large sample data to avoid problems with importing files on weak servers;
remap
data post-processing settings. Here you need to add keys with posts IDs that can be changed during the import;
post_meta
post metadata settings;
term_meta
terms metadata settings;
options
options.
Export Settings
message
message displayed in the export block;
logo
url of the logo displayed in the export block;
options
options array for the additional export.
success links
associative array of links displayed on successful installation page. Link ID is used as a key. The plugin contains IDs for the homepage and for customizer;
label
link text;
type
type of displayed button (default, primary, success, danger, warning);
target
_balnk, _self;
url
link url.
Cherry Plugin Wizard
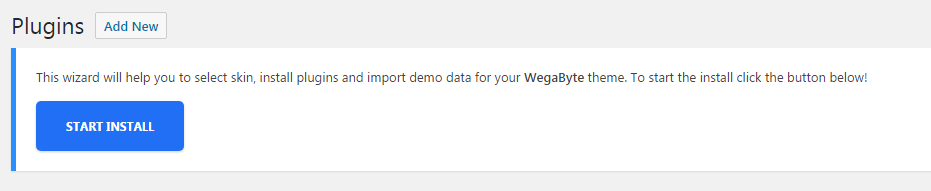
Cherry Plugin Wizard is a powerful instrument that allows you to install all the necessary plugins and demo-content in an easy and effortless way.
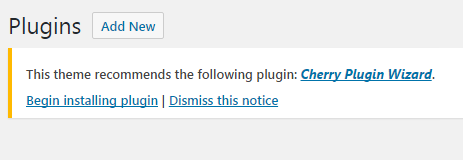
To install it you must go to Plugins tab in your administration panel. There you'll see the following notice.
Just click on Begin installing plugin link, and the installation will begin.
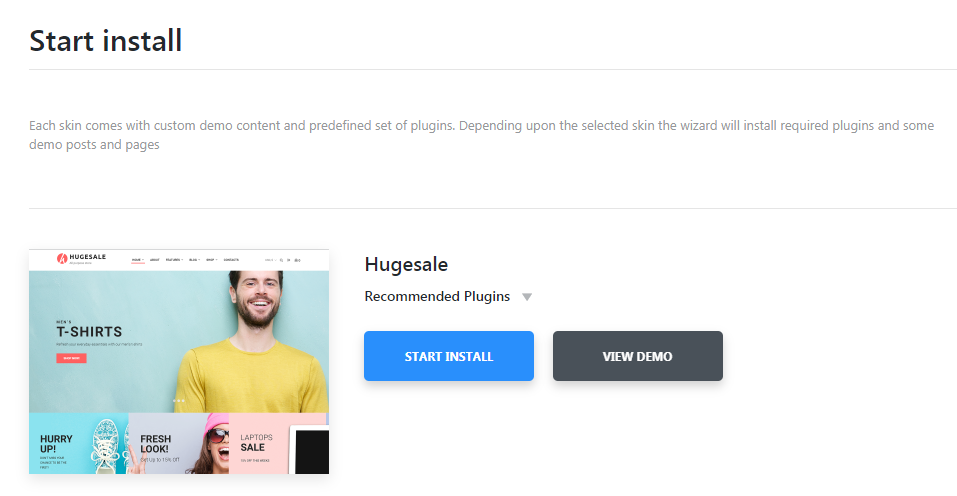
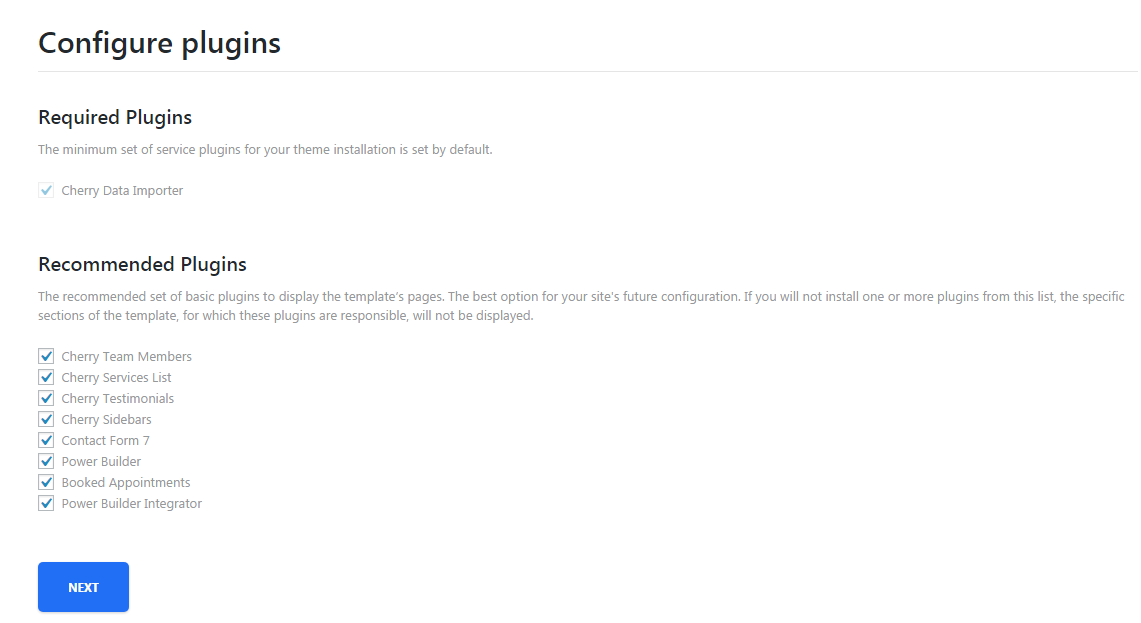
After Cherry Plugin Wizard is installed you will be able to see Cherry Plugin Wizard tab in your administration panel. Go to this tab, and Cherry Plugin Wizard will offer you to install the bunch of recommended plugins to your theme.
You can also select which particular plugins you want to be installed. To do it you just have to select them from the list that wil appear on your page. Then click on Next button and proceed to the installation process.
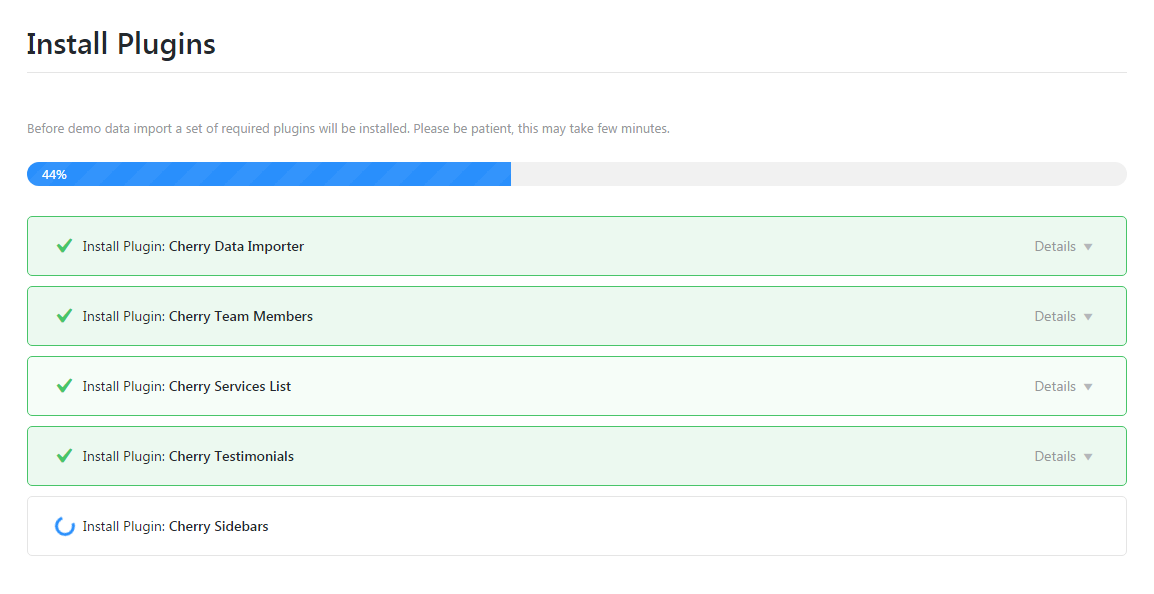
When the plugins are installed it is time to install demo content for your theme. Cherry Plugin Wizard will offer you to do just that.
Demo Content Installation
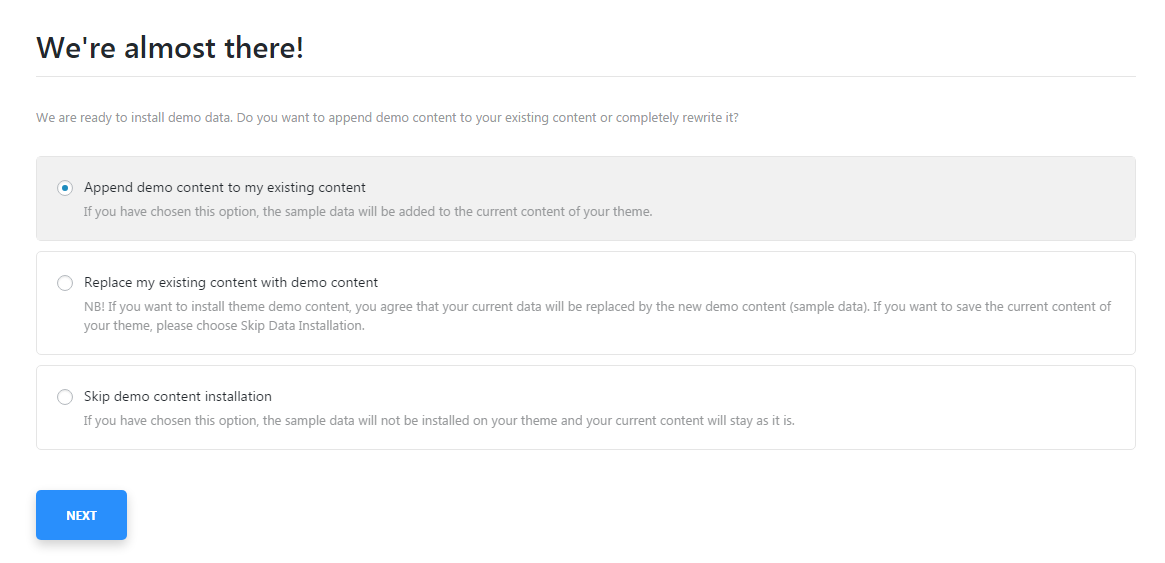
Cherry Plugin Wizard will offer you several scenarios how to install demo content to your theme.
Append demo content to my existing content
this option will append the demo content for your theme with your existing content.
Replace my existing content with demo content
this option will rewrite your previous existing content with the demo content.
Skip demo content installation
by choosing this option you refuse to install demo content for your theme.
When the installation will be over you'll see the following notice.
Cherry PopUps
This plugin is used to display popups of your projects on a site page. It has its own settings page which allows to save, reset and set default options. With its help you will be able to create various kinds of popups and manage them the way you like.
Popup Options
Each popup has its own settings which are gathered in Popup settings.
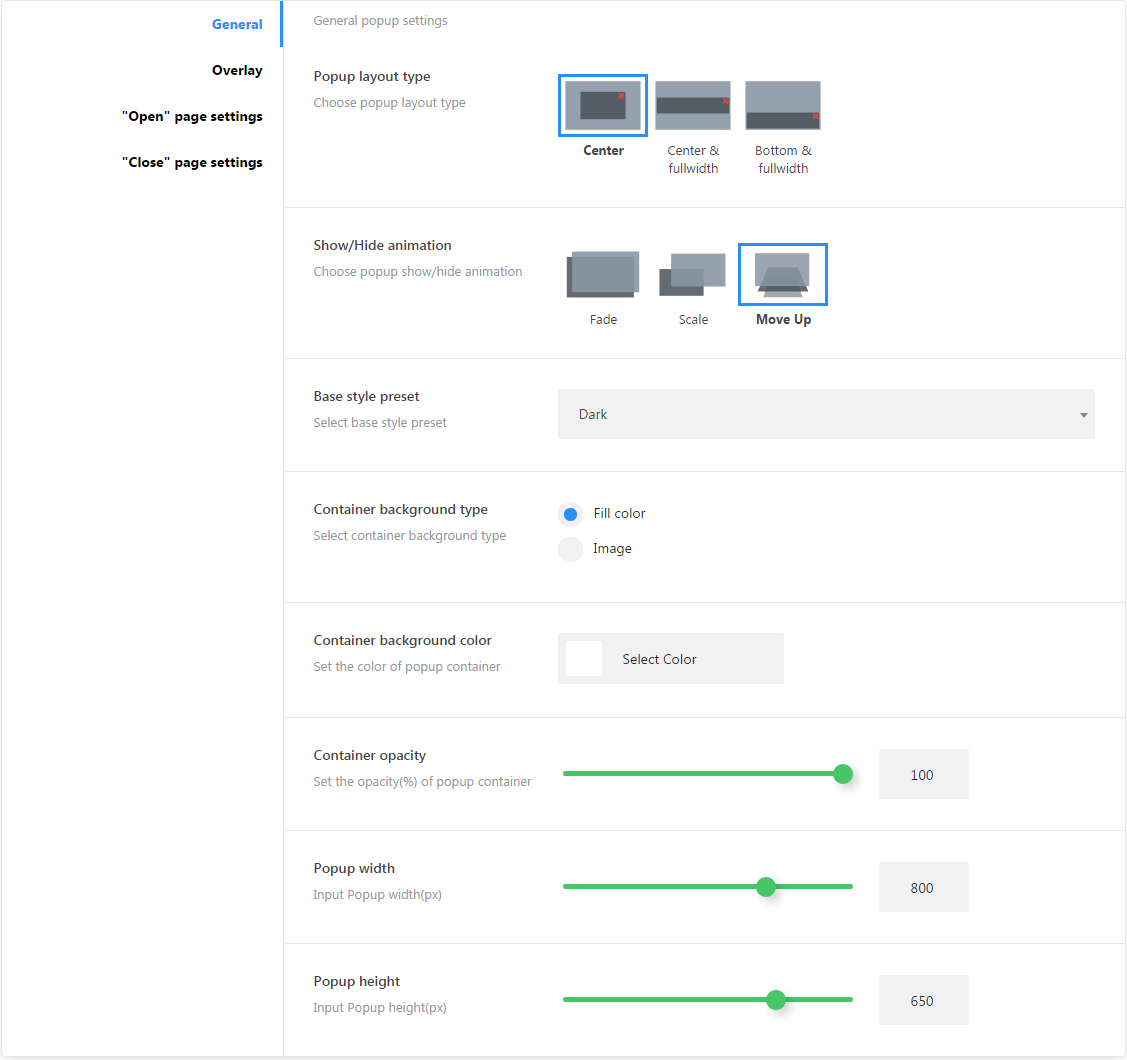
General Settings Sections
popup layout type
choose popup layout type (center, fullwidth center, fullwidth bottom);
popup controls base color styles(default, light, dark, blue, red);
container background type
container background type (fill-color, image);
container background color
popup container background color;
container background image
choose container background image;
container opacity
container opacity (active for fill-color type);
popup width
popup container width;
popup height
popup container height.
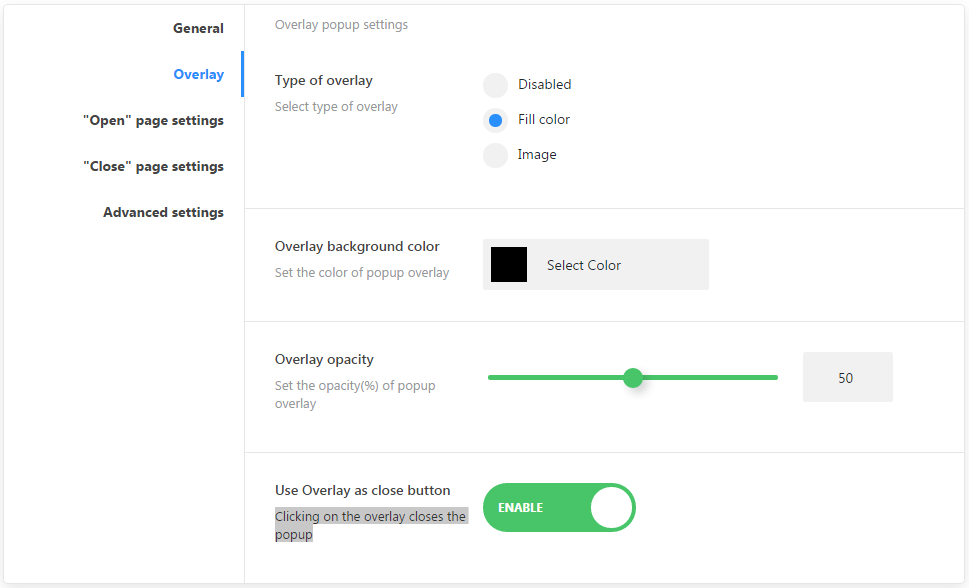
Overlay
type of overlay
disabled
disable the overlay;
fill-color
background fill-cover;
overlay background color
choose overlay background color;
overlay opacity
set overlay background opacity;
overlay background image
set overlay background image;
use Overlay as close button
clicking on the overlay closes the popup.
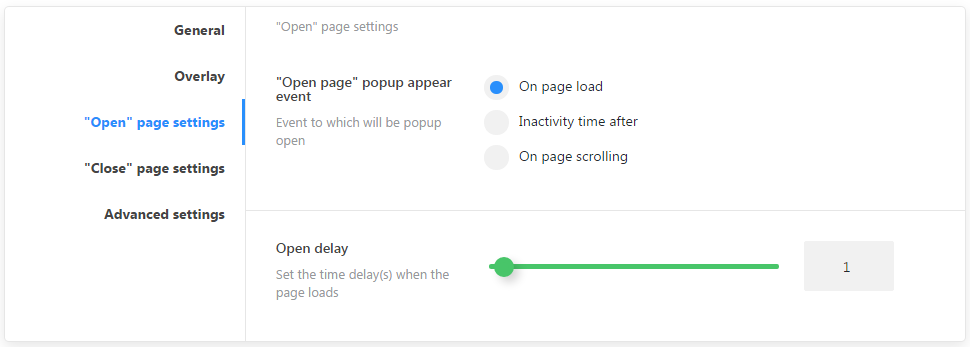
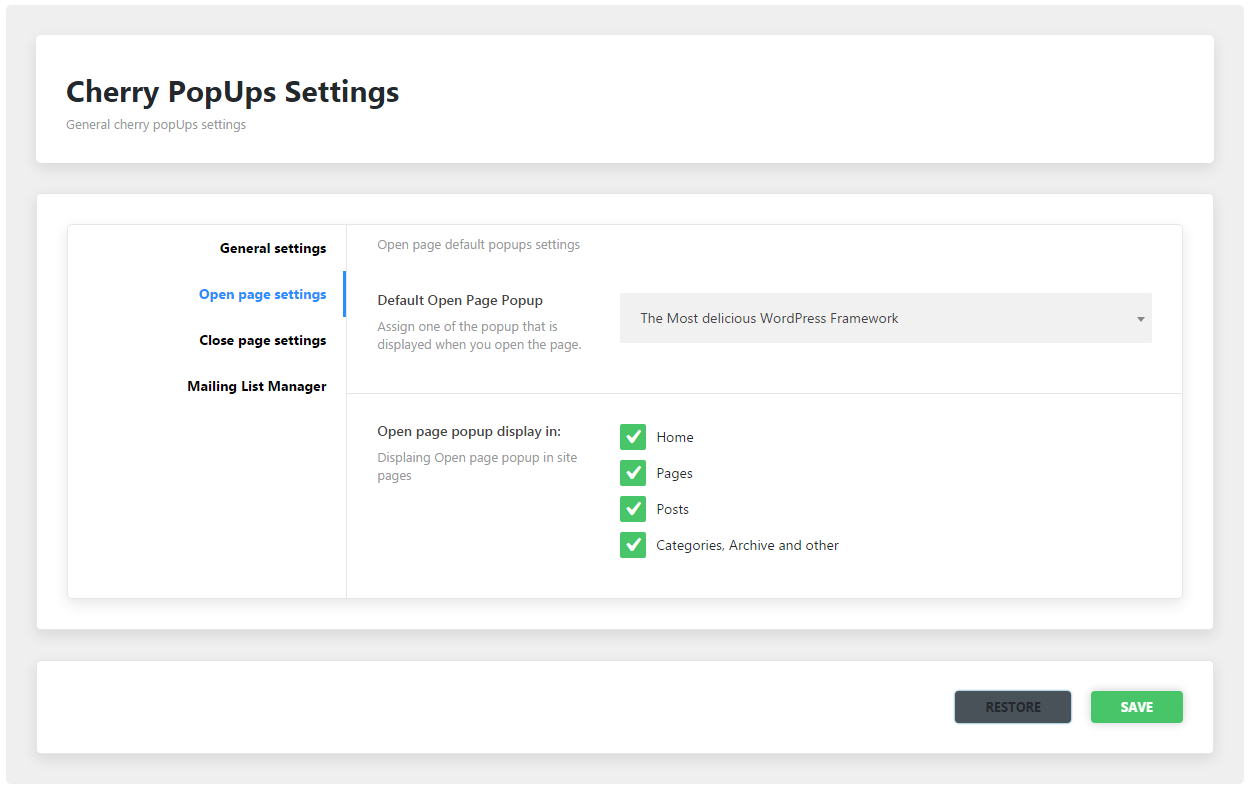
"Open" Page Settings
"open page popup appear event
set an event to which a popup will be opened;
close page popup display in
pages identification for the default popup;
on page load
page complete load event;
inactivity time after
inactivity time event;
on page scrolling
page scrolling progress event.
open delay
set the time delay when the page loads.
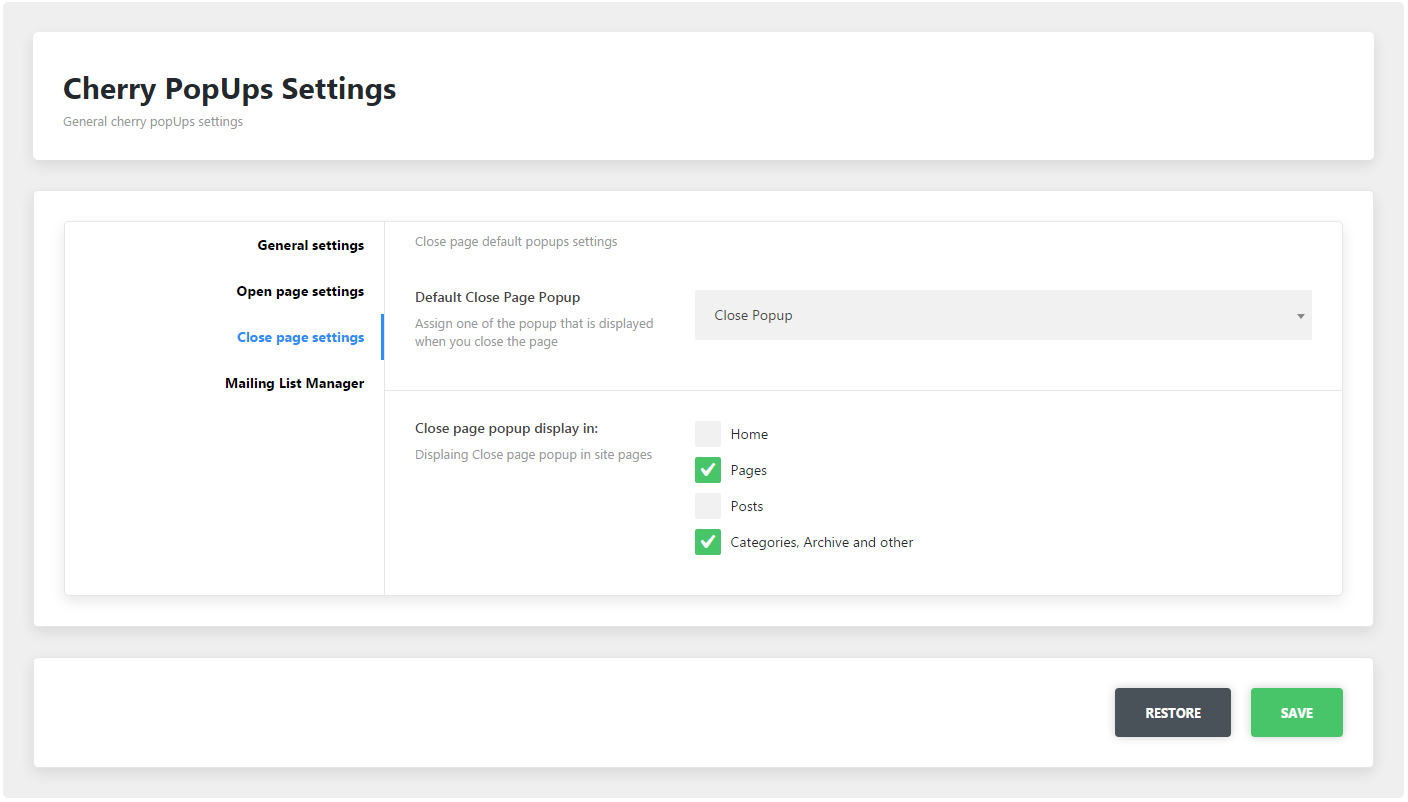
"Close" Page Settings
Close page popup appear event
outside viewport
set top border for mouse cursor;
page unfocus
user sets focus on another page or app in the system.
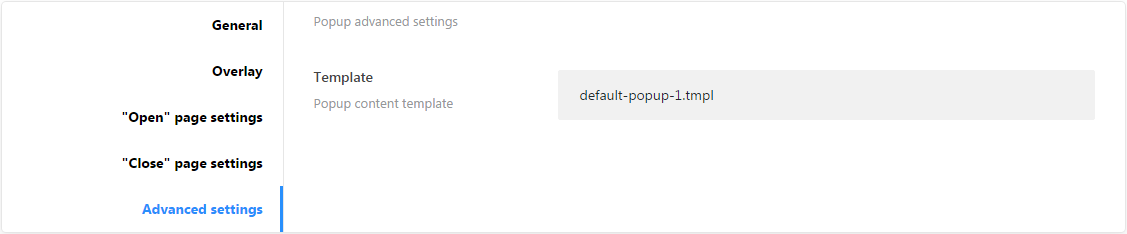
Advanced Settings
template
template file for content.
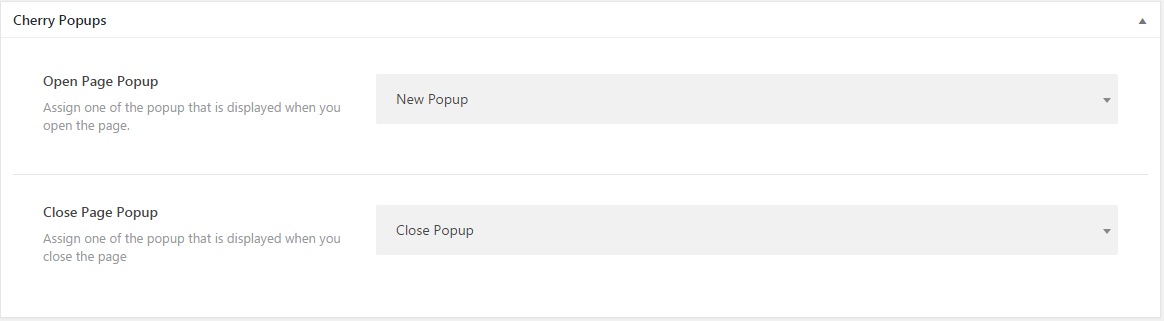
Popup Identification on Static Page
If standard settings are not enough for identifying a visible section, there is a metablock that allows you to add a particular popup to any static page. To find the metablock open any page of your website in the and scroll down to the Cherry Popups section.
You can assign 2 popups simultaneously. One at the beginning, and another one at the end of section.
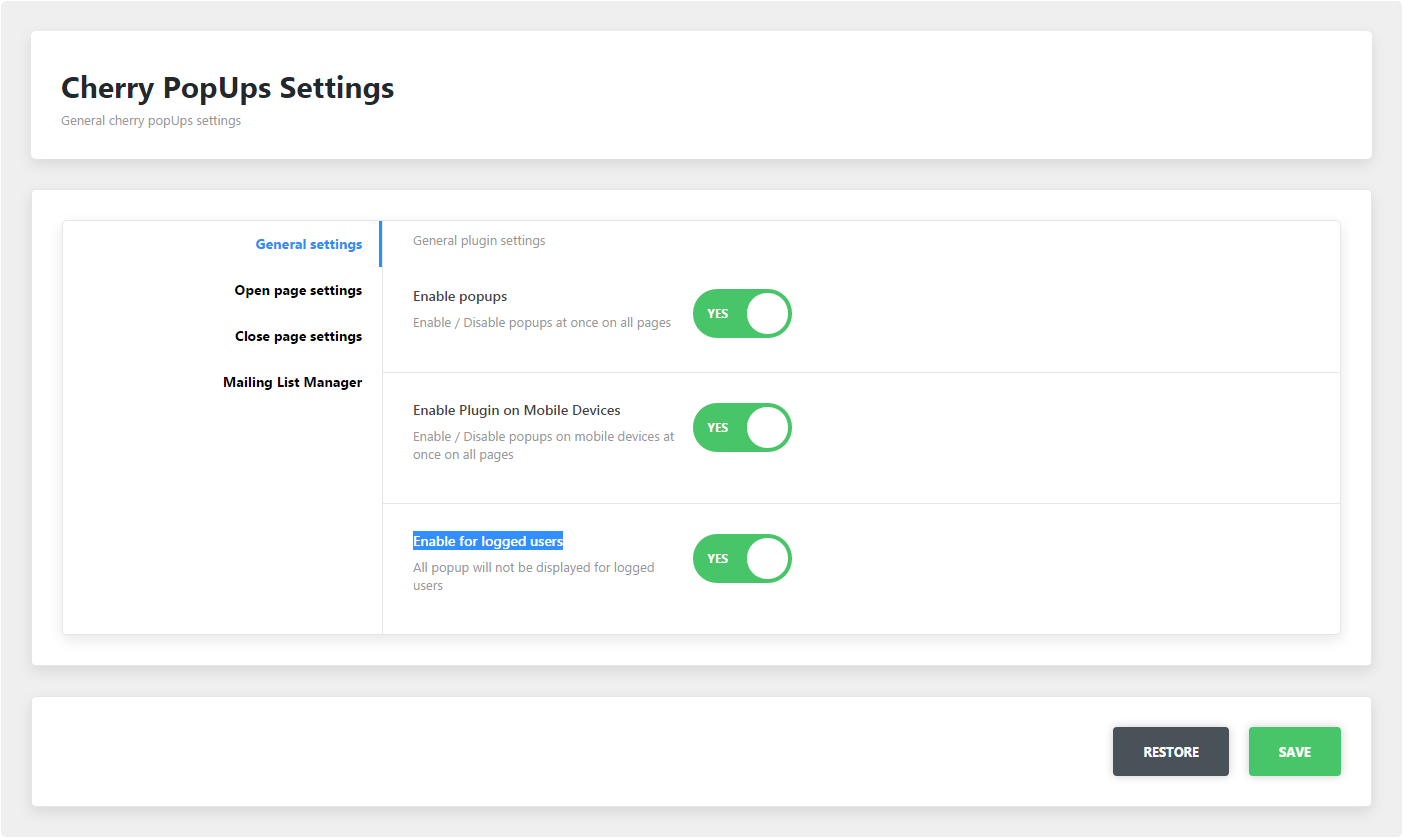
Plugin Options
All plugin settings are gathered in Popups > Settings
General Settings Sections
Here ou can define where and for which users to display popups.
enable popups
enable/disable plugin functions globally for the site;
Cherry Search allows you to send search queries without reloading the page via AJAX technology. In this way, users can find any information they are interested in quickly and easily. Thanks to a full range of settings, you can customize the functionality of the plugin the way you need.
Settings
Once the plugin is installed you can see a Cherry Search button in the right sidebar of your admin panel:
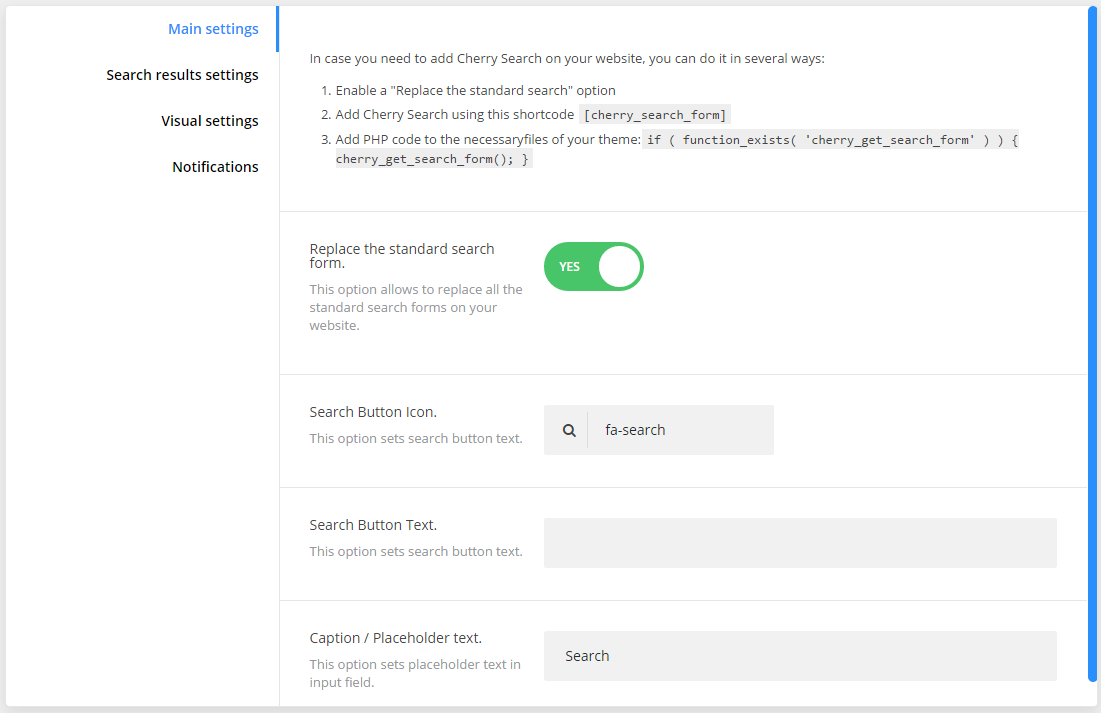
Main Settings
replace the standard search form
this option allows to replace all the standard search forms on your website;
search button text
this option sets search button text;
search button icon
this option sets search button icon;
caption / placeholder text
this option sets placeholder text in input field.
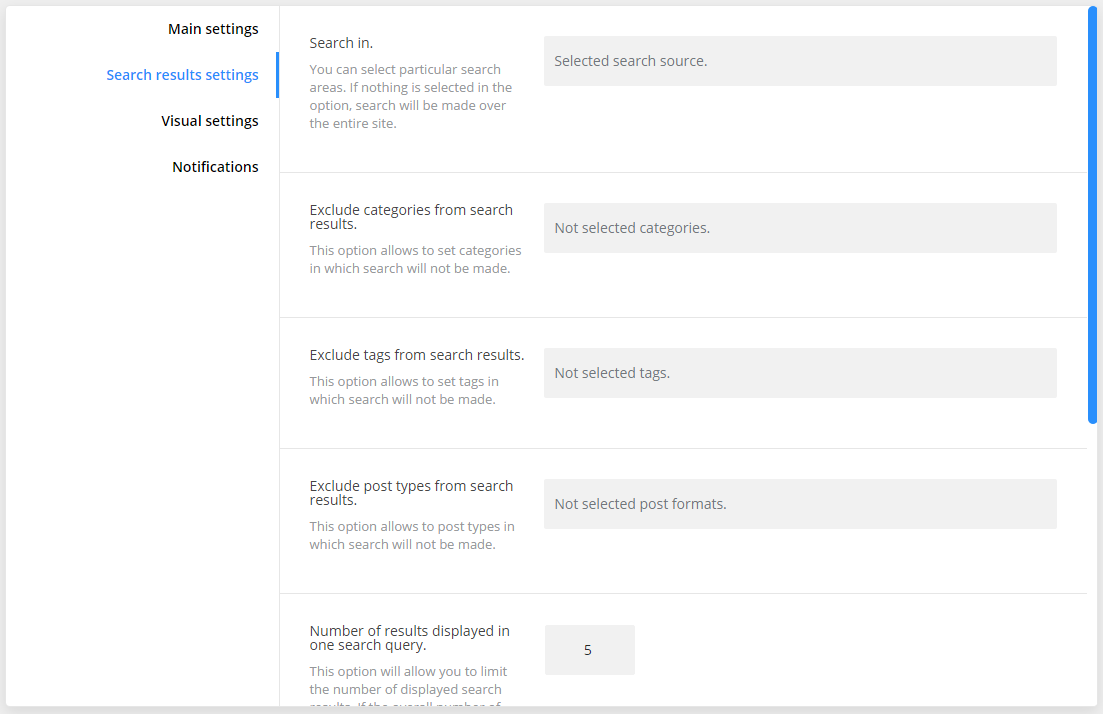
Search Result Settings
search in
you can select particular search sources. If nothing is selected in the option, search will be made over the entire site;
exclude categories from search results
this option allows to set categories in which search will not be made;
exclude tags from search results
this option allows to set tags in which search will not be made;
exclude post types from search results
this option allows to set post types in which search will not be made;
number of results displayed in one search query
this option will allow you to limit the number of displayed search results. If the overall number of results exceeds previous set limit, the load more button will come up;
sort search results by
sort search results by a certain criteria;
filter results by
filter search results by ascending or descending order.
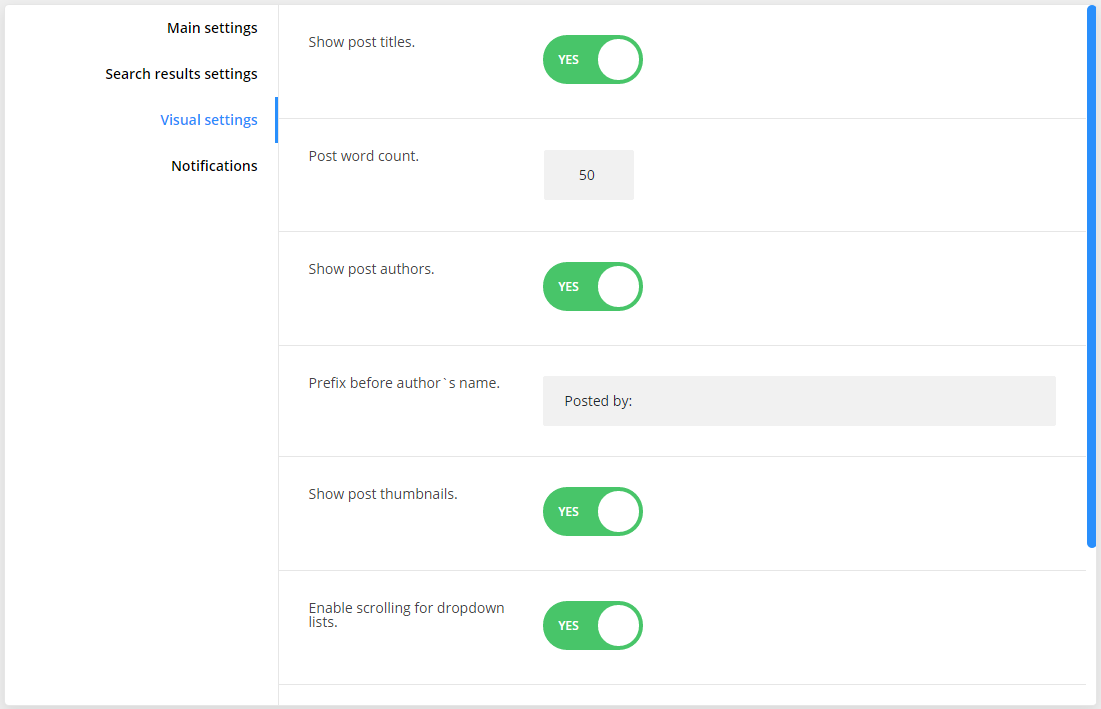
Visual Settings
show post titles
show/hide post titles;
post word count
specify the post word count;
show post authors
show/hide post authors;
prefix before author`s name
specify the prefix that will be displayed before author’s name;
show post thumbnails
show/hide posts thumbnails;
enable scrolling for dropdown lists
enable disable scrolling for dropdown search results lists;
dropdown list height
specify the dropdown list height;
view more button text
add text for view more button.
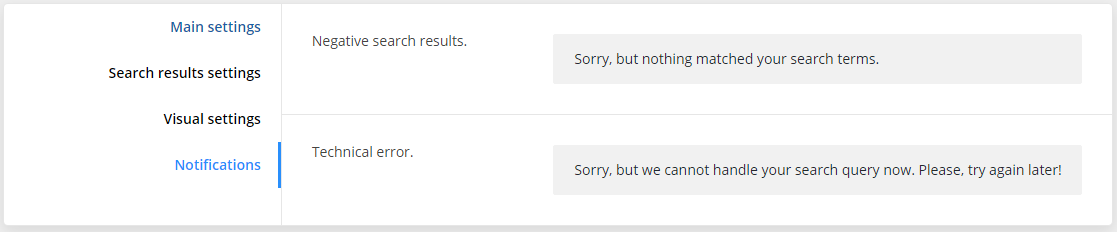
Notifications
negative search result
text that will be displayed if nothing is found;
technical error
text that will be displayed during technical error.
Cherry Sidebar Manager
This Cherry Sidebar Manager is designed to create custom sidebars with specific sets of widgets and define custom sidebars on pages.
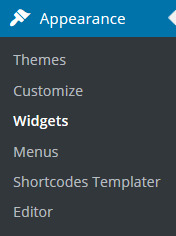
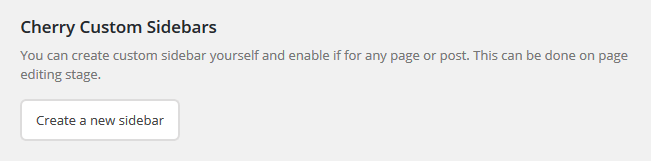
To add a new sidebar, go to the Appearance > Widgets section and click Create a new sidebar.
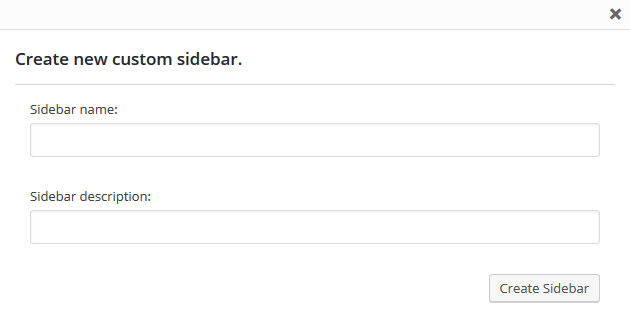
Input Sidebar name and Sidebar description. Then click Creating Sidebars
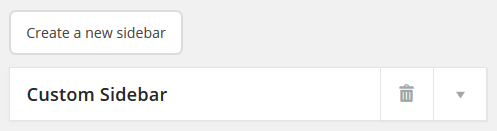
You can arrange your widgets set in your sidebar by adding the new ones, changing the order of widgets and removing the unused ones.
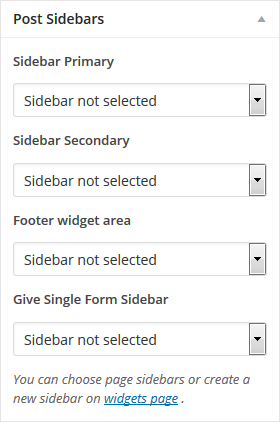
Avaliable Post Sidebar Areas
Cherry Socialize
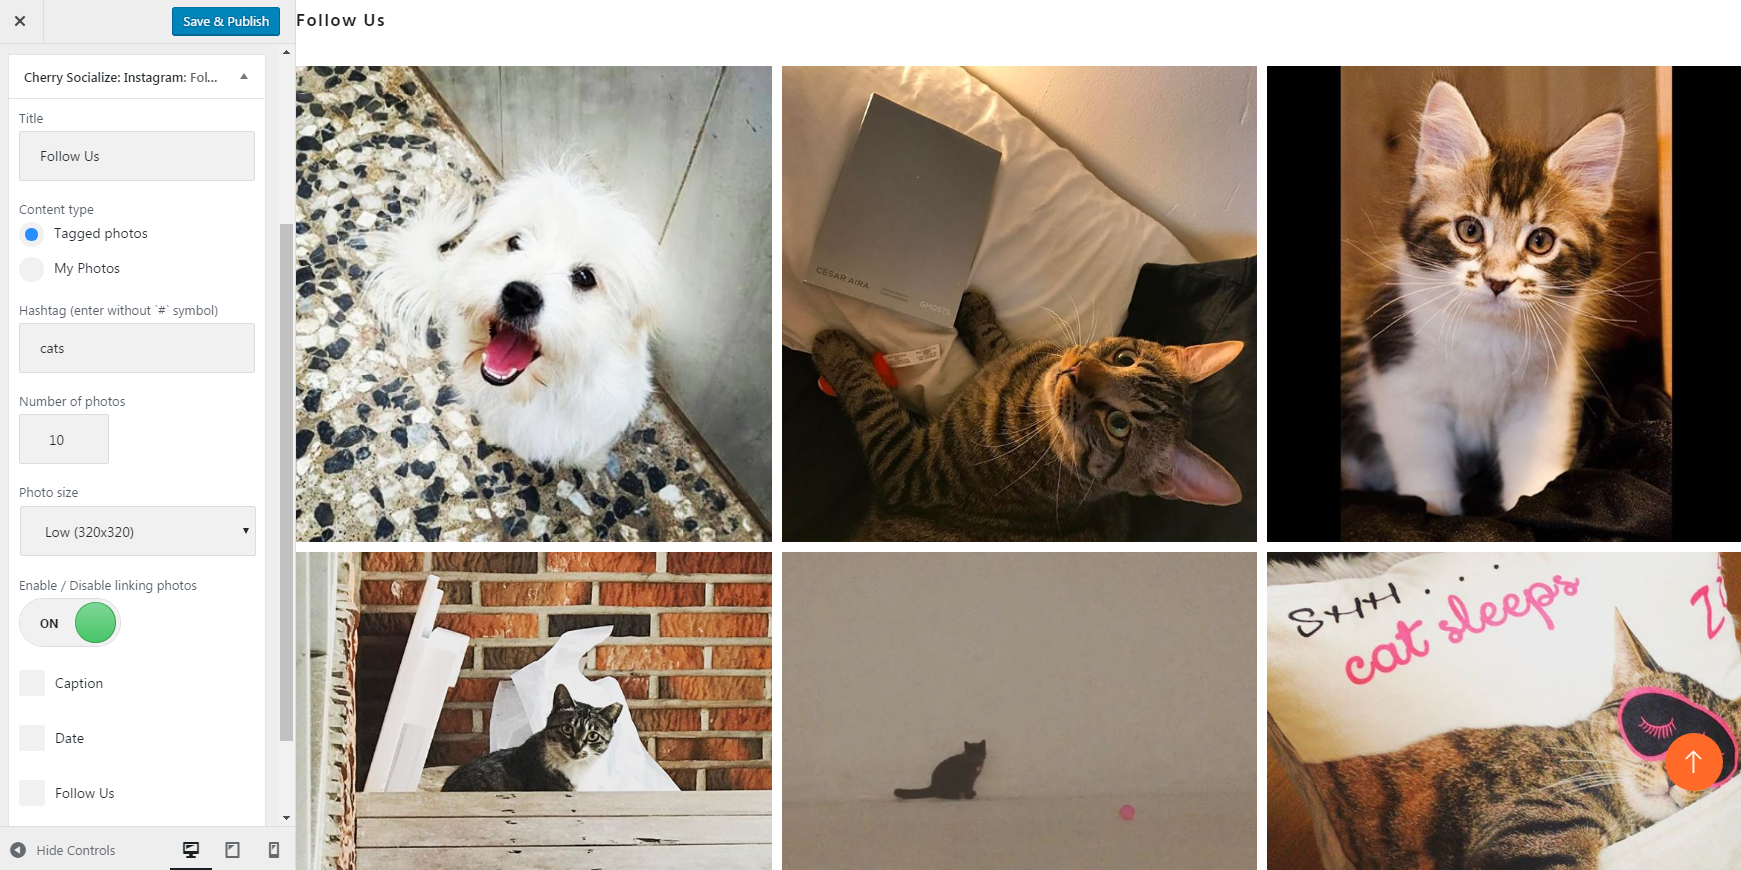
Cherry Socialize plugin is a perfect instrument for managing social networks right on yout website. By now it can add an improved Instagram widget on any page of your website.
Installing Cherry Socialize
To install Cherry Socialize you need to follow the steps described below:
upload plugin to the /wp-content/plugins/ directory;
activate Cherry Socialize plugin through the Plugins menu in WordPress.
You can edit it fom here: Administration Panel > Plugins > Cherry Socialize > Edit Plugin.
You can also use it right after installing! To do this go to Customizer, open Widgets tab and choose Add Widget > Cherry Socialize Instagram . That's it!
Cherry Team Members
The plugin
Cherry Team Members is specially designed to make it easier for the businesses to display info about their team and personnel. It contains a full set of options and tools that will help adjust the profile in accordance with the skills and the position of the members. Let’s take a closer look at the plugin on the front end.
properties
here you can see all the available posts;
types
in this section you can create various real estate types;
tags
add proper tags;
features
add all necessary features to the post;
settings
here you can find all the settings for the plugin.
Contact form 7
Contact form 7 plugin can manage multiple contact forms. It also lets you customize the form and the mail contents flexibly with simple markup.
Displaying a Form
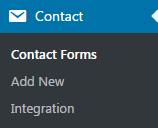
Let’s start with displaying a form on your page. First, open the Contact > Contact Forms menu in your WordPress administration panel.
You can manage multiple contact forms there.
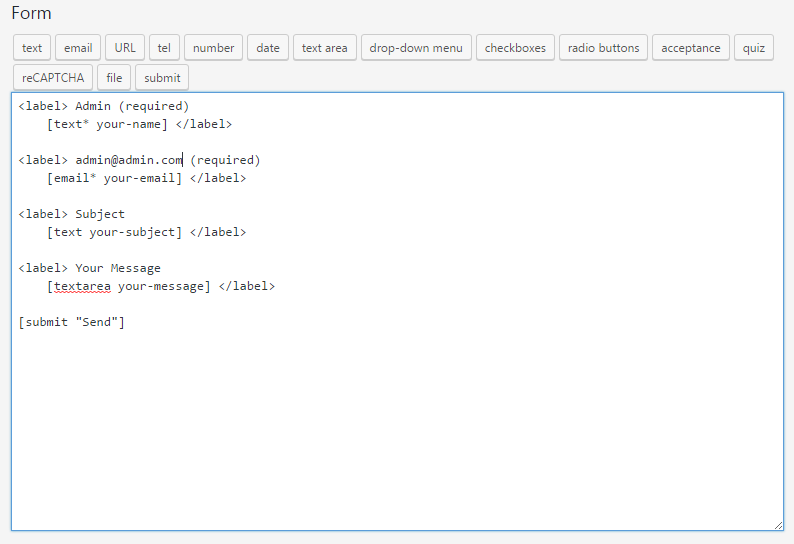
Just after installing the Contact Form 7 plugin, you’ll see a default form - Contact form 1 and a code like this:
[contact-form-7 id="2526" title="Contact form 1"]
Copy this code. Then open (Pages > Edit) of the page where you wish to place the contact form. A popular practice is creating a page named Contact for the contact form page. Paste the code you've copied into the contents of the page.
Now your contact form setup is complete. Your site visitors can now find the form and start submitting messages to you.
Next, let’s see how you can customize your form and mail content.
Customizing a Form
Title for this contact form is just a label for a contact form and is used for administrative purposes only. You can use any title you like, e.g. Job Application Form and so on.
In the form you can enter different tag generators. They can be generated automatically.
text - form-tag generator for text;
email - form-tag generator for email;
text - form-tag generator for text;
tel - form-tag generator for phone numbers;
date - form-tag generator for date input;
text area - form-tag generator for text areas;
drop-down menu - form-tag generator for drop-down menus;
checkboxes - form-tag generator for adding chackboxes;
acceptance - form-tag generator for creating acceptance checkbox;
quiz - form-tag generator for creating a quiz;
reCapthca - form-tag generator for adding a captcha;
file - form-tag generator for adding files;
submit - form-tag generator for creating submit form.
You can also customize the form content using HTML and form tags.
Line breaks and blank lines in this field are automatically formatted with <br/> and <p> HTML tags.
Tag generators (3). By using these tag generators, you can generate form-tags without knowledge of them.
For more information about form-tags, see How Tags Work.
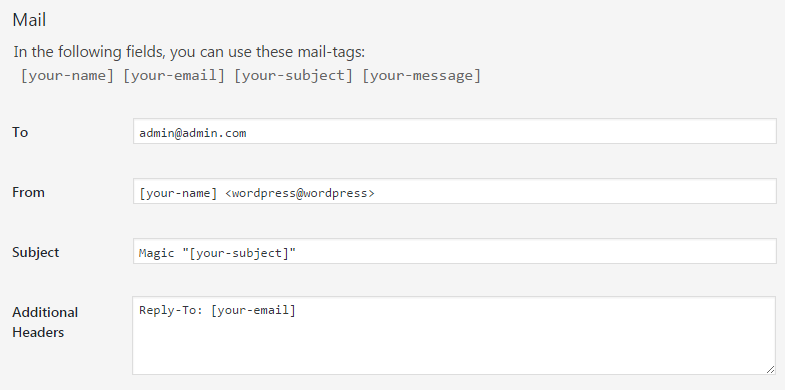
Mail Tab
You can edit the mail template for the mail which is sent in response to a form submission. You can use mail-tags in these fields.
An additional mail template is also available. It is called Mail(2) and its content can differ from the primary Mail template.
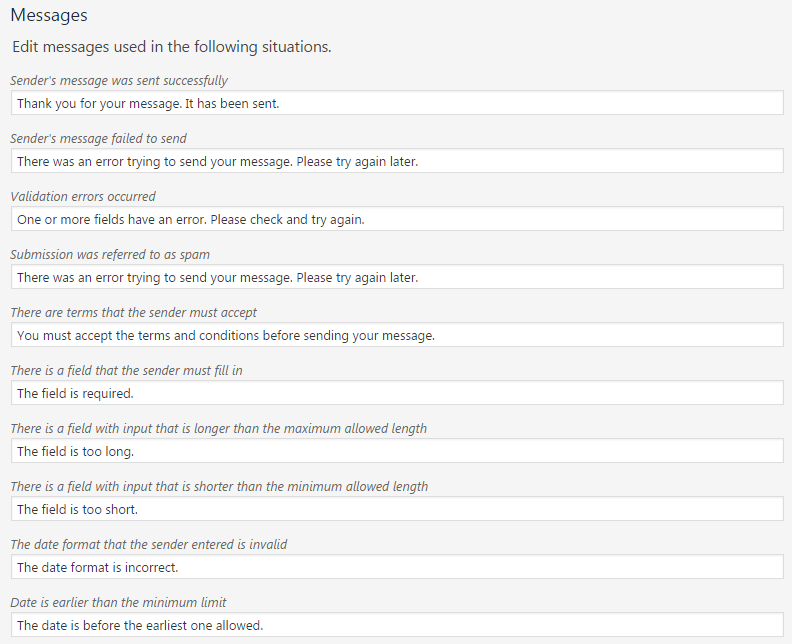
You can edit various kinds of messages, including Validation errors occurred,Please fill in the required field, etc.
Make sure that you enter only plain text here.
HTML tags and entities are not allowed in the message fields.
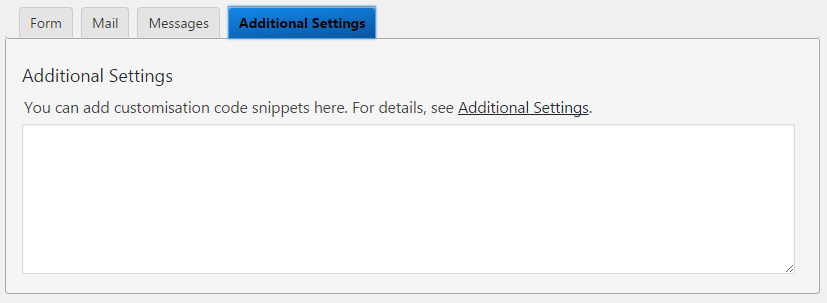
Additional Settings Tab
You can add customization code snippets here. For more details, see
Contact Form 7.
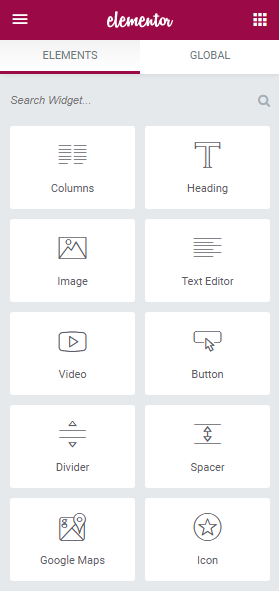
Elementor Page Builder
Elementor Page Builder
is the most advanced frontend drag & drop page builder. It helps to add functionality to your website with the help of its easy-to-use customizable modules.
Detailed Elementor Page Builder documentation can be found here.
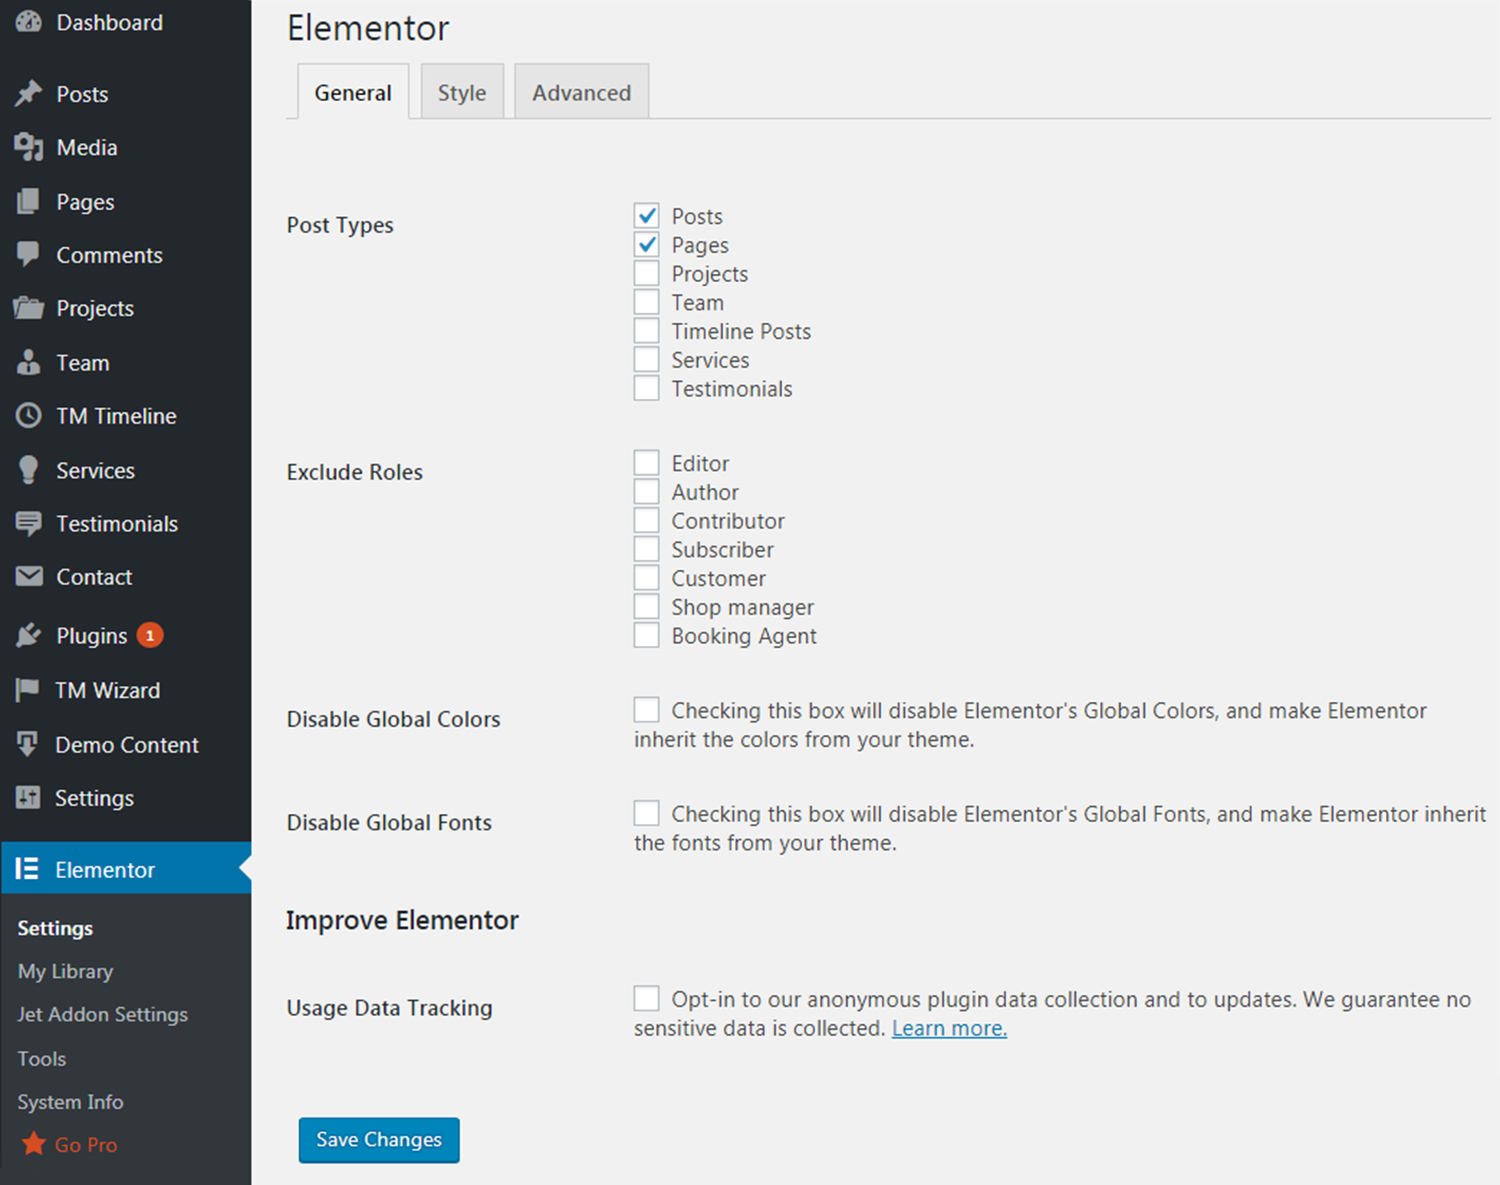
After installation and activation of Elementor plugin, you can set up it in WordPress Dashboard in Settings section in Elementor menu as seen below.
Detailed Elementor General Settings documentation can be found here.
Jet Elements
Jet Elements is a large set of additional modules located inside Elementor Page Builder plugin that help to add more functionality and extra useful features to your website.
Detailed documentation about Jet Elements can be found here.
Instagram Shop by Snapppt
Turn your Instagram images into picture perfect shoppable links with this Instagram Shop by Snapppt plugin. This plugin will change the way your customers and shop your products from your Instagram feed and in your store.
Installing
Download plugin to the /wp-content/plugins/ directory.
Activate the plugin through the ‘Plugins’ menu in WordPress.
Enable in the WordPress admin.
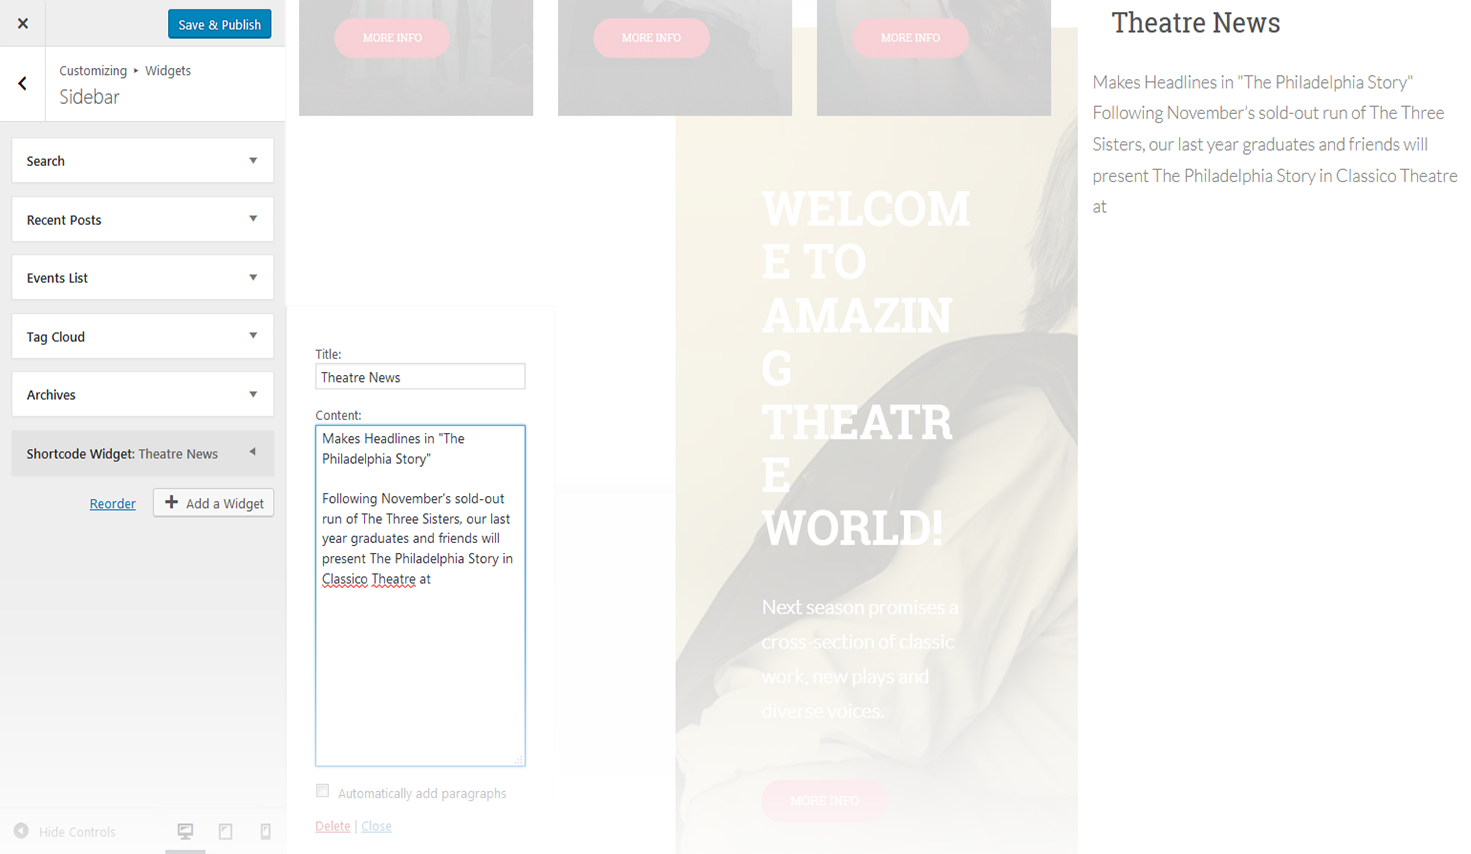
Shortcode Widget
This Shortcode Widget plugin adds a text-like widget that allows you to write shortcode in it. (just whats missing in the default text widget). To test the widget you can add the widget and use the shortcode “[shortcode_widget_test]”, it will display “It works” on the frontend and this will confirm the widget does work.
Installing the Shortcode Widget
Add the plugin’s folder in the WordPress’ plugin directory.
Activate the plugin.
You are now ready to use the Shortcode Widget from the Widgets section.
Smart Slider 3
This
Smart Slider 3
is all you need for creating beautiful slideshows, YouTube and Vimeo slides, with smooth transitions, effects and animations. It creates slides from your WordPress posts, even more it has a complete easy-to-use slide editor with different layers.
Automatic Installation
search for Smart Slider 3 through Plugins > Add New interface;
find the plugin box of Smart Slider 3 and click on the Install Now button;
then activate the Smart Slider 3 plugin;
create a new slider: Click on the Smart Slider menu, click on the create slider button. Then you can add images and videos as slide and you can customize your slides with layers;
then copy the shortcode from the Publish slider box and paste it into a post or a page.
Manual Installation
download Smart Slider 3;
upload the Smart Slider 3 through Plugins > Add New > Upload interface or upload smart-slider-3 folder to the /wp-content/plugins/ directory;
activate the Smart Slider 3 plugin through the Plugins menu in WordPress;
create a new slider: Click on the Smart Slider menu, click on the create slider button. Then you can add images and videos as slide and you can customize your slides with layers.
Detailed documentation about Smart Slider 3 can be found here.
TM Mega Menu
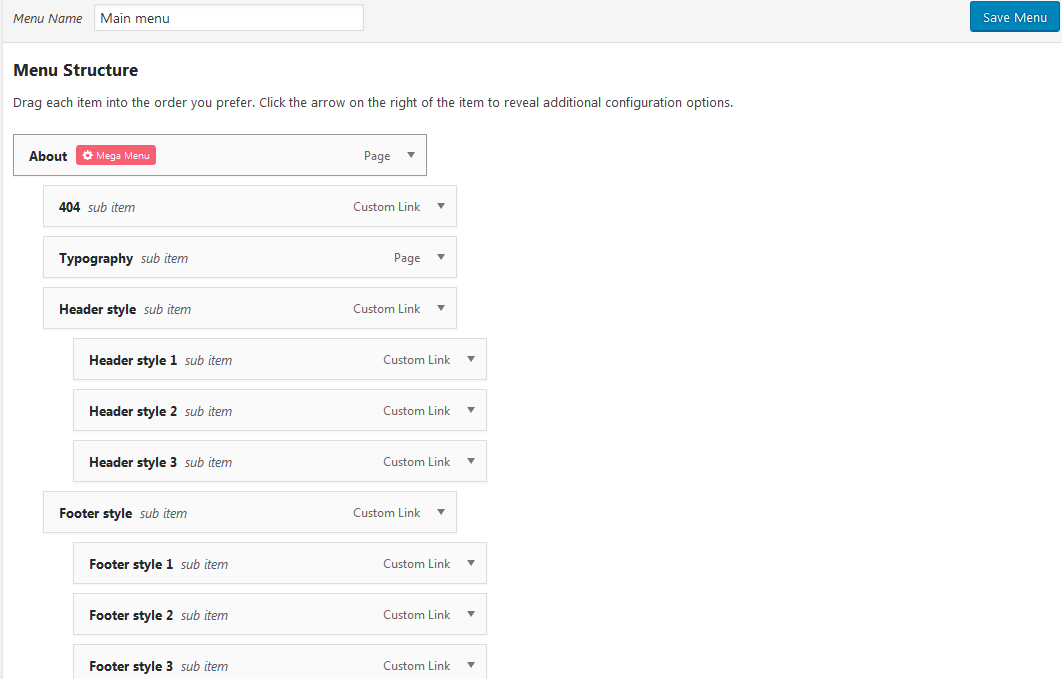
This TM Mega Menu plugin allows you to create multi-column menu drop-downs. It also lets you display necessary information in the main menu.
After the plugin is installed and activated, you can navigate to Appearance > Menus in the WordPress dashboard. Hover over the menu tab and click the Mega Menu icon.
Here you can work with Mega Menu:
enable Mega Menu for current item
this property allows to enadle/disable Mega Menu for the items of the general menu strusture;
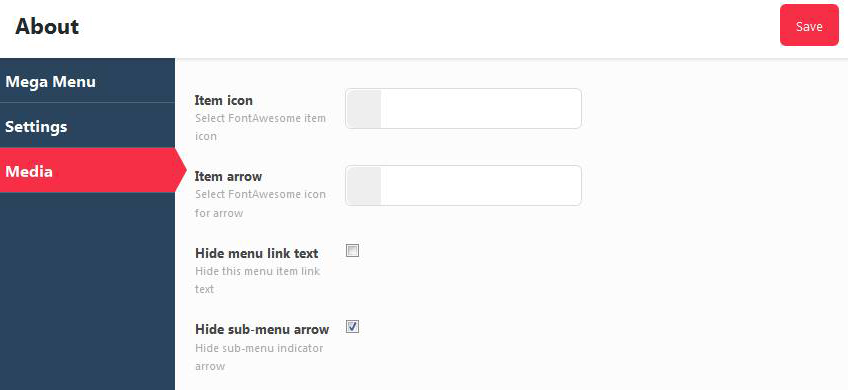
settings
this tab defines subitems behaviour: here you can group sub items to columns, define the number of columns, container columns number; here you can also set layout and position for the current Mega menu;
media
this tab allows to select item icon, item arrow, show or hide menu link text, show or hide sub-menu arrow.
TM WooCommerce Ajax Filters
TM WooCommerce Ajax Filters plugin helps to implement the filters that are necessary to make the search of products much easier. When the Ajax Filter is working, the products will be displayed in accordance of the filter that was selected. The plugin makes it easy for customers to find all the necessary goods they are looking for.
TM WooCommerce Compare Wishlist
TM WooCommerce Compare Wishlist
is designed as an addition to the TM WooCommerce Package and gives your store even more functionality. With its help visitors will be able to add various kinds of products to the wishlist and compare pages. The plugin actually combines two separate widgets and installs them with a single click of a mouse.
TM WoooCommerce Package
This
TM Woocommerce Package
from Zemez. It brings a set of widgets that will help you make the site work to the full potential.
Here is the full list of widgets available:
about store widget;
banners grid widget;
custom menu widget;
product categories widget;
products carousel widget;
products smart box widget.
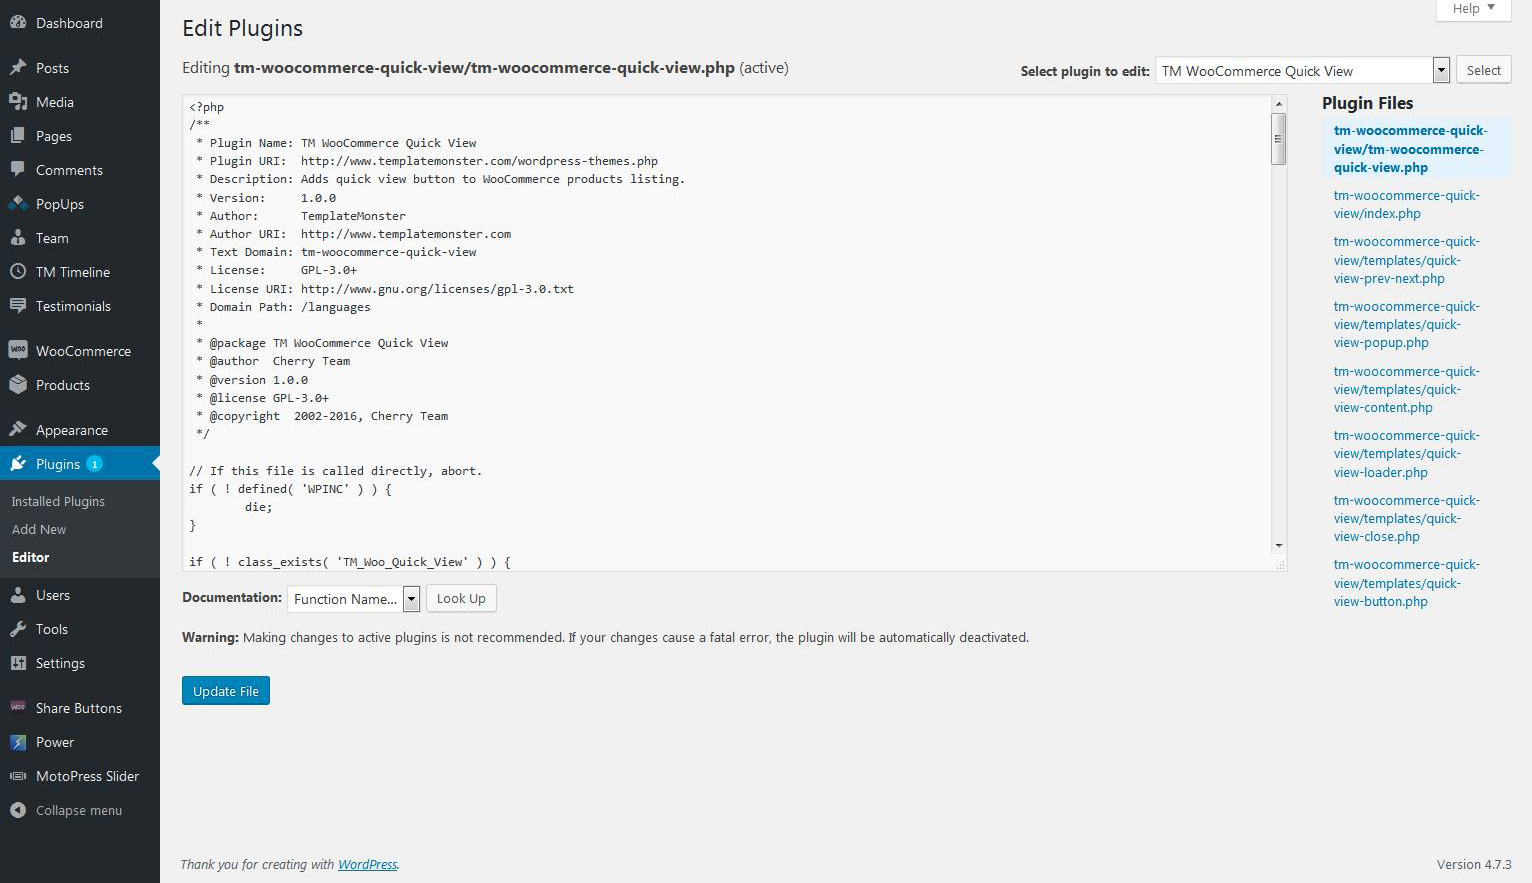
TM WooCommerce Quick View
TM WooCommerce Quick View plugin helps to add Quick View button to the blocks where WooCommerce products are listed. It makes the process of choosing the product much easier for the customers so that they can view the products much quicker.
WooCommerce
Sell any products quickly and easily with the help of this professional
WooCommerce plugin
It will be a perfect fit for both store owners and developers.
About 30% of all modern stores are powered by this plugin. It can be used for selling physical or digital products and even affiliate goods. It gives you access to hundreds of free and premium extensions that will help you optimize your business. Choose a proper extension to create bookings, memberships, recruiting subscriptions, various shipping and payment options and much more.
This WooCommerce plugin gives you full controll of the store from managing taxes and customer accounts to changing the design.
Installing WooCommerce:
log in to your WordPress Admin panel;
go to Plugins > Add New;
type WooCommerce into the Search Plugins field and hit Enter. Once found, you can view details on the point release, rating and description;
click Install Now. After clicking the link, you’ll be asked to confirm this action;
click Yes, and WordPress completes the installation.
WooCommerce Menu Items
orders
this section allows you to see and manage all orders;
coupons
in the Coupons sections site owners can create various kinds of discount campaigns and coupons to provide customers with the top of the line service;
reports
reports section gives you statistics on sales, coupons, campaigns, etc;
settings
configure the WooCommerce plugin from this section;
system status
this section will become in hand during troubleshooting. The System Status Report gives you all information of the plugin setup and all potential conflicts;
add-ons
in this section you can browse for some new free and premium extensions that will bring even more functionality to your site;
booster tools
information about all available WooCommerce tools can be found in this section. The enabled tools will be displayed in the right column.
Download WooCommerce Currency Swircher to your plugin directory or simply install it via WordPress admin interface.
Activate the plugin using Activate option under the plugin on Installed Plugins page.
To use Currency Switcher, please, navigate to WooCommerce > Settings tab on the left of the Dashboard and locate Currency tab in the top settings panel. Here you can manage currencies. To learn how to use Currency Switcher, please, proceed to reading plugin documentation.
NOTE: You can use any two currencies in the free version of the plugin (by default, it is EUR and USD, but you can change them to your needed currencies). However, You can get a premium version in order to add more currencies to the switcher.
This WordPress Social Login plugin allows your website readers and customers to register on using their existing social accounts IDs, eliminating the need to fill out registration forms and remember usernames and passwords. Also, it gives opportunity to control your users access to your website as well as to import users contact list from Google Gmail, Facebook, Windows Live and LinkedIn.