Buy
Become a Happy Owner
Prepare
Find Out How to Get Ready
Install
Experience the Simplicity of Installation
Customize
Create a Unique Style
Create
Feel Free to Share Your Ideas
Enjoy
Let our Themes Bring You Happiness!
Buy
Become a Happy Owner
A Buyer's Roadmap
Choose
To buy a theme is a great idea!
Are you a professional web-studio or developer looking for a perfect template? Or you awant to have a personal blog or a web page for your business? We have everything you need to bring your business online!
Go to templatemonster.com and find out how many remarkable templates we have for you. All you have to do is to add to cart the most suitable theme for you!
Pay
Pay and enjoy all the benefits!
You can easily choose the payment method that's more convenient for you

Or you can use another payment method if it is available on the marketplace.
Get
Get your order in the blink of an eye!
Check your e-mail box for a letter with all the necessary order details and download a theme in a .zip archive.
Prepare
Find Out How to Get Ready
Get a Domain Name
Are you a professional web-studio or developer looking for a perfect template?
Or you awant to have a personal blog or a web page for your business? We have everything you need to bring your business online!

Choose a Hosting
Before buying a template you must have surveyed the various hostings which provide space for your future site.
If you still are looking for a perfect hosting place pay attention to the most popular ones,
which are used by millions of clients:
You can also use other hostings if you're feeling like doing it.
We recommend you to pay attention to those which are more reliable and have good reputation among customers.
Make sure that your host supports the following necessary requirements:
- The mod_rewrite Apache module;
- PHP 5.4 or higher;
- MySQL 5.5 or higher;
- The php fopen Apache module;
- The suPHP Apache module;
- 50 MB of disk space;
- Memory limit per process: 64mb (128mb or more recommended).
To unpack and install the theme on hosting you'll need the following software:
- Apache Server;
- For upcommpressing a template ZIP package: WinZip 9+ (Windows); Stuffit Expander 10+ (Mac)
Create a Database
The next step after buying a hosting is to create a database where your WordPress engine will be installed.
- To do this you need to go to the hosting control panel (CPanel).
- Enter the name for your future database.
- Add a new user.
- Add a user to a database.
- Select all the privileges for futher managing it.
For more information visit Database Installation guide.
Now you are ready to upload files to your server and install WordPress engine!

Install WordPress
You can install WordPress automatically by the means of cPanel or manually by uploading it from FTP manager.
When WordPress engine files are uploaded to your server root directory, you can proceed to WordPress installation itself.
Enter in your browser address bar the following address: http://mywebsite.com/wp-admin/
The link will start the installation process. Make sure that you’ve already created a database and know its name and have access to its password.
To learn how to install WordPress Engine in details proceed to WordPress Installation tutorial.
Install
Experience the Simplicity of Installation

Installation:
Simpler Than You Might Think
Theme installation can be as easy as breathing! How? By the means of Cherry Theme Wizard! This wonderfully helpful plugin can install a template and all the necessary plugins together with demo content for it! Get prepared for the really fast and easy installation, and check the Guide to make sure it will all work out!
Just install and activate Cherry Wizard plugin. It will make all the work for you!
You can also install the theme, plugins and sample data manually. Please, check the Guide to find out how to do it correctly.
Customize
Create a Unique Style
Website's customization can be a piece of cake if you know what to do and where to look!
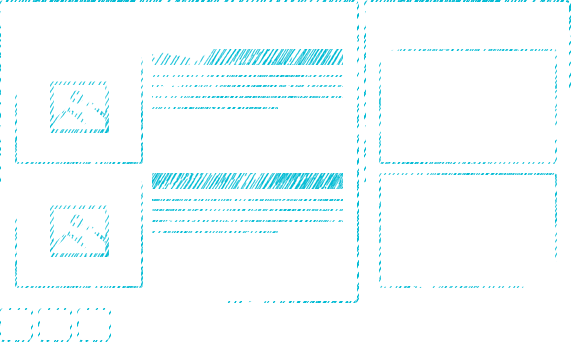
To find out how it's better to customize your website and know about all the advantages click on the button below. An improvised website map will open offering you hints and useful tips about managing your website's elements.







Create
Feel Free to Share Your Ideas
Feel free to enrich your website with the variety of posts, pages and other elements, which are the cornerstones of its structure and content!
You Can Add:
Revel in the opportunity to tune up your website and deliver your ideas with the help of professional instruments avaliable to you!
Enjoy
Let our Themes Bring You Happiness!
It’s Not Only a Website that You Buy.
It is Your Success!
Welcome the opportunity to get the easy-to-manage full-fledged website!
Buy Now!