Easyjet
Template Installation
If you don't want to spend your time installing the template, don't hesitate to order installation service using our live-chat.
Zemez theme is built as a WordPress theme, so you need to have WordPress engine installed first. If you have not installed it yet, please refer to the WordPress Installation section.
WordPress Installation
- You can use the Download WordPress button on the main page of the official website to get the most recent version of WordPress;
- Extract files from the downloaded WordPress engine package. Check the following tutorials to unpack the archive:
- WinZip Downloading and Installation;
- Archived Files Extraction;
- Archived Files Extraction for Windows;
- Template Extraction on MAC OS.
- Creating a Database;
- Creating Database Manually;
- Creating MySQL Database with GoDaddy;
- Creating a Database with SiteGround;
- Creating a Database with JustHost Server;
- Creating a Database with BlueHost Server.
- Open your web browser and type in your domain name (or your domain name / subdirectory) and click Enter;
- The first page of installation will appear. Click Create a Configuration file;
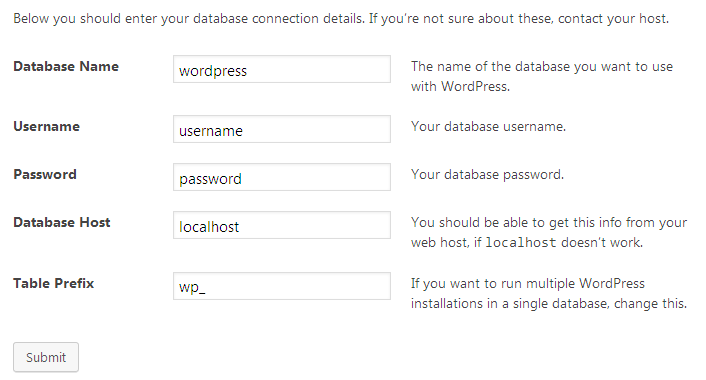
- Click Let’s Go button and fill in Database Connection Details:
- Fill in the fields with Website Details as shown below:
- Click Install WordPress button.
- Manual WordPress Installation to HostGator Server;
- Manual WordPress Installation to GoDaddy Server;
- Manual WordPress Installation to JustHost Server.
-
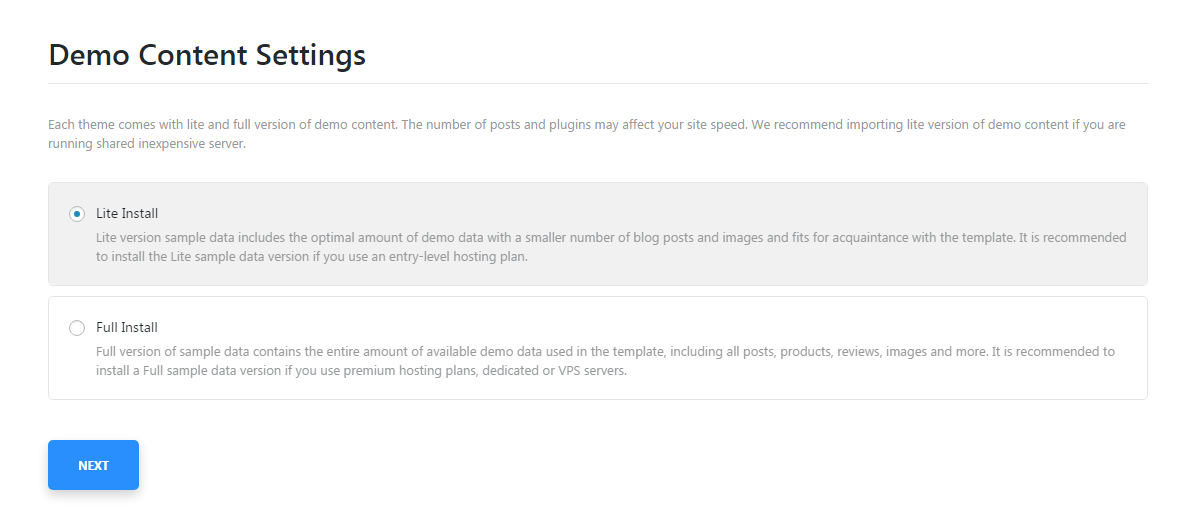
- full version
- contains the entire amount of sample data to be used in the template, it is recommended to install it if you have a premium hosting plan;
-
- lite version
- lite version - contains optimized amount of sample data with the smaller number of posts and images, it is recommended to use it if you have an entry-level hosting plan.
-
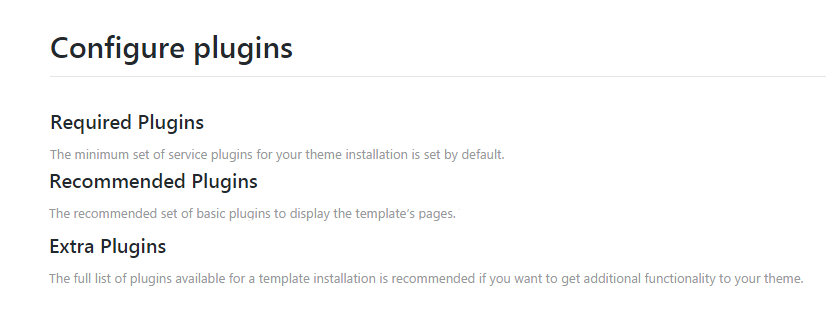
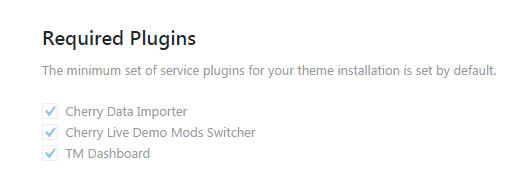
- required plugins
- the category contains the minimal list of service plugins needed for your theme;
-
- recommended plugins
- in the category you can view the recommended set of basic plugins needed to display the template’s pages. If you don’t install them, some sections of your website will not be displayed;
-
- extra plugins
- the category lists the plugins that are available to use together with your template and may be needed for the additional functionality of your theme.
-
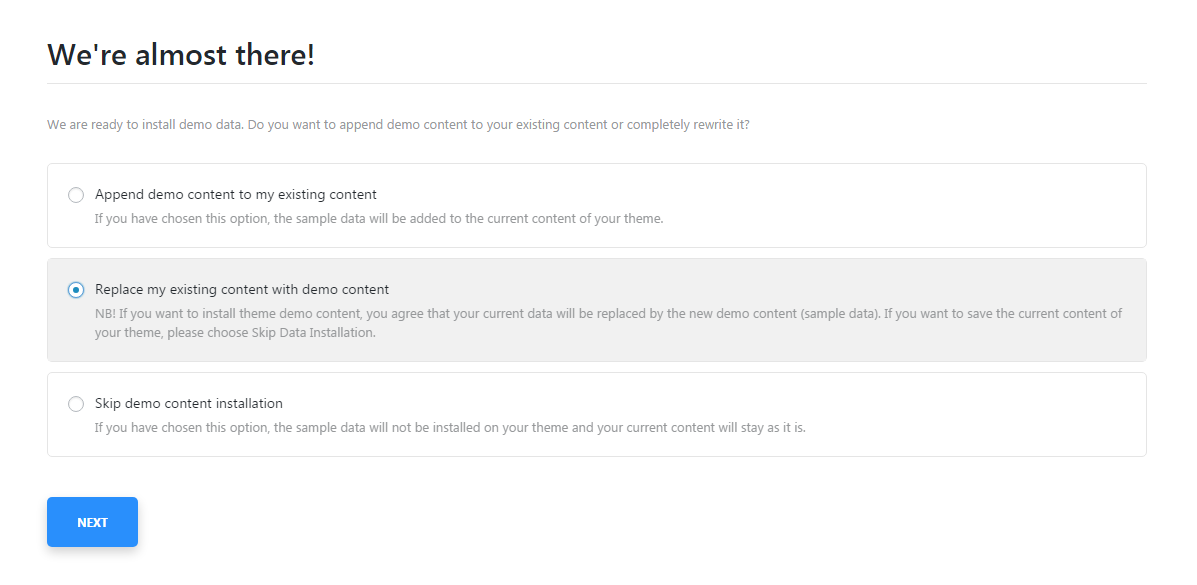
- append demo content to the existing content
- this way the new sample data will be added to the existing one;
-
- replace the existing content with demo content
- this option will delete your existing content and will install the new sample data instead of it;
-
- skip demo content installation
- choose this option if you don’t want to install demo content and you want to keep the already existing one.
- Unzip the theme-name.zip files to any folder on your hard drive (first, right-click each of the .zip files, select Unzip to theme-name respectively, so you get the one folder called theme-name).
- Upload the theme-name folder to the /wp-content/themes/ directory on your FTP server.
- Log in to your WordPress admin panel (add /wp-admin after your domain name in the browser address bar).
- Go to the menu Appearance > Themes .
- Under the Available Themes section find theme-name and activate it by clicking the Activate button.
- install plugins from theme/(your theme name)/assets/includes/plugins;
- go to Wordpress.org and download the necessary plugins;
- go to plugins tab on your administration panel and click on add new button;
- you will see the the search field that can help you search the necessary plugins by keywords, you can install them from your administration panel at once;
- you can also upload the plugins from your PC if you already have them on your computer in .zip format. Just click on upload plugin button and choose the needed files.
-
Open the theme/manual_install folder of your downloaded template package.
-
Upload the uploads folder to the wp-content directory of your WordPress installation, accept folder(s) replacement. Please note that your images may be replaced with sample images.
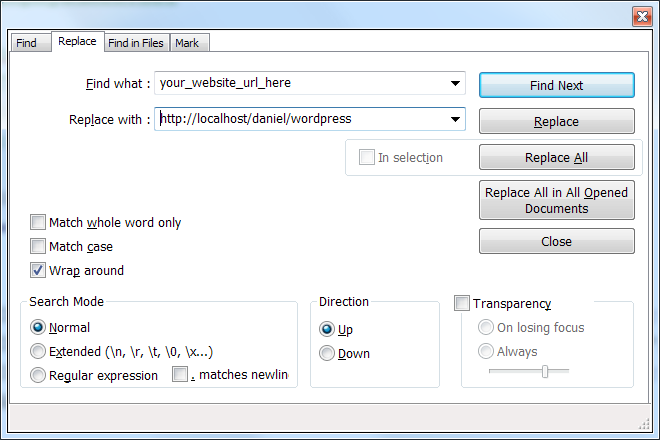
- Open the theme-name.sql file that is located in the theme/manual_install folder in any text editor (preferably Sublime Text or Notepad) and replace all instances of your_website_url_here with your website URL in the entire document using the Find and Replace tool (hit Ctrl+H hot keys to open this window). E.g.: http://www.mywebsite.com. Please, make sure that you do not have the forward slash / sign at the end of the address and the url starts with http://www. Save your changes and close the file.
-
Open the theme-name.sql file that is located in the theme/manual_install folder in any text editor (preferably Sublime Text or Notepad) and replace all instances of your_website_url_here with your website URL in the entire document using the Find and Replace tool (hit Ctrl+H hot keys to open this window). E.g.: http://www.mywebsite.com. Please, make sure that you do not have the forward slash / sign at the end of the address and the url starts with http://www. Save your changes and close the file.
-
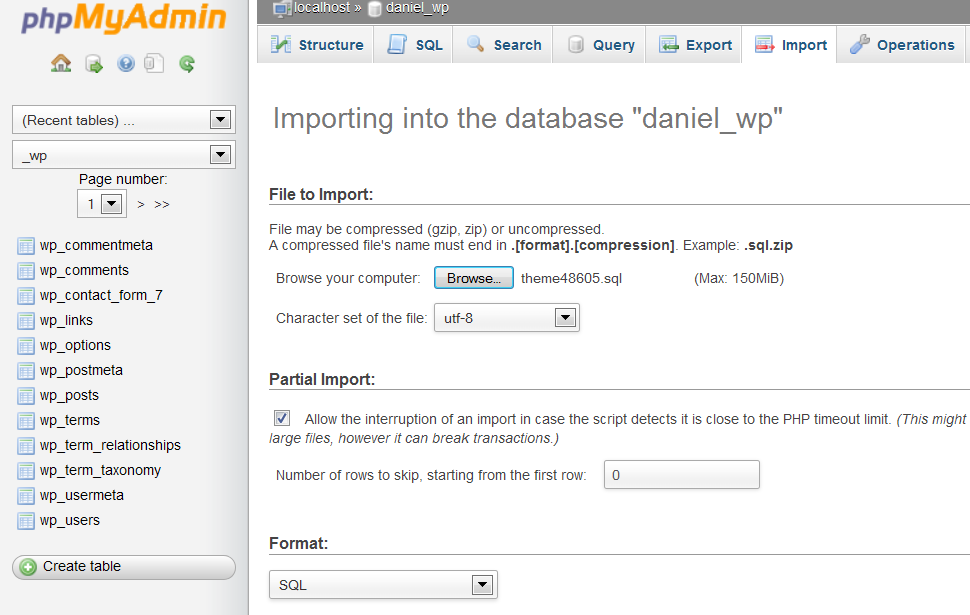
Now you can import the dump file with the phpMyAdmin tool or some other database management tool.
-
Open your WordPress database using a database management tool. Usually, the database tool is called PhpMyadmin.
-
Go to the Import tab and import the .sql file.
-
Go to Settings > Permalinks .
-
Click the Save Changes button.
Refresh your home page. That’s it, the template has been installed with demo sample content.
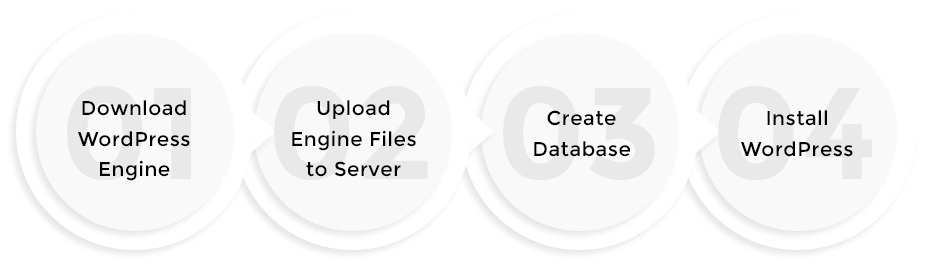
Step 1. Download WordPress Engine:
Step 2. Upload the extracted files to hosting server:
WordPress engine files should be uploaded to the root directory on your server. It is usually named www or public_html.
The following tutorials will help you:
Step 3. Create a database for the WordPress platform:
A new database can be created in your Hosting Control Panel. You can check the following tutorials and select which way is preferable to you:
Step 4. Installing WordPress:
It is recommended to use the default "wp_" database table prefix for the proper sample data installation.
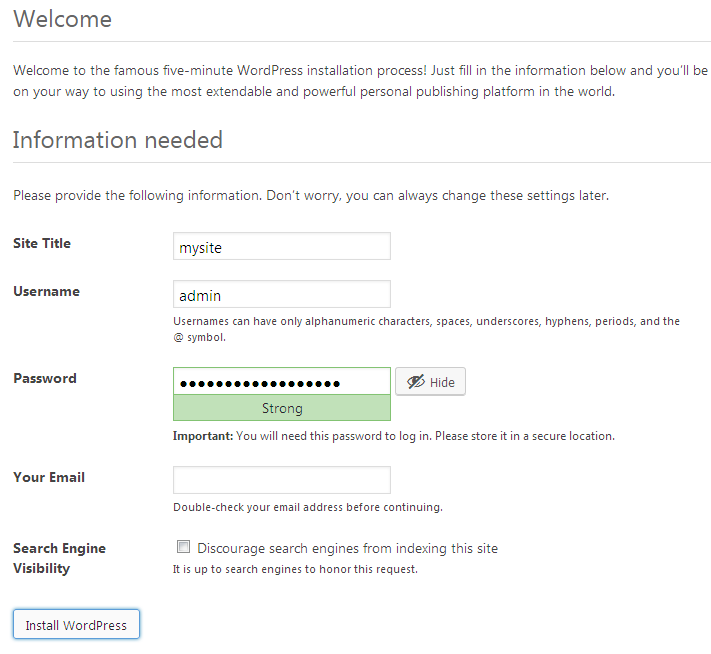
If you have entered the correct details, you will see a successful installation message and the WordPress dashboard access button.
Useful Tips:
Theme Installation
Now you can proceed to theme installation: lairom.zip (here and after theme-name.zip). Follow the steps listed below:
1. Extract the template package.
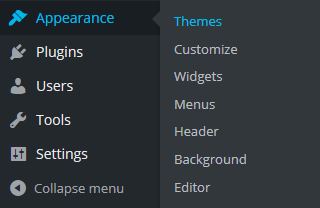
2. Navigate to the Appearance > Themes section at the admin panel of the site and open the theme folder.
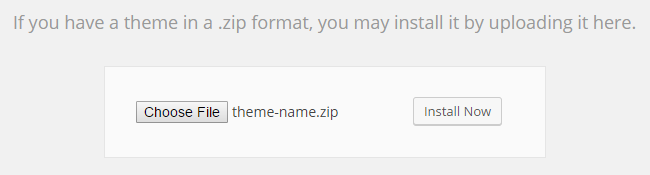
3. Locate the archive named as theme-name.zip and install the theme by pressing Install Now.
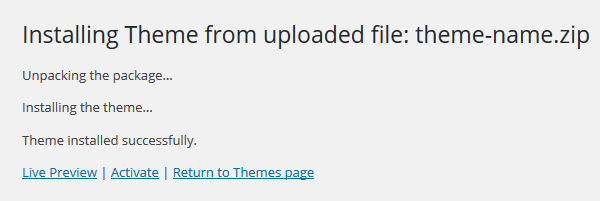
4. Next please press on Activate link.
Cherry Wizard Plugins Installation
After theme activation you will get a notice which offers you to install TM Wizard Plugin.
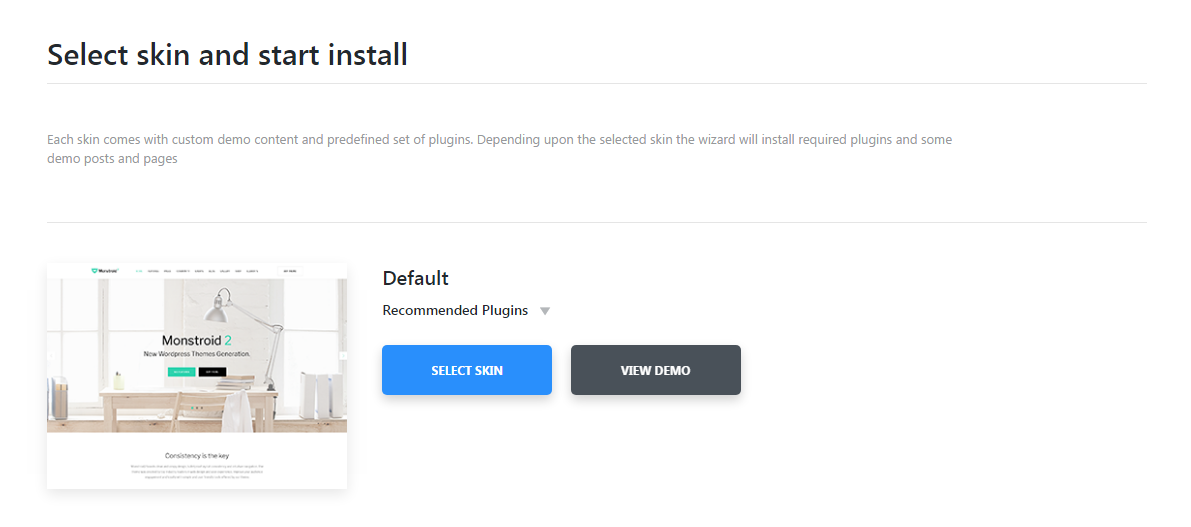
Right after the theme was installed you’ll see a new window offering you to select skin and start installation. Select the skin you prefer the most, view the list of recommended plugins and proceed further.
The next step will offer you to choose how you want your demo content to be installed. It can be installed in two ways:
After that you’ll be led to Configure Plugins menu, where you’ll be able to view the list of plugins before installing them to your theme.
The list usually contains such plugins categories:
After you’ve chosen the plugin categories you want to install, you will be immediately led to the installation. You’ll be able to monitor it by observing the indicators and the process bar.
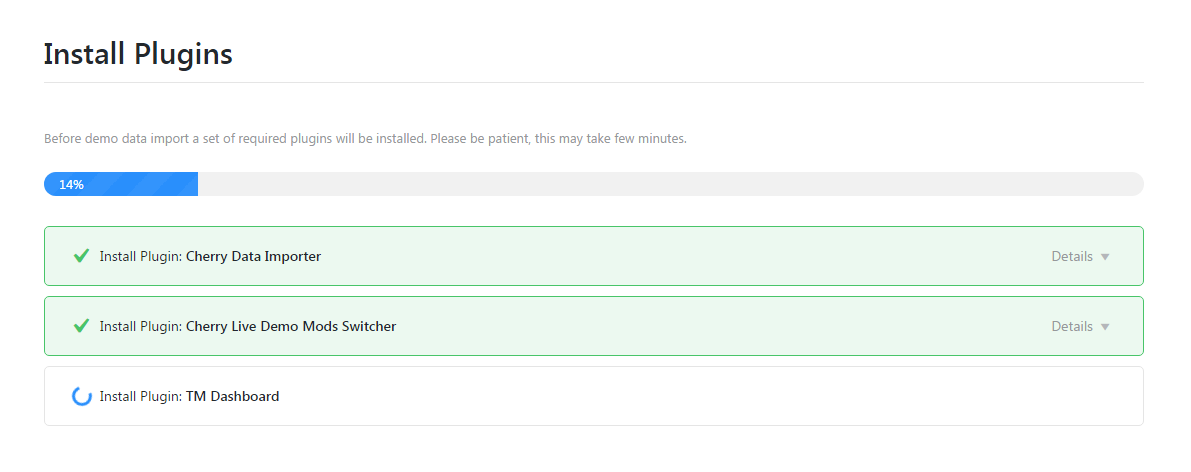
When the installation will be complete you’ll see the latter notice:

Cherry Wizard Demo Content Installation
The next step will be to install demo content that comes with your theme. It usually adds to your theme the necessary content, such as images, posts and other sample data.
A window will appear offering you to:
If you’ve chosen to install the demo content, the next step will lead you to the Importing Sample Data window, where you’ll need to enter your password to start importing (it is the password you usually use when you go to Administration Panel).
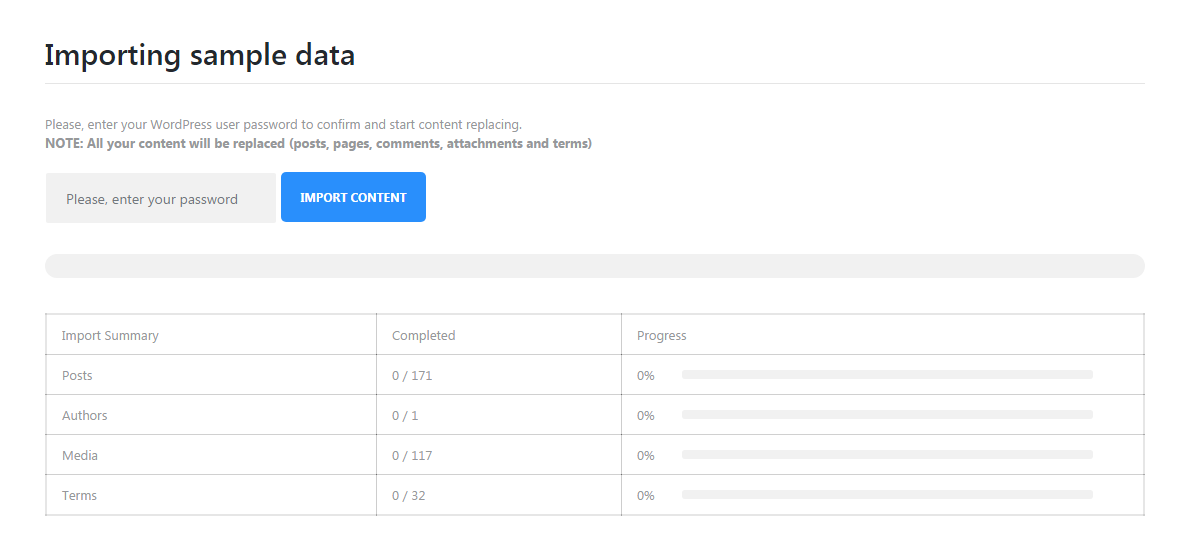
After that you’ll be able to monitor the process of importing sample data. You’ll see the bars that will show the progress.
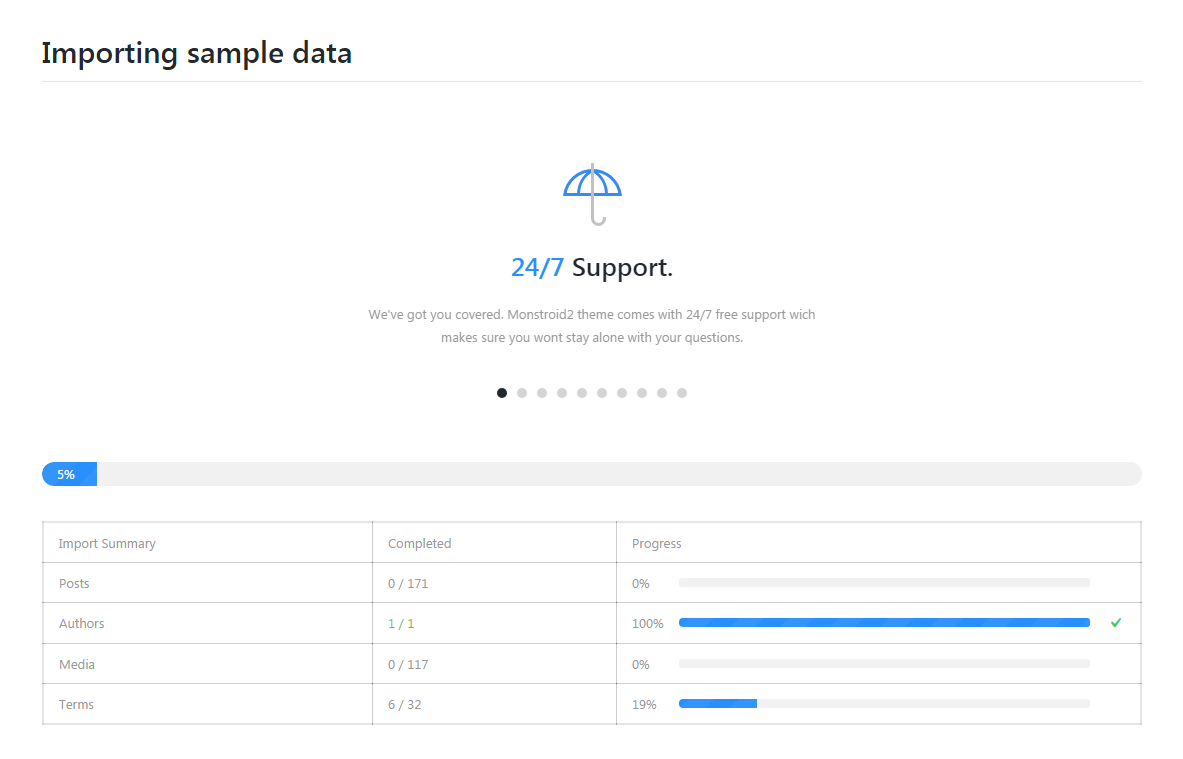
When the demo content will be successfully installed you’ll see the latter notice.
Now you can view your website or proceed to the further customization!
You can also install the theme manually. If you don't want to use Cherry Wizard just follow the steps listed below.
1. Extract the template package.
2. Navigate to the Appearance > Themes section at the admin panel of the site and open the theme folder.
3. Locate the archive named as theme-name.zip and install the theme by pressing Install Now.
4. Next please press on Activate link.
Manual Installation
To use this method, you need to have access to your WordPress site files on FTP through the File Manager of your hosting control panel or an FTP client like Filezilla, CuteFTP, Total Commander, etc.
Manual Plugin Installation
If you need to install plugins manually, you can do it this way.


Manual sample data installation
For installing the sample data manualy please follow the instructions listed below.