Cosmetro
Template Installation
If you don't want to spend your time installing the template, don't hesitate to order installation service using our live-chat.
Zemez theme is built as a WordPress theme, so you need to have WordPress engine installed first. If you have not installed it yet, please refer to the WordPress Installation section.
WordPress Installation
Download the required WordPress version. You can check which release is required on the template preview page in the requirements list. Make sure you download the correct version.
You can download the WordPress platform on the official WordPress.org website: WordPress versions archive. Once the platform is downloaded, you’ll need to unpack the files. You can use any file archiver that supports ZIP format to unpack the ZIP file.
These tutorials will show you how to unpack the archived files, if you have Windows OS (using WinZip) and if you have MAC OS (using StuffitExpander):
- WinZip Downloading and Installation;
- Archived Files Extraction;
- Archived Files Extraction for Windows;
- Template Extraction on MAC OS.
Once the WordPress platform files and folders are unpacked, you need to upload them to the hosting server.
Upload the files and folders to the server into the PUBLIC_HTML or WWW directory.
If you can’t find the PUBLIC_HTML or WWW directory on your hosting server, contact your hosting provider and find out where you should upload the website files to.
You can also take a look at these tutorials that give detailed information on how to upload the files to a hosting server:
Next, you need to create a database for the WordPress platform.
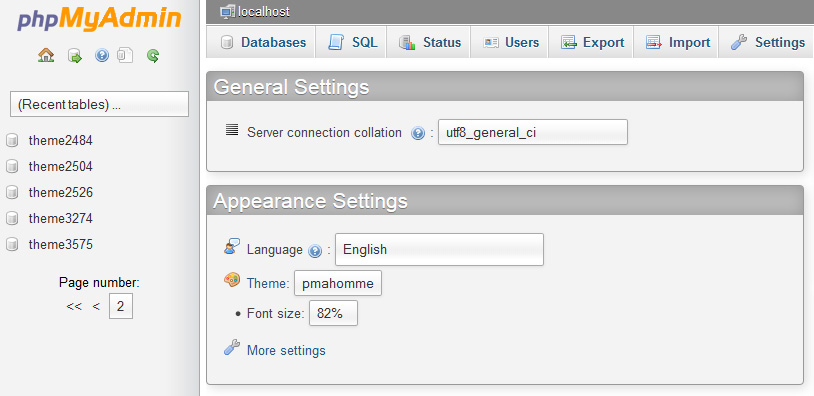
You can create it using the database management tool in the hosting cpanel (usually it is PhpMyAdmin). With the help of phpMyAdmin you can create a new database in 3 simple steps (check the slides below):
- Click the Database button at the top navigation menu to see the list of databases.
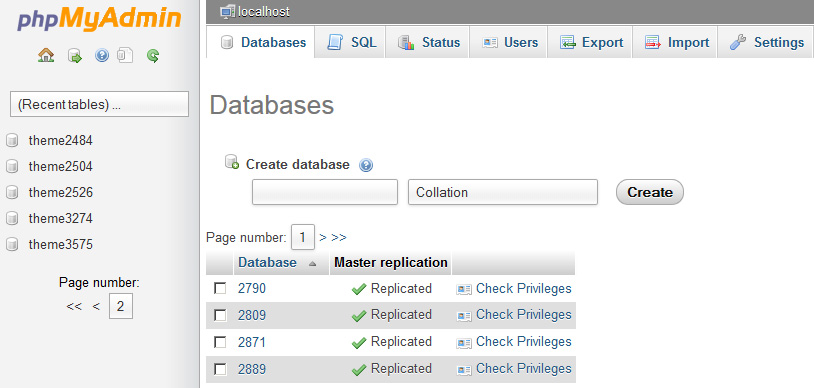
- Enter database name in the Create new database field.
- Click the Create button.
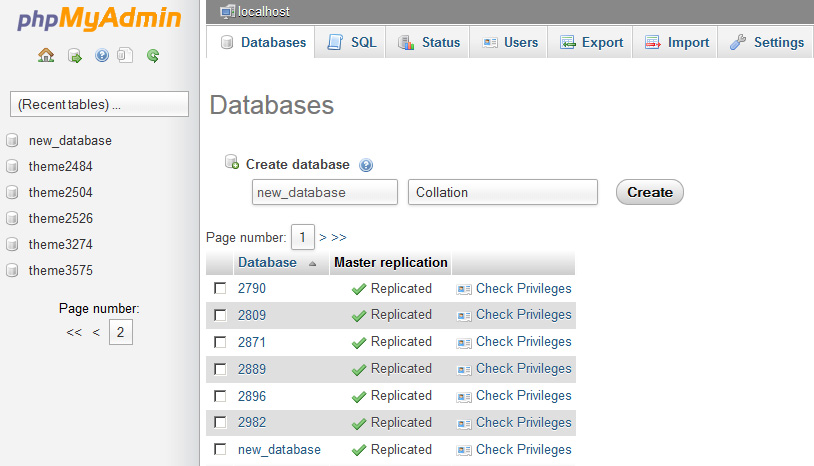
You will see the new database in the list now. Click on its name to access it.
If you face any difficulties while creating the database, contact your hosting provider for tech support.
You can also check the following tutorials:
Enter the WordPress directory path into the browser address bar and click Enter. WordPress installation will begin.
Creating the Configuration File
WordPress installation screen will inform you that the configuration file is missing. Click Create Configuration File to create it.
Database Details
Please note that the prefix of WordPress database tables should be wp_.
You need to enter the WordPress database connection details here.
Website Details
You need to enter the next details:
- website name;
- administrator login and password;
- website e-mail.
Click Install WordPress.
If you have entered the correct details, you will see a successful installation message and the WordPress dashboard access button.
You can also take a look at these video tutorials:
- Manual WordPress Installation to HostGator Server;
- Manual WordPress Installation to BlueHost Server;
- Manual WordPress Installation to SiteGround Server;
- Manual WordPress Installation to GoDaddy Server;
- Manual WordPress Installation to JustHost Server.
Manual Installation
Now you can proceed to theme installation: theme_name.zip.Follow the steps listed below:
1. Extract the template package.

2. Navigate to the Appearance > Themes section at the admin panel of the site and open the theme folder.
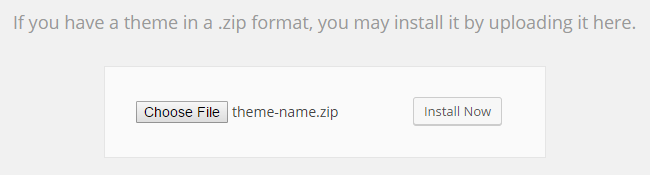
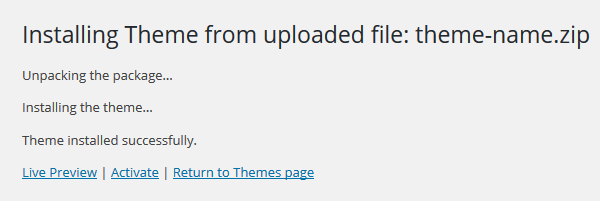
3. Locate the archive named as theme-name.zip and install the theme by pressing Install Now.
4. Next please press on Activate link.
Cherry Wizard Installation
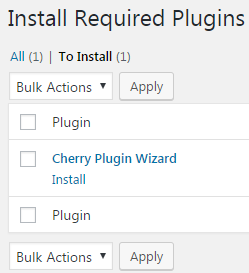
After theme activation you will get a notice which offers you to install Cherry Plugin Wizard. To continue plugins and demo contents installation with Cherry Plugin Wizard just hit Begin installing plugin link. You will be transfered to the page where you can select the needed plugins.

Then please click on Install link.
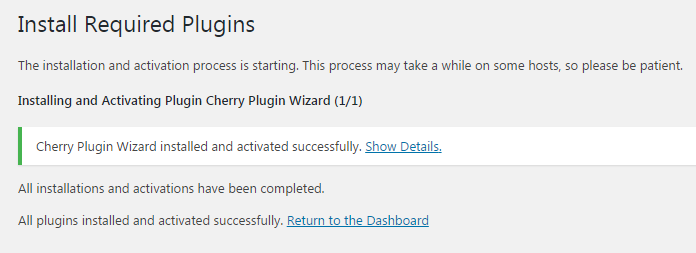
After Cherry Plugin Wizard has been successfully installed and activated click on Return to the Dashboard link
Plugins Installation
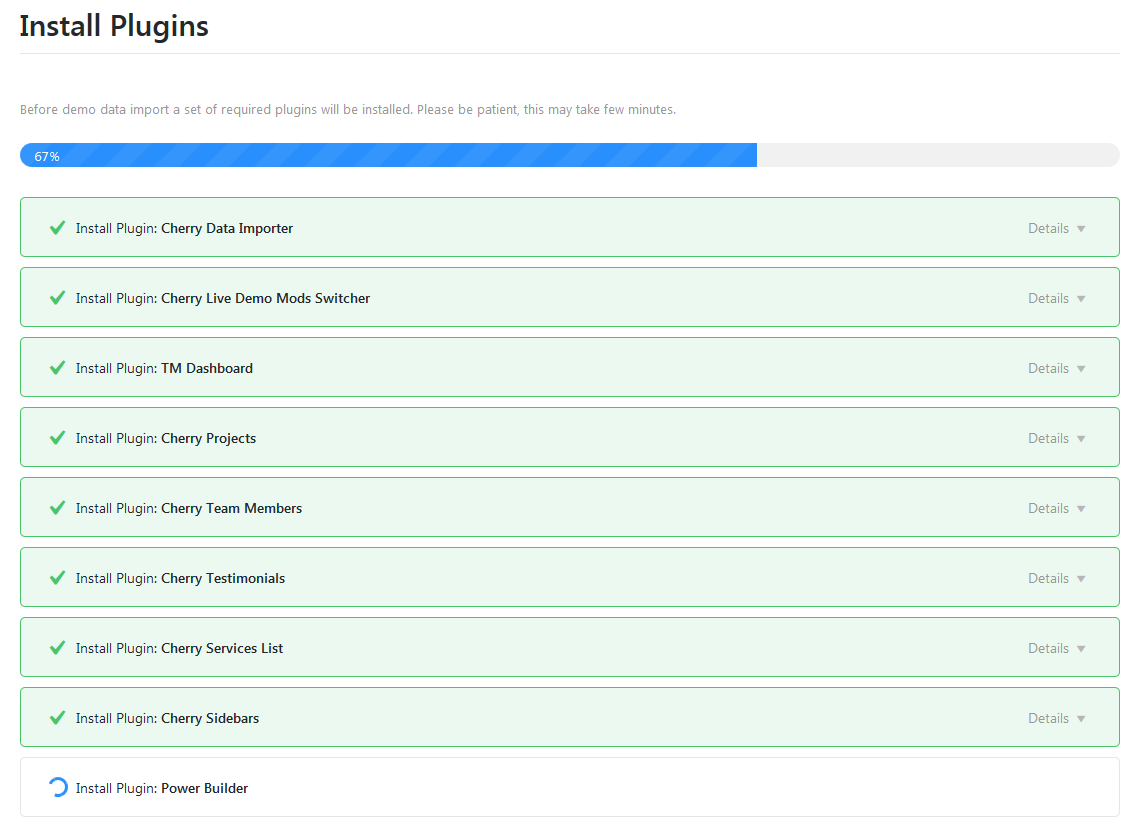
After installation and activation Cherry Plugin Wizard you will get a notice which offers you to continue the plugins and demo contents installation with Cherry Plugin Wizard. Then click on START INSTALL on the top of the page to start installation of the recommended plugins.

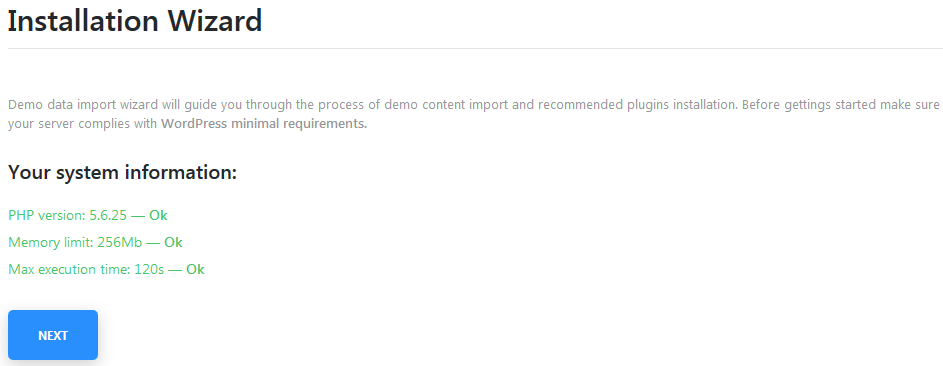
On the Wizard Home page you can check if your server configurations meet WordPress minimal requirements. If any doesnt't meet you can continue the installation process, but it will take more time and can drive to bugs.
If your server configurations meet WordPress minimal requirements please click on NEXT link.
Green Install Plugin box means the installation process has been successfully completed.
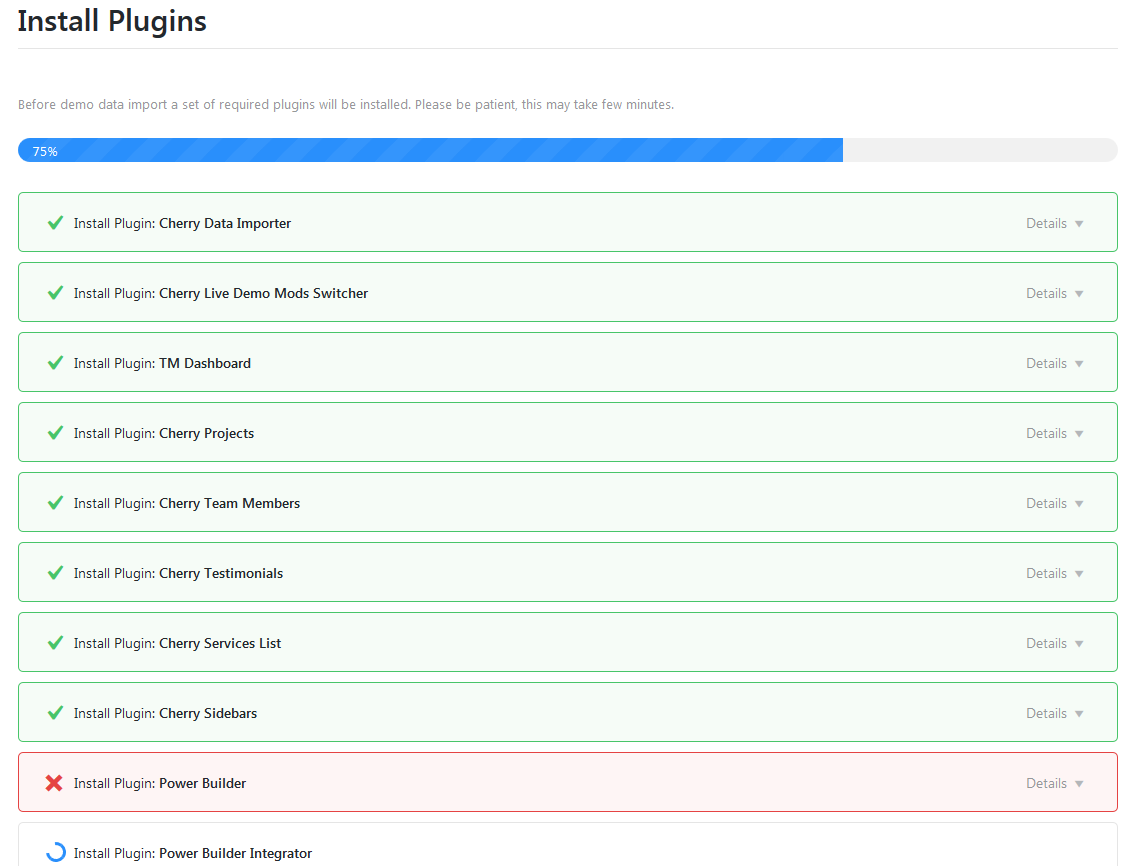
Red Install Plugin box means the installation process hasn't been completed. Press on Details link you will see where is the problem and please refer to Zemez Support Portal.
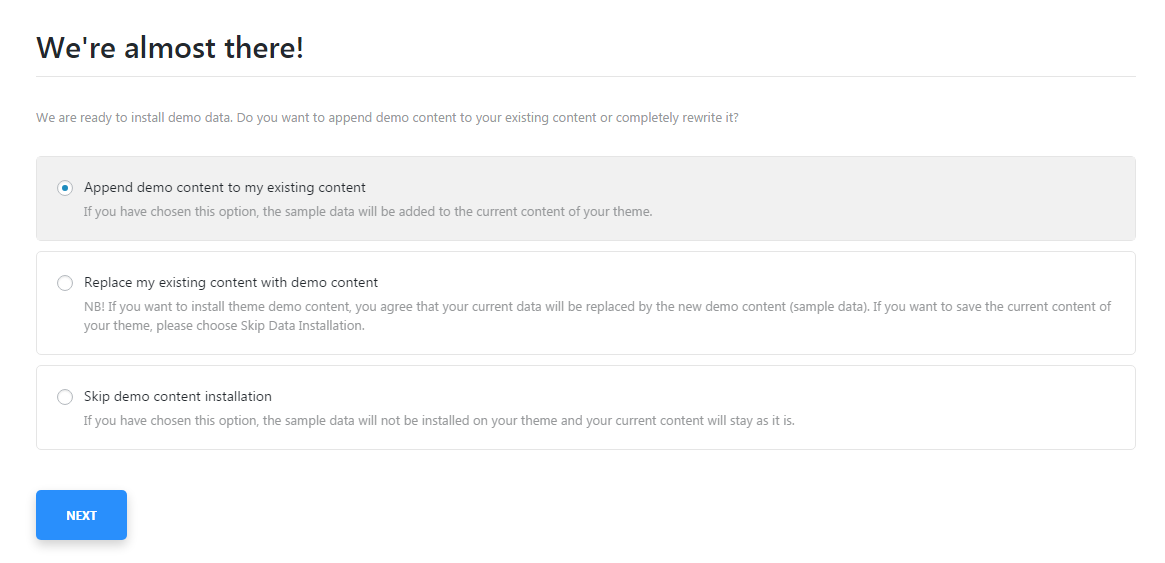
After plugins installation you will get a notice which offers to append demo content to your existing content or completely rewrite it.
When you have taken the option please click on START.
If you select Replace my existing content with demo content your whole content will be completely and irreversibly deleted!
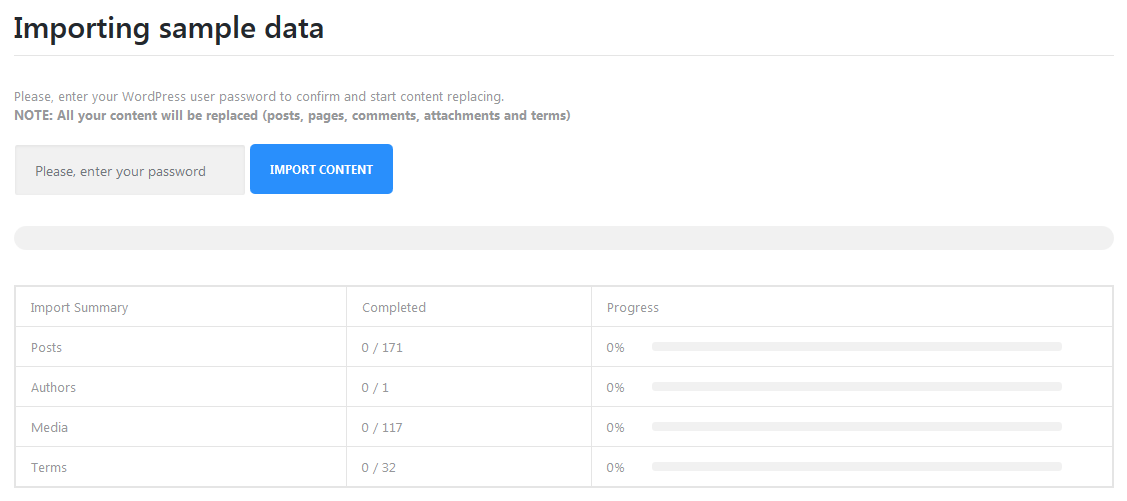
If you select Replace my existing content with demo content you will have to enter your password to confirm and start content replacing and importing sample data will start.
On this step TM Wizard plugin regenerates thumbnails for all imported images. This process may take some minutes.

Import is finished. TM Wizard plugin offers you to select options VIEW YOUR SITE or CUSTOMIZE YOUR THEME.
