JetTabs
Getting Started
This block uncovers the detailed process of preparing templates with Elementor live page builder to embed them into the tabs and accordion blocks created with JetTabs plugin.
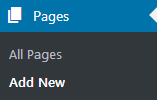
- Navigate to Pages > Add New tab in the left column of the WordPress Dashboard. Click on Edit with Elementor button. You’ll be redirected to Elementor editor page.
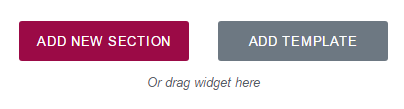
- When Elementor editor will open, you’ll see the block containing Add New Section button at the right part of the screen, where your future page’s draft is displayed.
- Click on Add New Section to add the section, where you will place JetElements module.
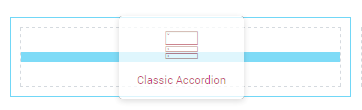
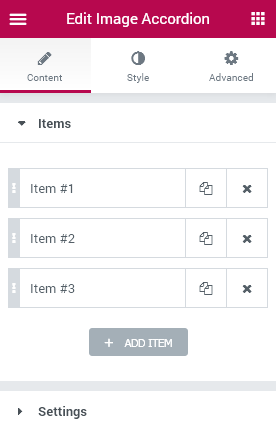
- Now you’re ready to add JetElements modules to the columns. Choose one of the elements you want to add to the page, and drag it to the column area.
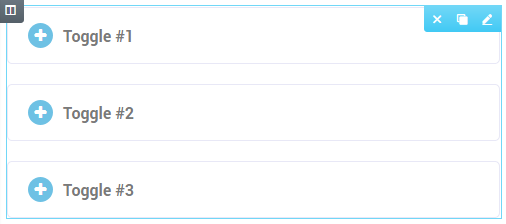
- In the left column you’ll see the element settings. You can manage content, style, or use advanced styling options from here.
Keep in mind, that for different elements the options may vary. Each element has its own styling and content management settings.
- Edit Widget - this option provides fast access to module editing block in the left column of the page editing screen.
- Duplicate Widget - use this option to duplicate the existing module with all its settings and content.
- Remove Widget - this option removes the module from the page.
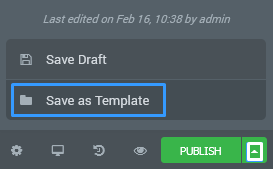
- When everything is ready click the arrow on the right of the UPDATE button and here select Save as Template option.
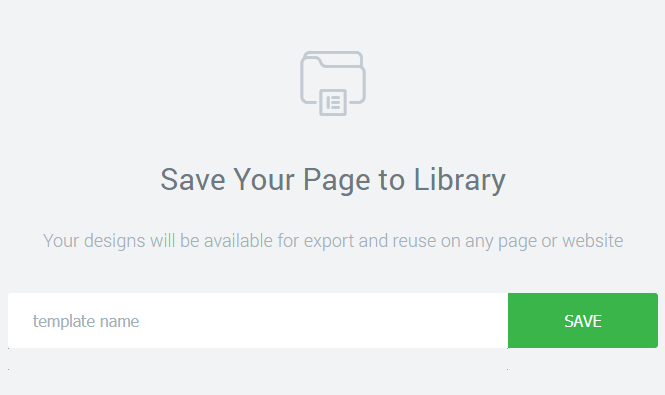
- A Save Your Page to Library popup window will appear. Here input the preferable name in the Enter Template Name field and then click Save button in order to save it for further using.
- Create as many templates as You want to use for different tabs and accordion blocks.