JetReviews
Getting Started
From this block You can learn about how to install JetReviews plugin, change the JetReviews settings and add reviews to the posts and pages using WordPress Dashboard.
JetReviews Installation
This block uncovers the basic steps You need to accomplish to install JetReviews plugin.
- First, navigate to WordPress Dashboard. Here open Plugins > Add New tab and click Upload button located at the top of the opened page.
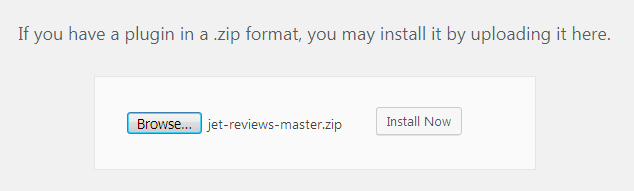
- Browse the archive containing JetReviews plugin and click Install Now button.
Note, that before this step you need to unpack the package downloaded from the marketplace. It contains documentation and the very .zip archive you need to download in order to install JetReviews.
- After that click Activate Plugin button to activate the plugin on Your site.
- Please, make sure that both JetReviews and Elementor plugins are active on Your site. To do it navigate to Plugins > Installed Plugins and view the list of installed and active plugins.

Adding Reviews via Dashboard
From this block you can learn more about adding reviews using the meta boxes via WordPress Dashboard.
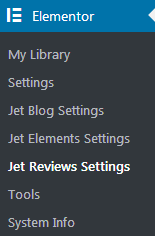
- First, let’s navigate to Elementor > JetReviews Settings tab.
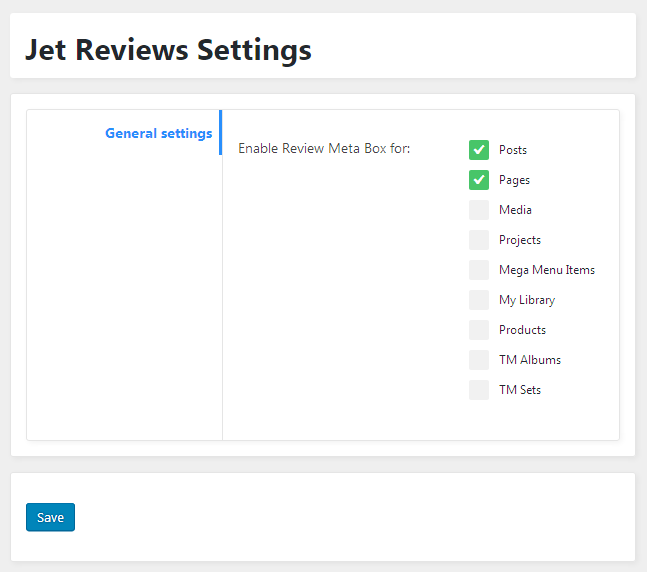
- Here you need to enable the Meta Box for the regular Posts and Pages and for other custom post types, such as Projects, Products, etc. Then click Save button.
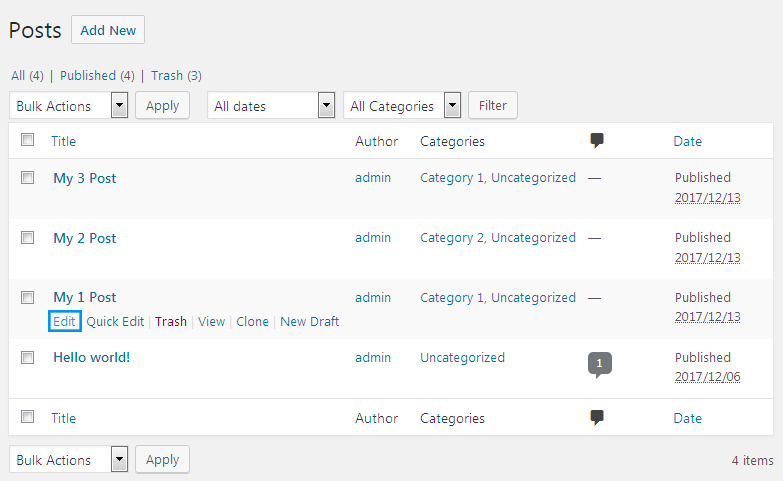
- After that go to Posts and click Edit option under the post to which you want to add a review.
- Scroll the post editing page down and locate the JetReviews block.
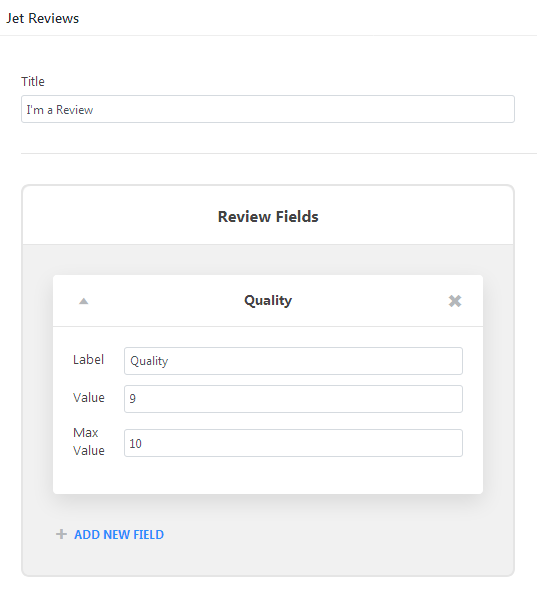
- Here you need to fill in the following fields:
- Title - give the general title of Your Review block.
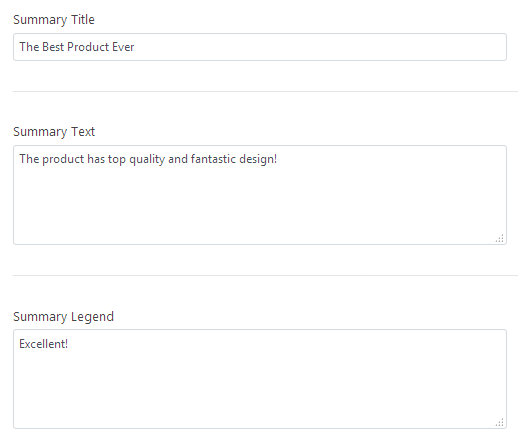
- Summary Title - add the title to describe the conclusion of your review in few words.
- Summary Text - there you can add an explanation (share your opinion about the product, service, etc.).
- Summary Legend - add the text which will show up above the summary value (e.g., Excellent, Good, Poor, etc.).
- In Review Fields click Add New Field option. Here you can add as many fields as there would be reviewed features (e.g., Design, Efficiency, etc.).
- Each Review field has the following additional fields You’ll need to fill in in order to provide information for the post:
- Label - here you need to name the feature you want to mention in the review (e.g., Quality, Design, etc.).
- Value - here you need to define the value which you want to assign to this feature (e.g., 55).
- Max Value - here you need to set the maximum value (e.g., 100, in this case the value will be set as 55 from 100 points).
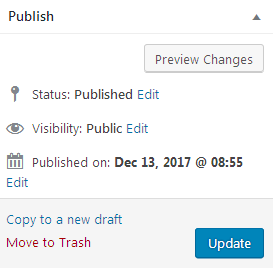
- After that click Update button to save the changes for the post. Well done!
Now we have a pre-made review meta for the post that can be added to the post using Review widget when choosing Post Meta in Review > Content > Content Source dropdown list.
Enabling Reviews from Front-end
From this block you can learn more about the way of adding review form to your post with products and using its features.
Appending and customizing Review widget in Elementor
- First, let’s open the post with products and click Edit with Elementor button.
- Then, find the Review widget in the elements panel and drag it to the post. Now proceed to customize the review form.
- Select Post Meta content source in the Content section.
- Input post ID in order to get data from the post you have chosen.
- Fill in the Get Data From Post field with the ID and click Update.
To define the appropriate post ID go to posts lists on your WordPress Dashboard, hover over the particular post and you will see the address line with the post ID, like post=2221, at the bottom left of the browser.
Setting criteria fields
- Go to the default post editor, where you can see JetReviews fields. Click Add New Field button.
- Type the Title of the review and set the min and max values for evaluation of the product. Then click Update and view your post.
- Also you can customize review form in the Style block in Elementor.