Cherry Popups
Social Networks Login
From this block you'll learn how to enable loging in using social networks, e.g. FaceBook, Google+, etc.
Adding Social Networks Login
To give the visitors an opportunity to log in using social network accounts you'll need to install an additional WordPress Social Login plugin.
Navigate to WordPress Dashboard and locate "Plugins" tab. Open it to find the installed plugin in the list of available plugins. You need to activate it.
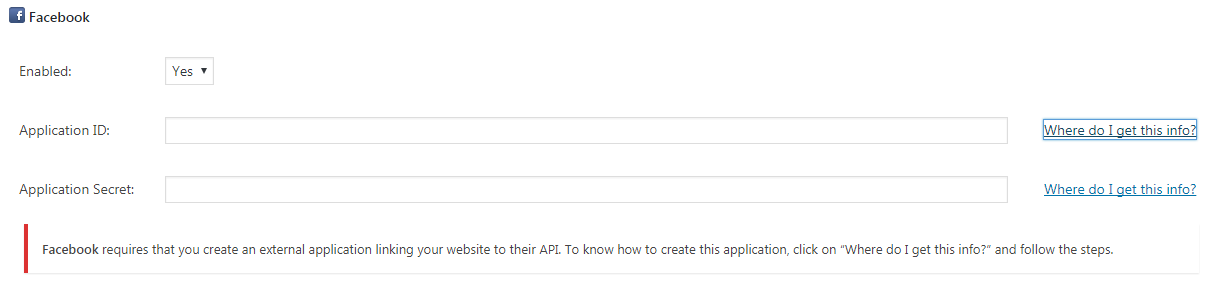
For more information on how to use Social Networks Login plugin, please, navigate to plugin documentation. Here you'll learn how to get an API key, etc.
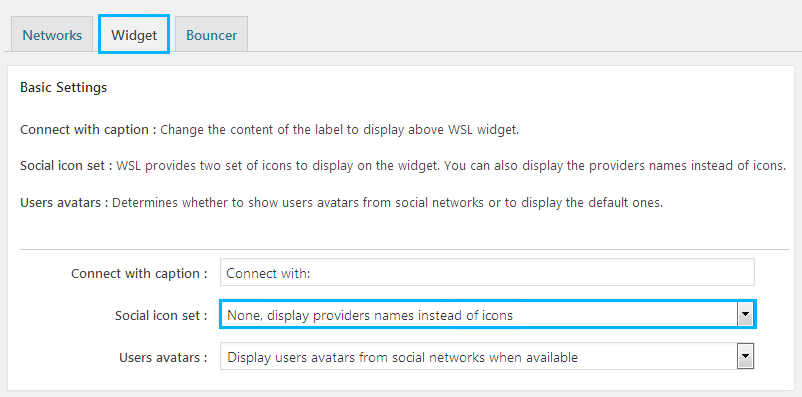
After that navigate to "Settings" block under Social Networks Login plugin. Here you need to switch to "Widget" tab and select "None, display providers names instead of icons" in the "Social icon set" field.
Now your visitors are able to use their social networks for loging in to your website.