Cherry Theme Wizard
Step 2. Preparations. Plugins Installation
The second step includes making all the necessary preparations and installing plugins. It is important to install all the needed plugins for your theme to make it work correctly and enjoy all of its advantages.
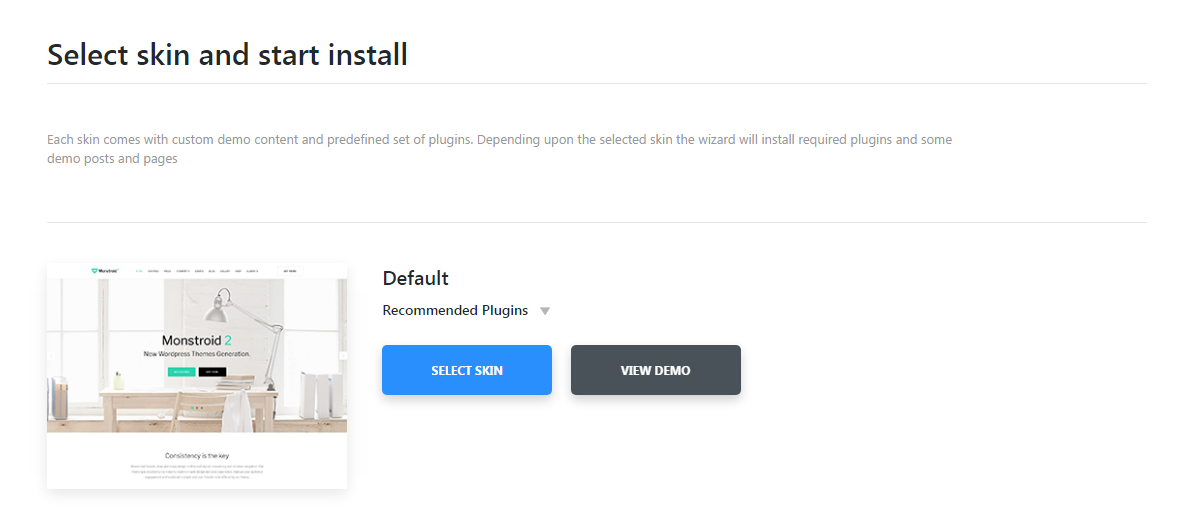
Right after the theme was installed you’ll see a new window offering you to select skin and start installation. Select the skin you prefer the most, view the list of recommended plugins and proceed further.
The next step will offer you to choose how you want your demo content to be installed. It can be installed in two ways:
-
- full version
- contains the entire amount of sample data to be used in the template, it is recommended to install it if you have a premium hosting plan;
-
- lite version
- lite version - contains optimized amount of sample data with the smaller number of posts and images, it is recommended to use it if you have an entry-level hosting plan.

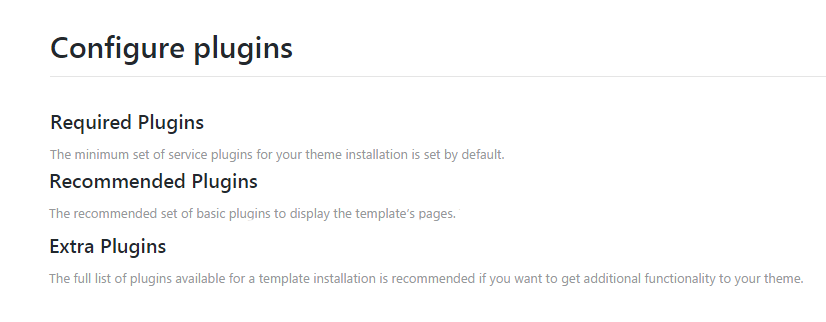
After that you’ll be led to Configure Plugins menu, where you’ll be able to view the list of plugins before installing them to your theme.
The list usually contains such plugins categories:
-
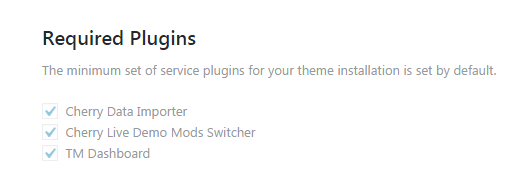
- required plugins
- the category contains the minimal list of service plugins needed for your theme;
-
- recommended plugins
- in the category you can view the recommended set of basic plugins needed to display the template’s pages. If you don’t install them, some sections of your website will not be displayed;
-
- extra plugins
- the category lists the plugins that are available to use together with your template and may be needed for the additional functionality of your theme.
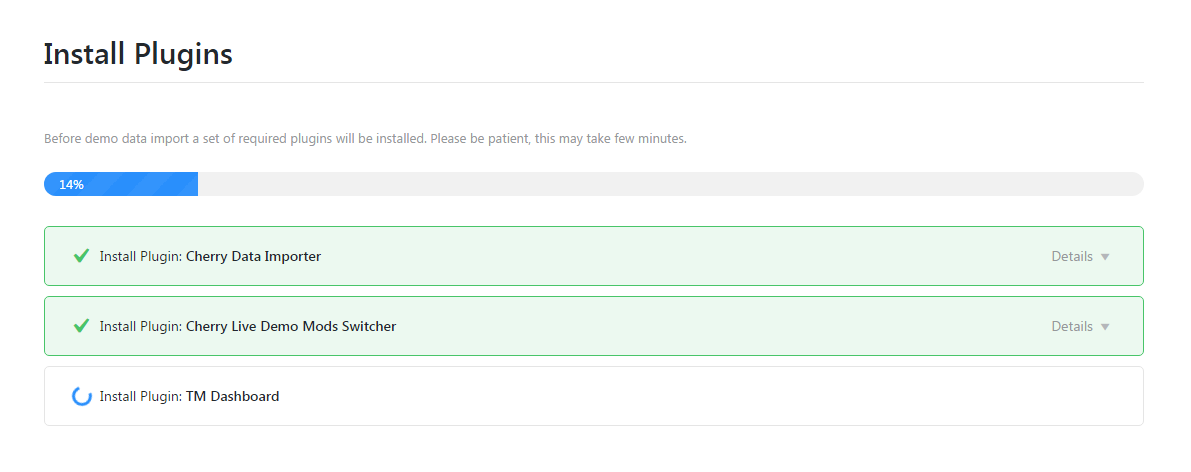
After you’ve chosen the plugin categories you want to install, you will be immediately led to the installation. You’ll be able to monitor it by observing the indicators and the process bar.
When the installation will be complete you’ll see the latter notice:
