Cherry Theme Wizard
Step 3. Demo Content Installation
The next step will be to install demo content that comes with your theme. It usually adds to your theme the necessary content, such as images, posts and other sample data.
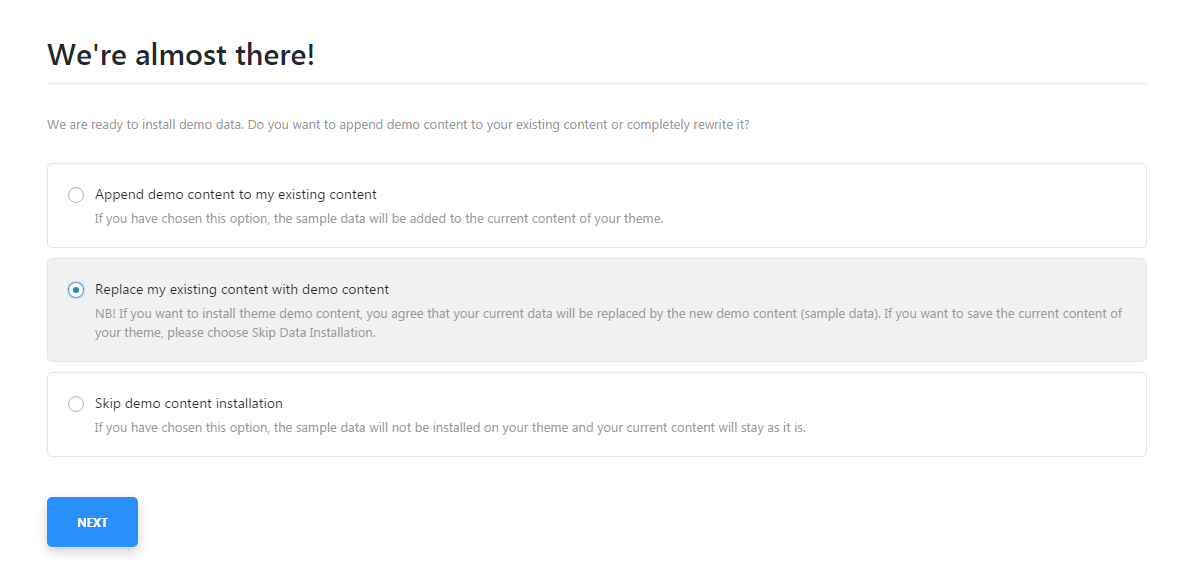
A window will appear offering you to:
-
- append demo content to the existing content
- this way the new sample data will be added to the existing one;
-
- replace the existing content with demo content
- this option will delete your existing content and will install the new sample data instead of it;
-
- skip demo content installation
- choose this option if you don’t want to install demo content and you want to keep the already existing one.
If you’ve chosen to install the demo content, the next step will lead you to the Importing Sample Data window, where you’ll need to enter your password to start importing (it is the password you usually use when you go to Administration Panel).
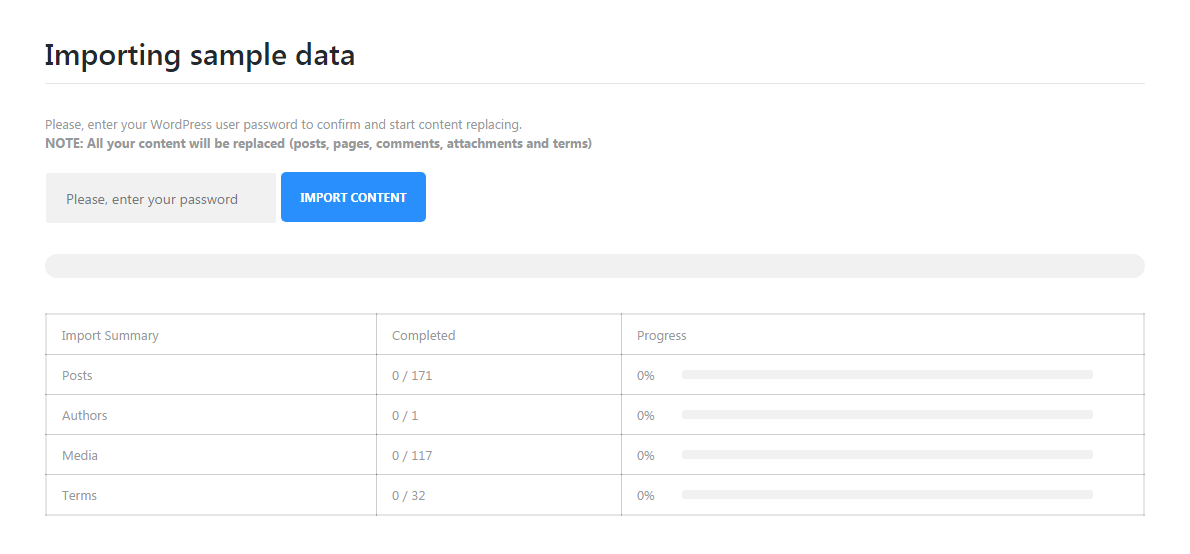
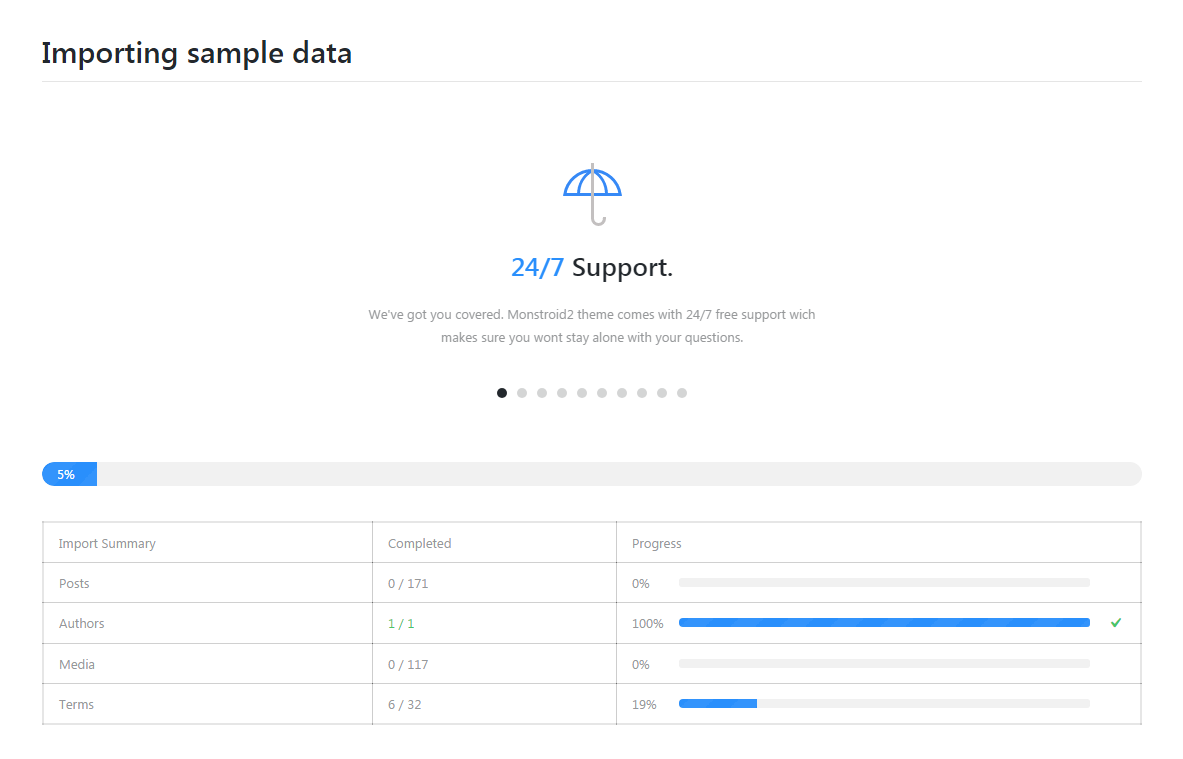
After that you’ll be able to monitor the process of importing sample data. You’ll see the bars that will show the progress.
When the demo content will be successfully installed you’ll see the latter notice.
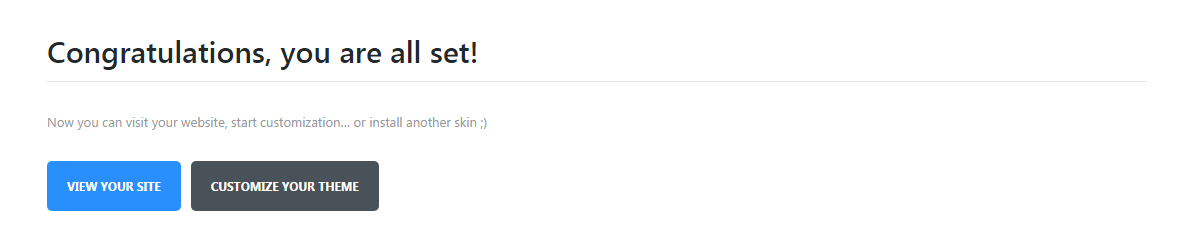
Now you can view your website or proceed to the further customization!