Monstroid
WordPress Installation
First of all, you need WordPress engine to be installed. If you have not installed it yet, please follow the steps below.
- You can use the Download WordPress button on the main page of the official website to get the most recent version of WordPress;
- Extract files from the downloaded WordPress engine package. Check the following tutorials to unpack the archive:
- WinZip Downloading and Installation;
- Archived Files Extraction;
- Archived Files Extraction for Windows;
- Template Extraction on MAC OS.
- Creating a Database;
- Creating Database Manually;
- Creating MySQL Database with GoDaddy;
- Creating a Database with SiteGround;
- Creating a Database with JustHost Server;
- Creating a Database with BlueHost Server.
- Open your web browser and type in your domain name (or your domain name / subdirectory) and click Enter;
- The first page of installation will appear. Click Create a Configuration file;
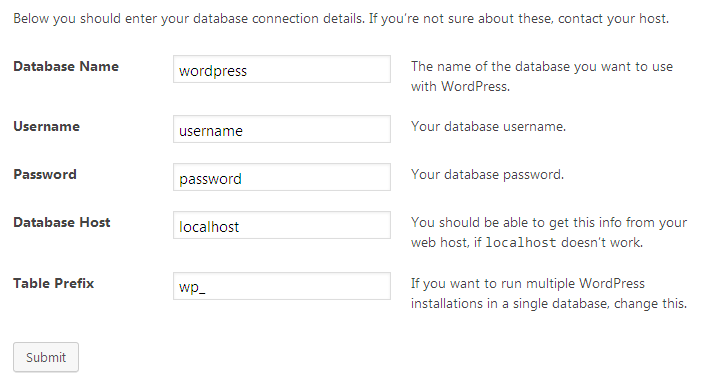
- Click Let’s Go button and fill in Database Connection Details:
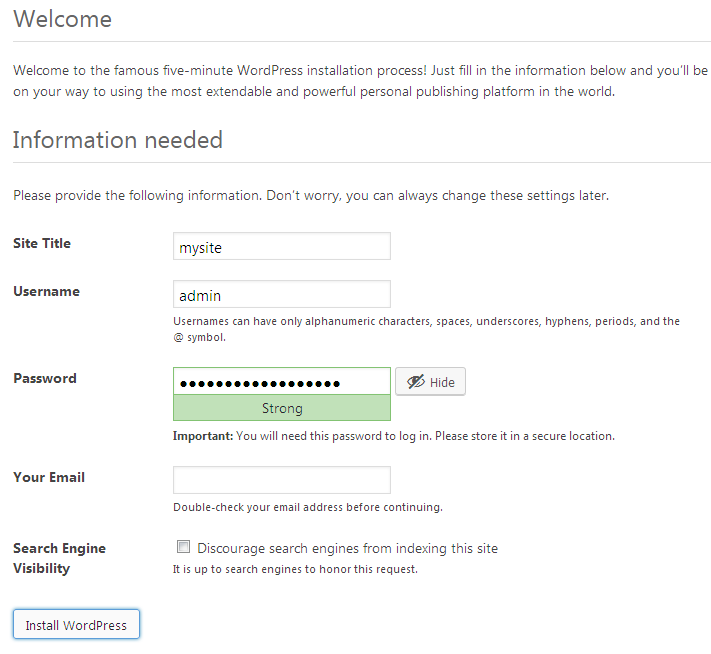
- Fill in the fields with Website Details as shown below:
- Click Install WordPress button.
- Manual WordPress Installation to HostGator Server;
- Manual WordPress Installation to GoDaddy Server;
- Manual WordPress Installation to JustHost Server.
-
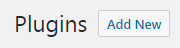
Navigate to plugins tab on your administration panel and click on Add New button;
-
Next, click on Upload Plugin button;

-
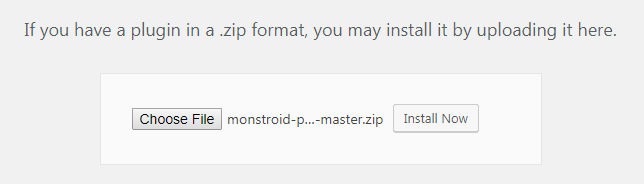
Click on Choose Filebutton and upload a zip archive from your hard drive. Nest, click on Install Now button;
-
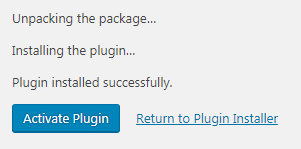
Once plugin is installed, click on Activate Plugin button;
-
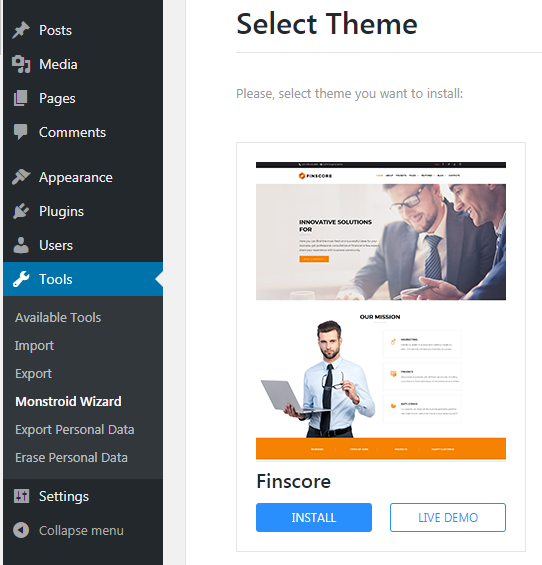
You will be transferred to the page with selection of themes and you'll find Monstroid in Tools tab of the Dashboard. You may check live demos to preview and select the thmeme you want to install. Once selected, click on INSTALL button;
-
Enter your Order ID in the corresponding field and click START INSTALL button;

-
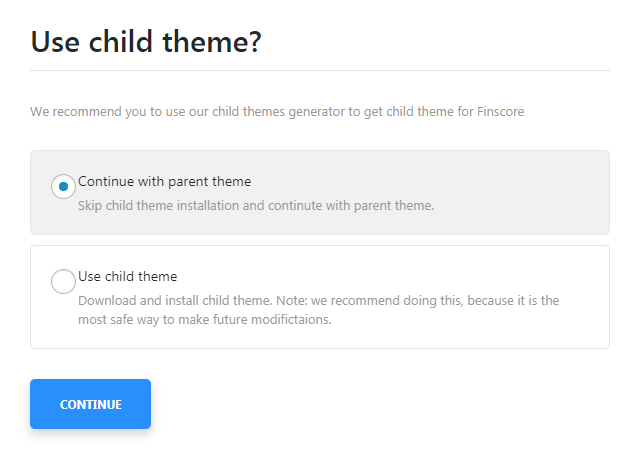
Once the selected theme is installed, you will be asked if you want to continue with parent theme or use child one. For this instruction we selected Continue with parent theme option. Click CONTINUE button;
-
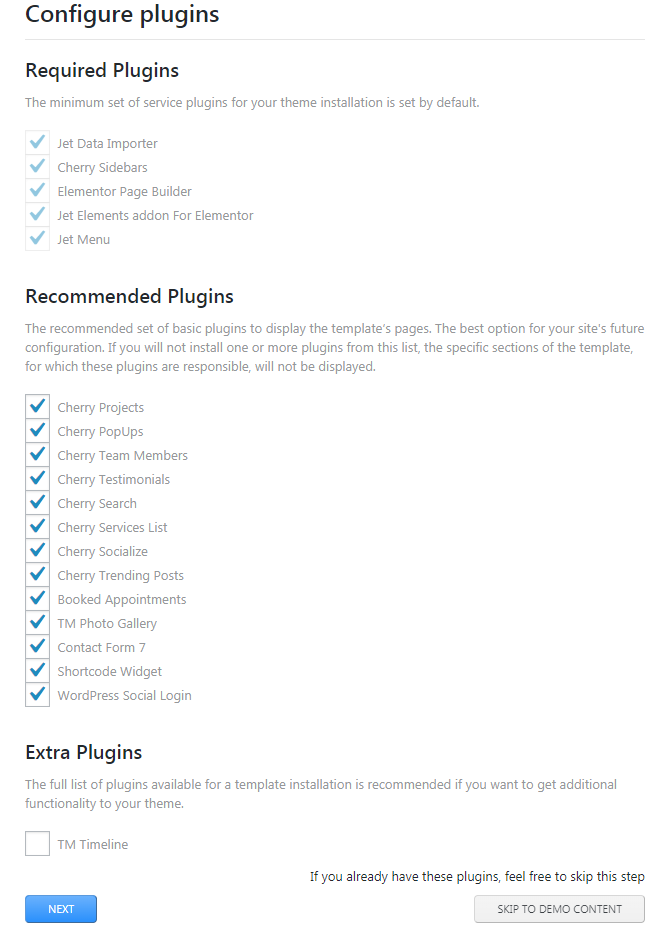
Next, Configure Plugins window will open. Here you will locate required plugins, recommended and extra ones (depending on the selected theme). Click NEXT button to proceed with installation;
-
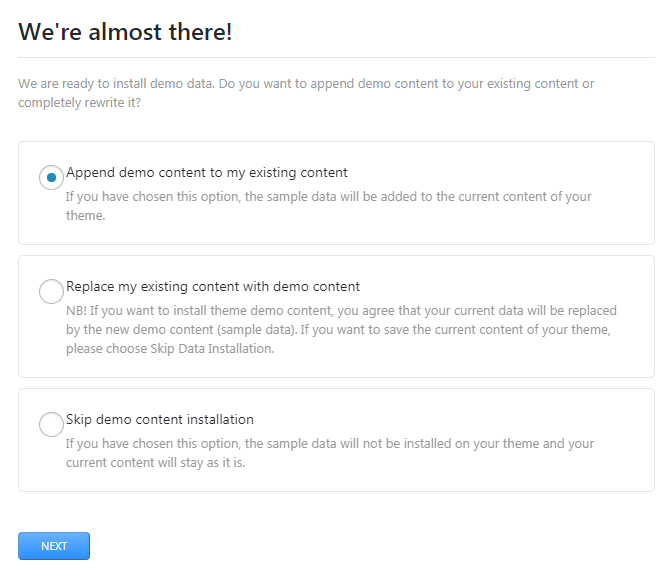
After plugins installation you will get a notice which offers to append demo content to your existing content or completely rewrite it. When you have taken the option please click NEXT button;
-
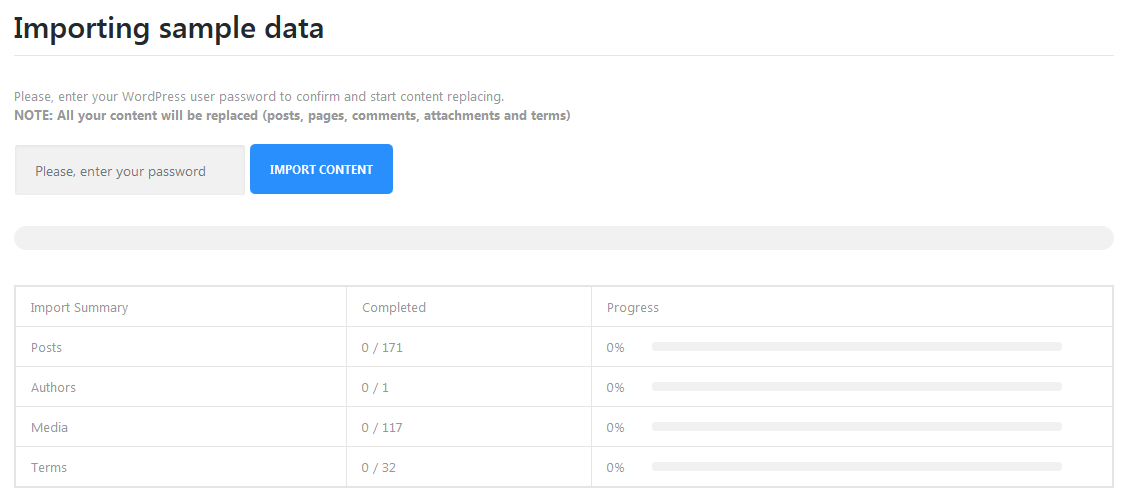
If you select Replace my existing content with demo content you will have to enter your password to confirm and start content replacing and importing sample data will start;
- On this step Monstroid Wizard regenerates thumbnails for all imported images. This process may take some minutes;
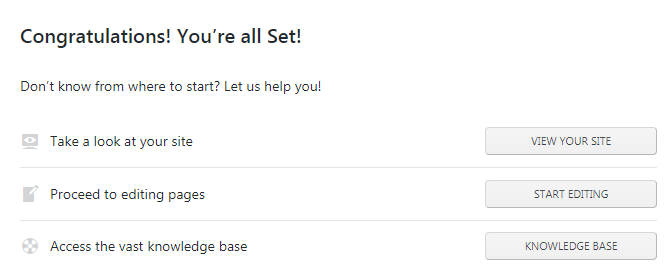
- Import is finished. Monstroid Wizard offers you to select options VIEW YOUR SITE, START EDITING or access KNOWLEDGE BASE.
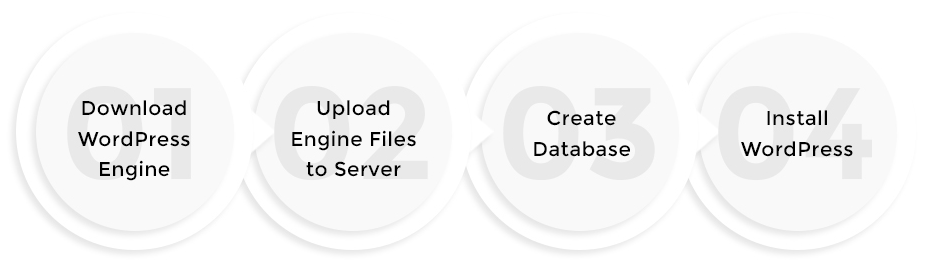
Step 1. Download WordPress Engine:
Step 2. Upload the extracted files to hosting server:
WordPress engine files should be uploaded to the root directory on your server. It is usually named www or public_html.
The following tutorials will help you:
Step 3. Create a database for the WordPress platform:
A new database can be created in your Hosting Control Panel. You can check the following tutorials and select which way is preferable to you:
Step 4. Installing WordPress:
It is recommended to use the default "wp_" database table prefix for the proper sample data installation.
If you have entered the correct details, you will see a successful installation message and the WordPress dashboard access button.
Useful Tips:
Monstroid Wizard Installation
Let's proceed with Monstroid Wizard Installation.
Selecting Replace my existing content with demo content option means that your whole content will be completely and irreversibly deleted!

Themes Documentation
Each theme comes with its own Documentation!
To access theme documentation, navigate to Tools > Monstroid Wizard.
Click on theme Live Demo and navigate to Pages > Documentation.