Better Recent Comments improves the default Recent Comments widget by providing a more flexible widget with options to show the user’s actual comment, as well as show avatars and the ability to show or hide the comment date.
The plugin is also WPML compatible, which means that the comments will be restricted to those in the current language. The default WordPress widget will list all recent comments, regardless of language, so you might end up with comments for German-language posts in the sidebar of your English site. Better Recent Comments solves this and makes sure the comments are for the current language only.
Installation of Better Recent Comments plugin
Upload the plugin files to the /wp-content/plugins/better-recent-comments directory, or install the plugin through the WordPress plugins screen directly.
Activate the plugin through the ‘Plugins’ screen in WordPress.
To add the widget, go to Appearance -> Widgets, and find the ‘Better Recent Comments’ widget in the list, then add to any widget area.
To add the shortcode, open up any page or post and add [better_recent_comments] where you want the comments to be displayed.
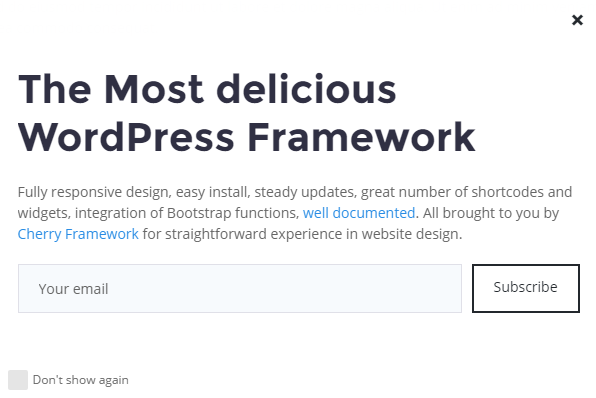
Cherry PopUps
This plugin is used to display popups of your projects on a site page. It has its own settings page which allows to save, reset and set default options. With its help you will be able to create various kinds of popups and manage them the way you like.
Popup Options
Each popup has its own settings which are gathered in Popup settings.
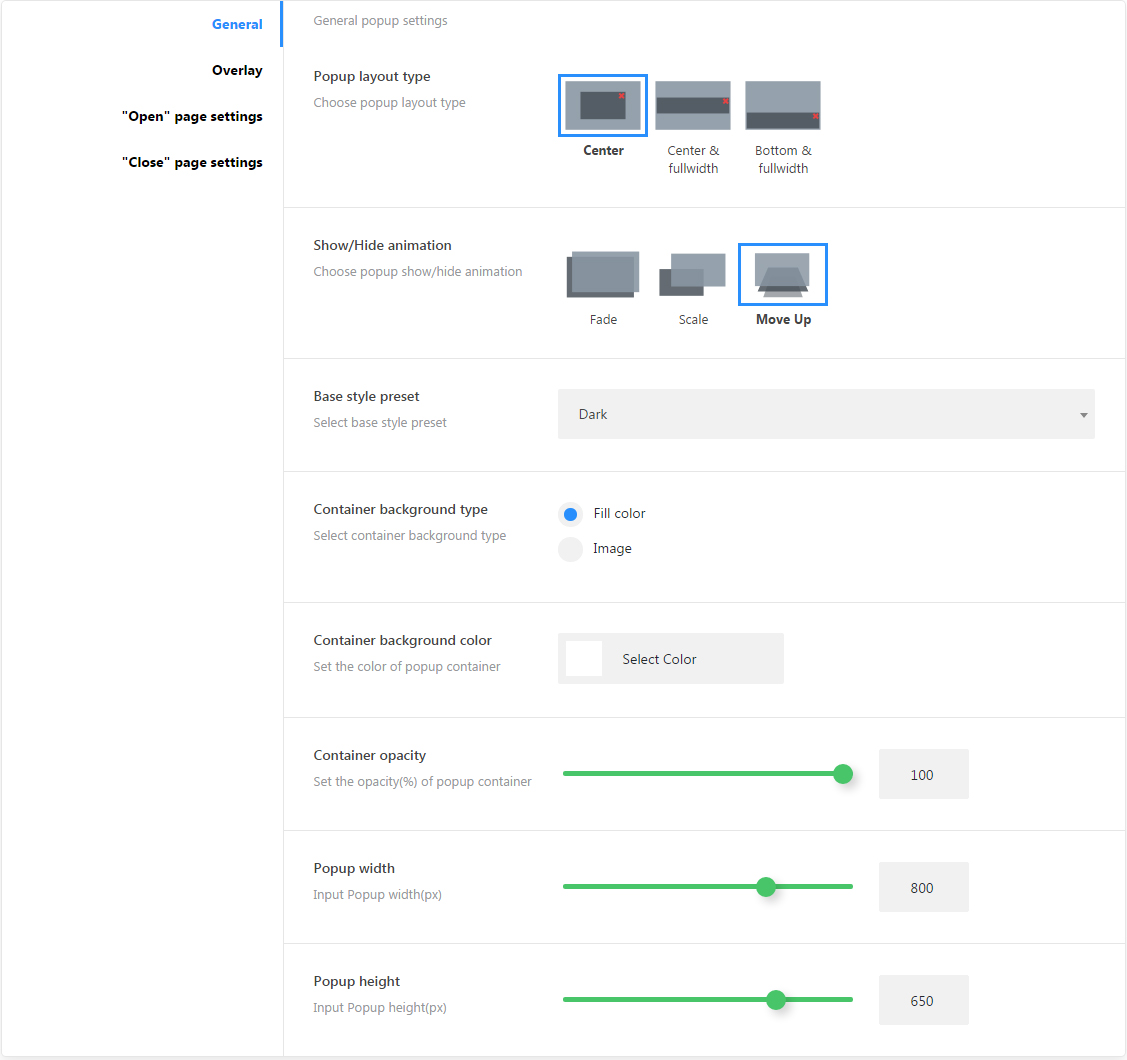
General Settings Sections
popup layout type
choose popup layout type (center, fullwidth center, fullwidth bottom);
popup controls base color styles(default, light, dark, blue, red);
container background type
container background type (fill-color, image);
container background color
popup container background color;
container background image
choose container background image;
container opacity
container opacity (active for fill-color type);
popup width
popup container width;
popup height
popup container height.
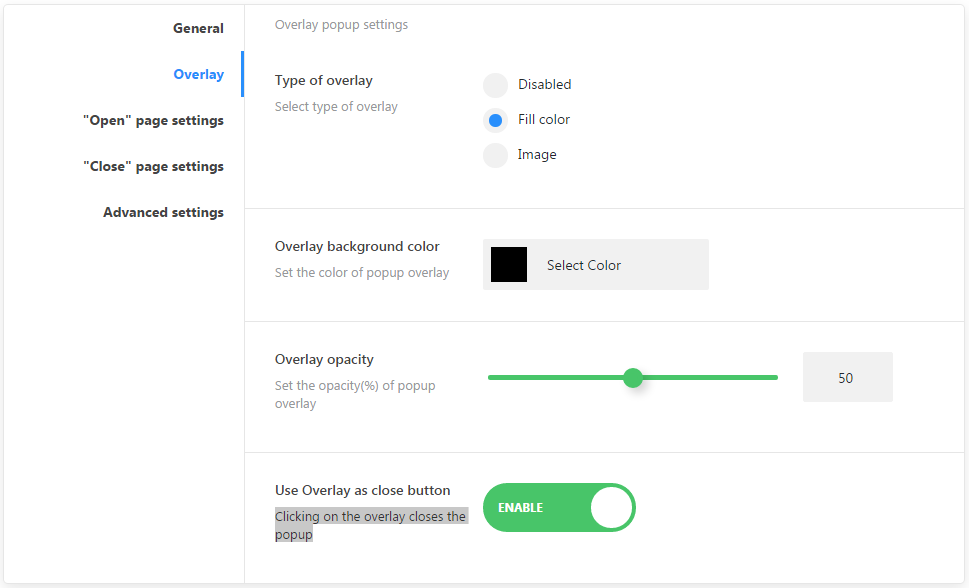
Overlay
type of overlay
disabled
disable the overlay;
fill-color
background fill-cover;
overlay background color
choose overlay background color;
overlay opacity
set overlay background opacity;
overlay background image
set overlay background image;
use Overlay as close button
clicking on the overlay closes the popup.
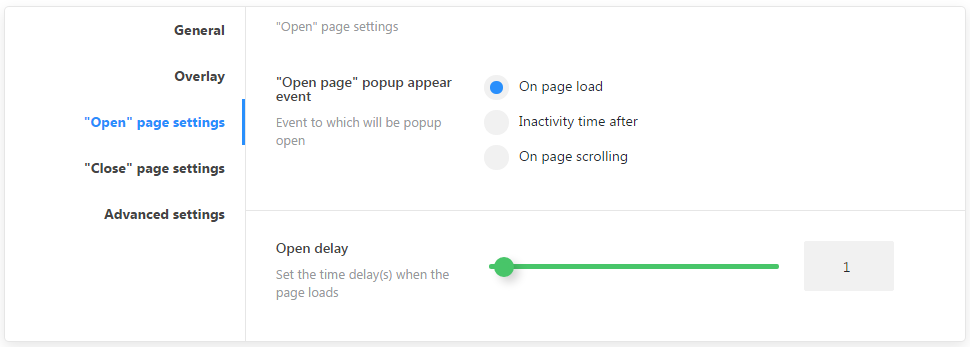
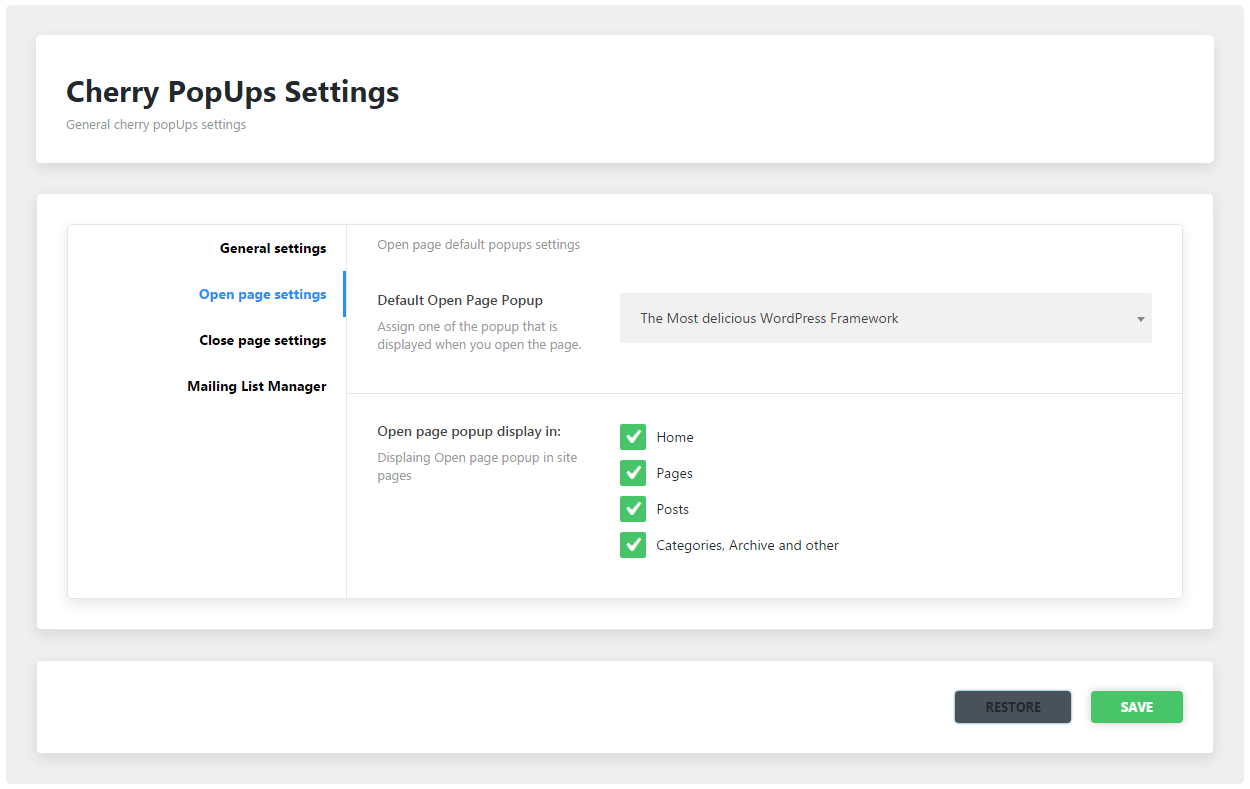
"Open" Page Settings
"open page popup appear event
set an event to which a popup will be opened;
close page popup display in
pages identification for the default popup;
on page load
page complete load event;
inactivity time after
inactivity time event;
on page scrolling
page scrolling progress event.
open delay
set the time delay when the page loads.
"Close" Page Settings
Close page popup appear event
outside viewport
set top border for mouse cursor;
page unfocus
user sets focus on another page or app in the system.
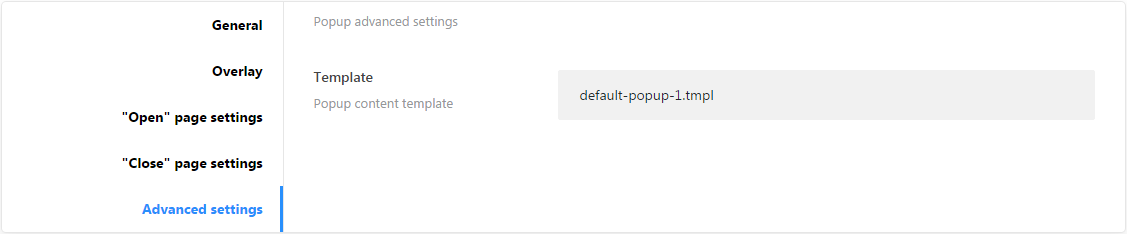
Advanced Settings
template
template file for content.
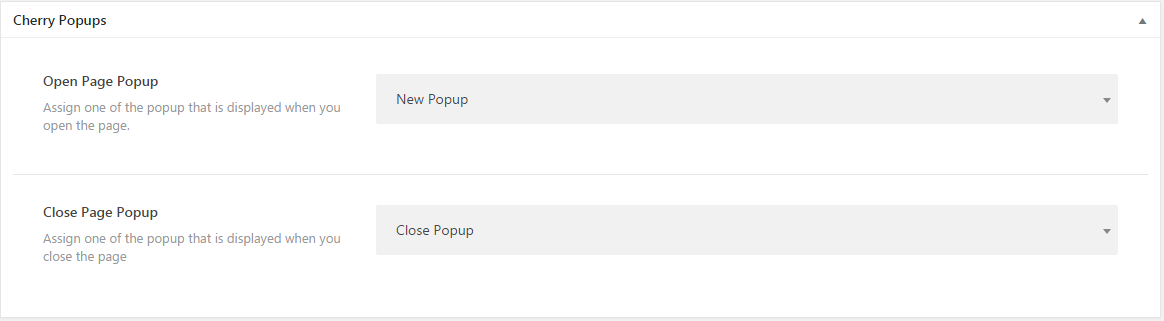
Popup Identification on Static Page
If standard settings are not enough for identifying a visible section, there is a metablock that allows you to add a particular popup to any static page. To find the metablock open any page of your website in the and scroll down to the Cherry Popups section.
You can assign 2 popups simultaneously. One at the beginning, and another one at the end of section.
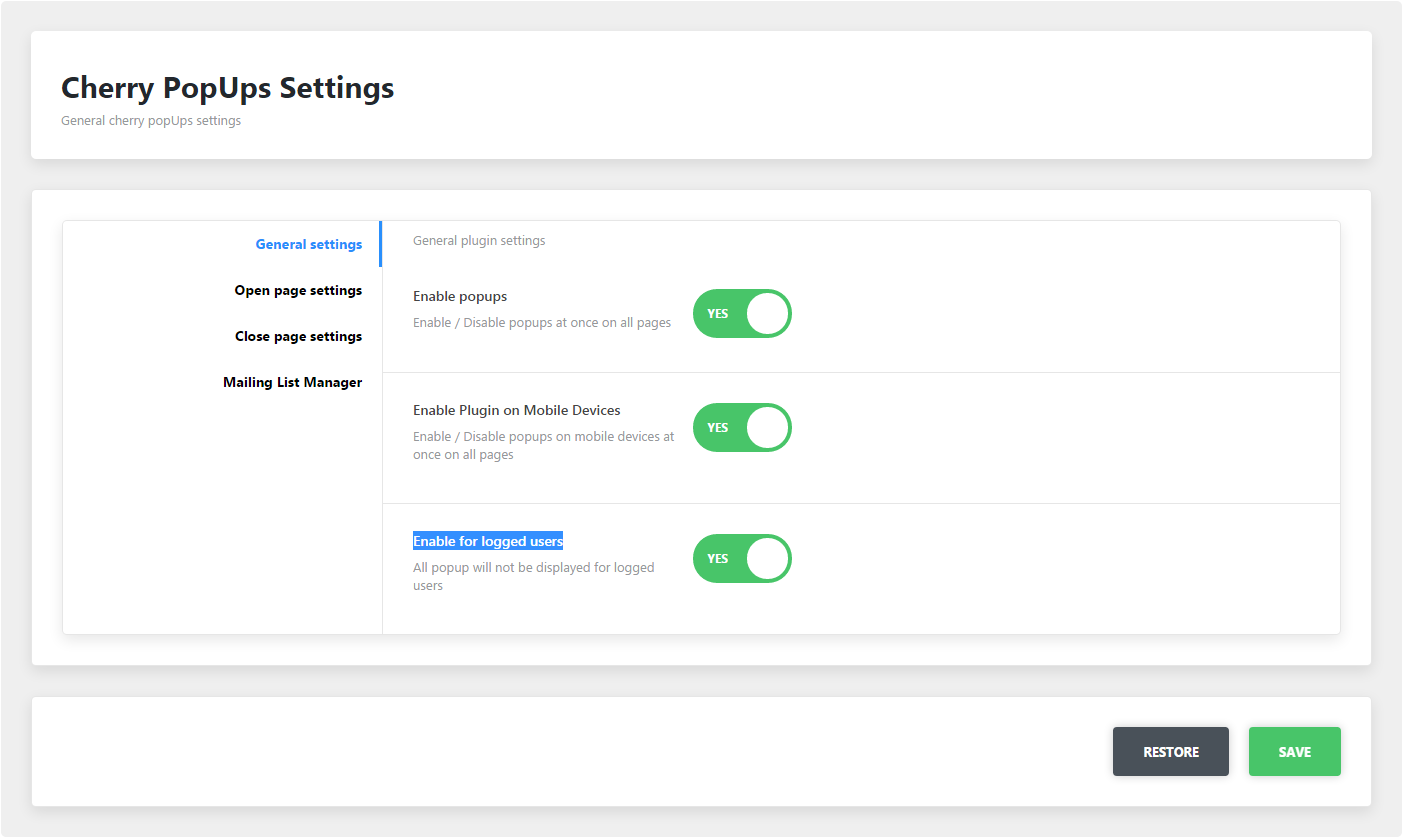
Plugin Options
All plugin settings are gathered in Popups > Settings
General Settings Sections
Here ou can define where and for which users to display popups.
enable popups
enable/disable plugin functions globally for the site;
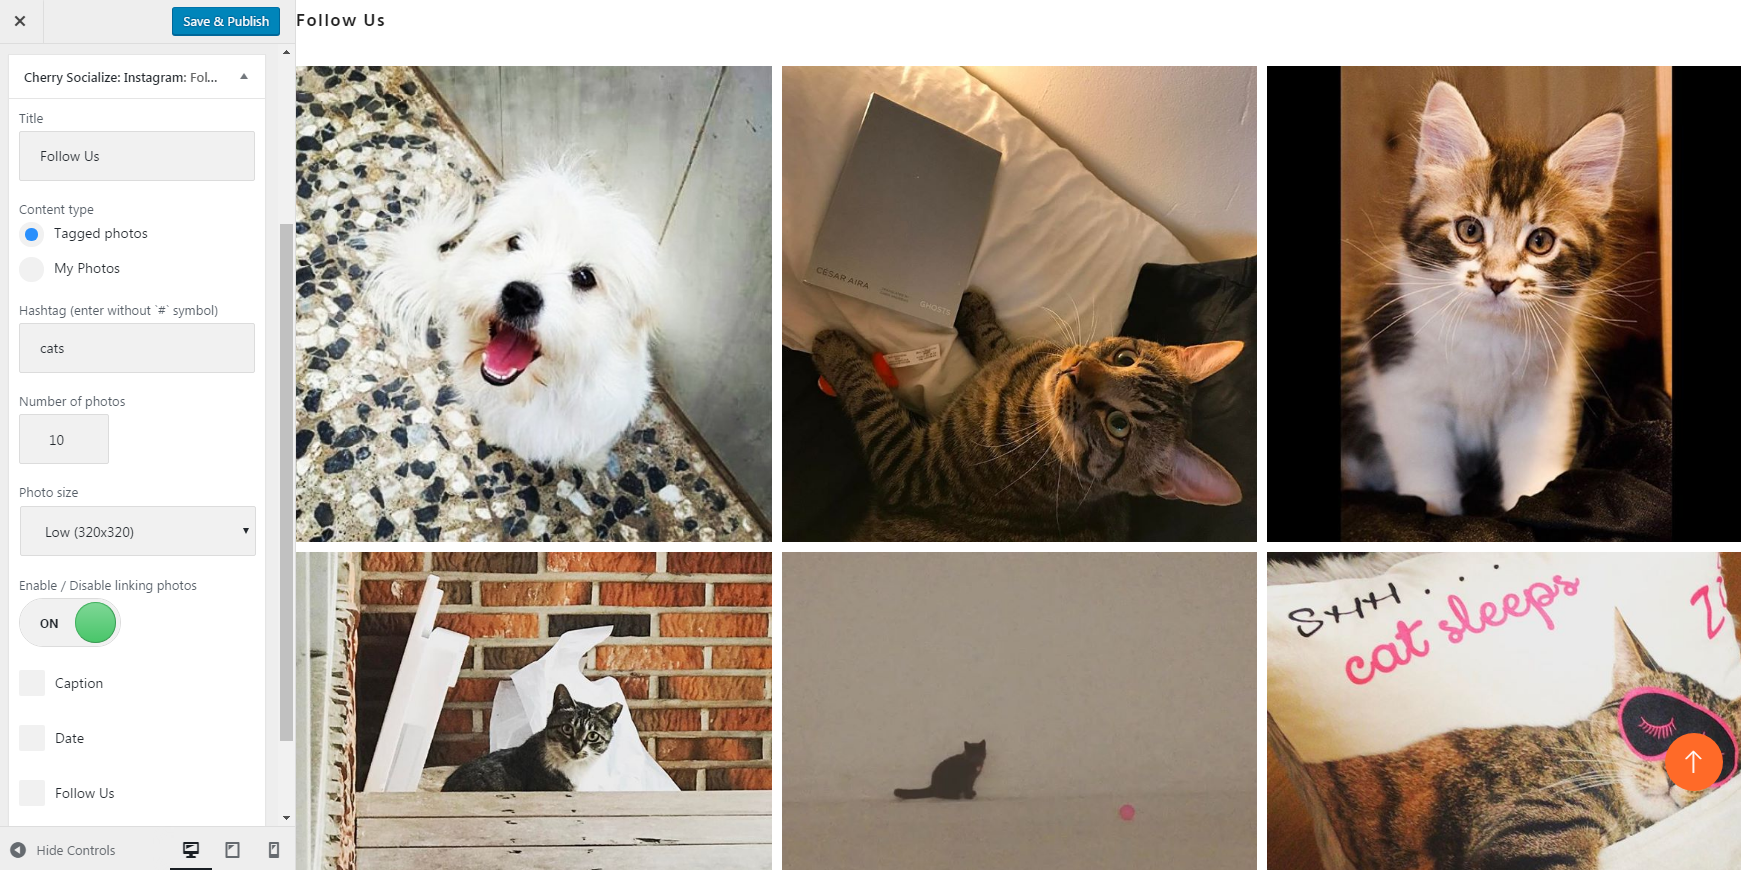
Cherry Socialize plugin is a perfect instrument for managing social networks right on yout website. By now it can add an improved Instagram widget on any page of your website.
Installing Cherry Socialize
To install Cherry Socialize you need to follow the steps described below:
upload plugin to the /wp-content/plugins/ directory;
activate Cherry Socialize plugin through the Plugins menu in WordPress.
You can edit it fom here: Administration Panel > Plugins > Cherry Socialize > Edit Plugin.
You can also use it right after installing! To do this go to Customizer, open Widgets tab and choose Add Widget > Cherry Socialize Instagram . That's it!
Cherry Trending Posts
This plugin will allow you to track and display the most popular posts of your WordPress website based on the number of views, rating and the number of comments; and thus increase its view-per-visitor rate.
post views counter – displays the number of page views for each post;
post rating – displays the number of votes and the average rating using a visual five-star system;
widget – shows the most popular posts.
You can place the list of your top posts on any page using Widgets tab in your WordPress Administration dashboard. Cherry Trending Posts widget itself is highly customizable: besides the basic settings such as specifying the widget title and setting the maximum displayed length of a post title, you can manage other different options.
Plugin Options:
filter the posts by their views, comments or rating;
choose, whether to show the most rated or the highest rated posts;
show post from specific tags and categories;
display or hide certain metadata (post author, publishing date, rating, comments, etc.);
set the excerpt length (if displayed);
change the button text.
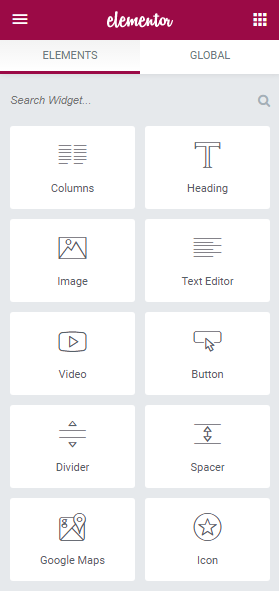
Elementor Page Builder
Elementor Page Builder
is the most advanced frontend drag & drop page builder. It helps to add functionality to your website with the help of its easy-to-use customizable modules.
Detailed Elementor Page Builder documentation can be found here.
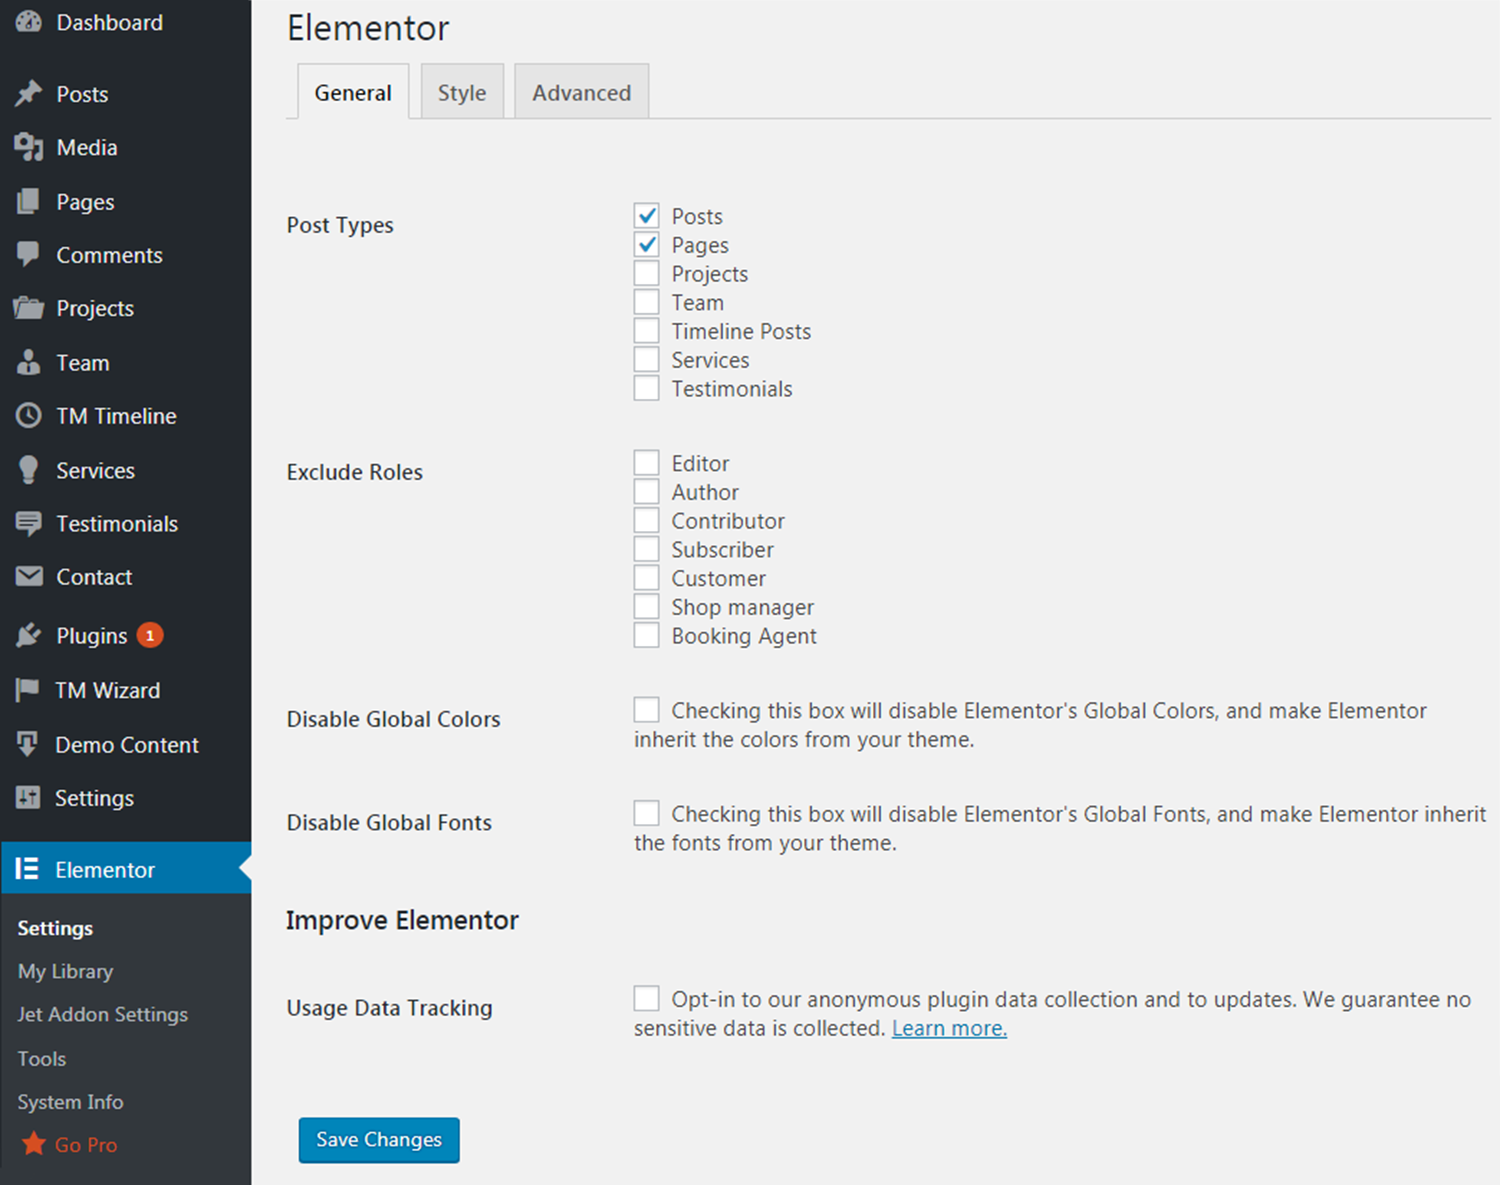
After installation and activation of Elementor plugin, you can set up it in WordPress Dashboard in Settings section in Elementor menu as seen below.
Detailed Elementor General Settings documentation can be found here.
Highlight and Share
This plugin was created for highlighting text and sharing it via Twitter and Facebook. Highlight and Share plugin is intended to be highly flexible in selecting content areas (via the Plugin’s settings).
Installation of Highlight and Share plugin
Upload the “highlight-and-share” folder to your ‘/wp-content/plugins/’ directory.
Activate the plugin through the ‘Plugins’ menu in WordPress.
Jet Blocks
JetBlocks makes it extra easy to add authorization links, hamburger panels, login forms, add and customize site logo, nav menu, registration forms, search forms and WooCommerce cart using the convenient widgets made specifically for Elementor.
Detailed documentation about JetBlocks can be found here.
Jet Blog
JetBlog is a plugin that enriches the website’s content with multiple modules, that will suit not only for creating blog pages, but will also liven up your website with different dynamic modules, such as Smart Tiles, Text Tickers, Video Playlists, Smart Posts List.
With JetBlog one can add content modules on the page built with Elementor, and style up the content appearance to match the general webpage style. Using JetBlog you can customize the modules backgrounds, layouts, responsiveness, add borders and apply shadows, change typography, and there are still so many more options to discover for each of the content modules.
Detailed documentation about Jet Blog can be found here.
Jet Data Importer
This plugin will help you export posts, comments, widgets, settings etc., from one site to another. With a single click of a button the plugin generates an XML file that can be imported to another website.
After the installation the plugin adds a new block - Demo Content where you can export or import the content.
Note: The images are not exported separately, they are downloaded from the server during the import.
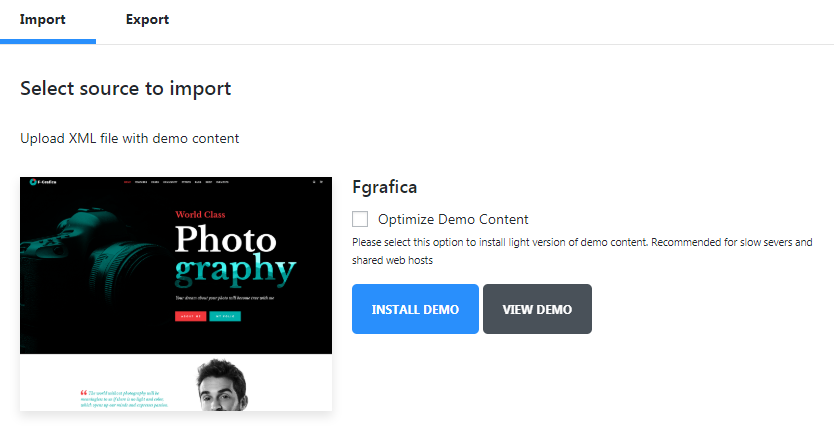
File Import
To import the content, you need to upload the XML file and press Start Import.
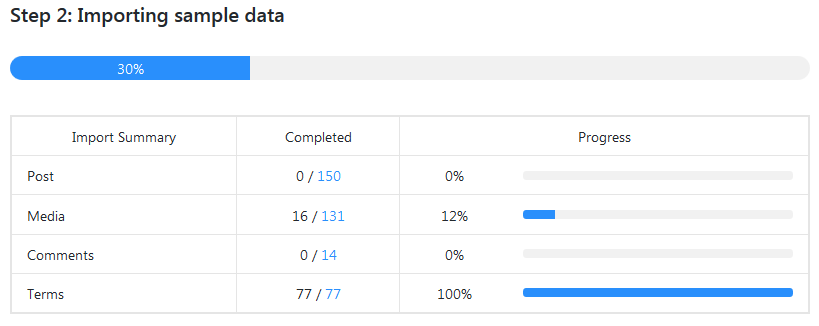
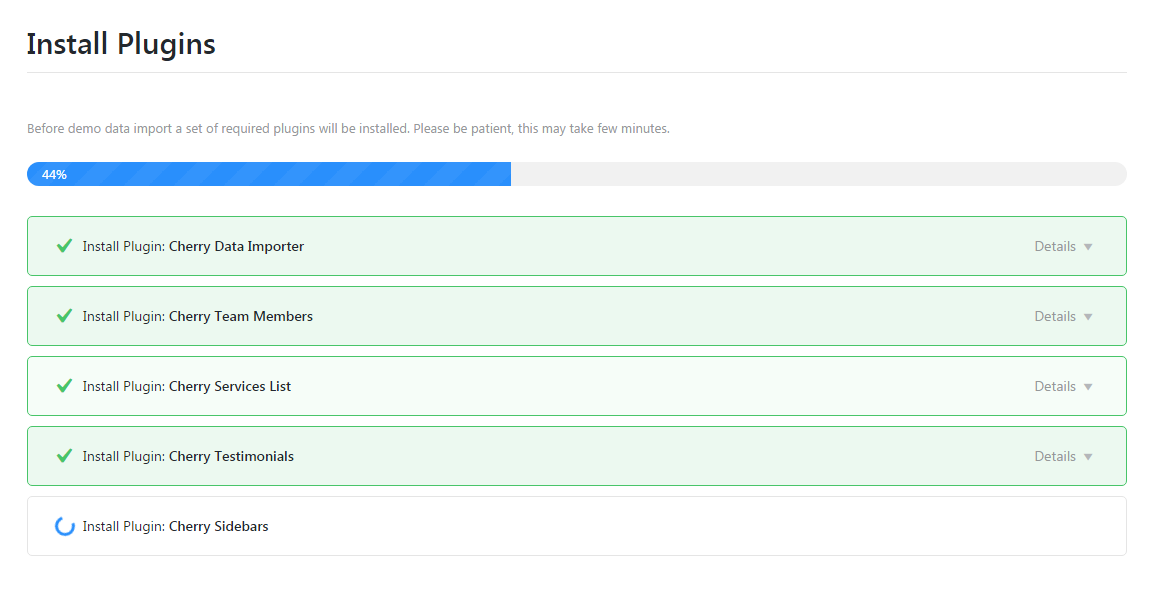
Once the import begins you will see a box with progress bars.
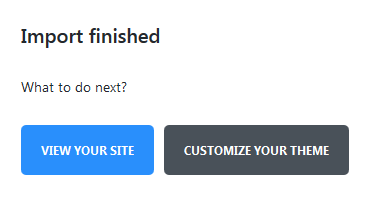
After the import is complete you can view the site or customize it.
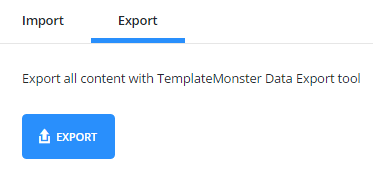
File Export
To export the data, you only need to press an Export button and an XML file will be created automatically.
Array Structure
XML importer settings. Features:
enabled
enable/disable XML importer;
use_upload
show/hide the files upload form;
path
path to the pre-installed sample-data;
import
import settings;
chunk_size
number of processed items at 1 importing step. The less this number is, the more steps will be during the importing process, and less time will be spent for 1 step. For this reason, it is strongly recommended to reduce this number for the themes with large sample data to avoid problems with importing files on weak servers;
remap
data post-processing settings. Here you need to add keys with posts IDs that can be changed during the import;
post_meta
post metadata settings;
term_meta
terms metadata settings;
options
options.
Export Settings
message
message displayed in the export block;
logo
url of the logo displayed in the export block;
options
options array for the additional export.
success links
associative array of links displayed on successful installation page. Link ID is used as a key. The plugin contains IDs for the homepage and for customizer;
label
link text;
type
type of displayed button (default, primary, success, danger, warning);
target
_balnk, _self;
url
link url.
Jet Elements
Jet Elements is a large set of additional modules located inside Elementor Page Builder plugin that help to add more functionality and extra useful features to your website.
Detailed documentation about Jet Elements can be found here.
Jet Menu
JetMenu is a plugin that assists you in creating and styling up mega menu. You’ll be able to create content for the menu items and customize items appearance, add menu badges and icons, change menu item background - all this with JetMenu plugin, which is easy-to-use and has intuitive and clear interface.
The plugin works in tandem with Elementor live page builder, allowing to add content to menu items in a drag-and-drop way. The content and style settings share the same treats with Elementor and JetElements. You’ll also get Custom Menu module for Elementor, which allows you to add your menu to any page layout section you want.
Detailed documentation about Jet Menu can be found here.
Jet Plugins Wizard
Jet Plugin Wizard is a powerful instrument that allows you to install all the necessary plugins and demo-content in an easy and effortless way.
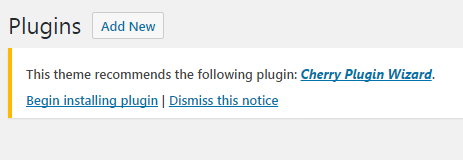
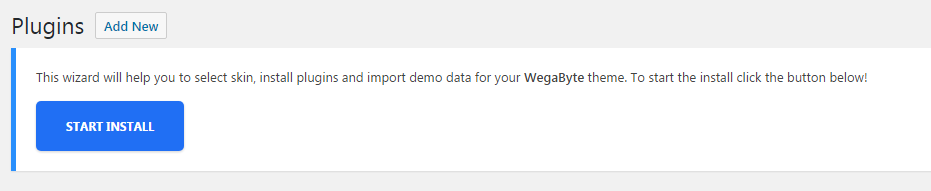
To install it you must go to Plugins tab in your administration panel. There you'll see the following notice.
Just click on Begin installing plugin link, and the installation will begin.
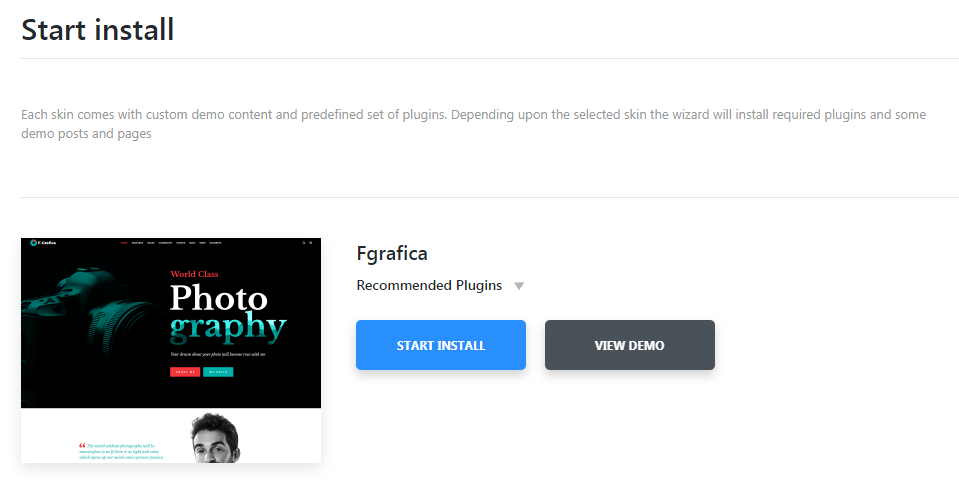
After Jet Plugin Wizard is installed you will be able to see Jet Plugin Wizard tab in your administration panel. Go to this tab, and Jet Plugin Wizard will offer you to install the bunch of recommended plugins to your theme.
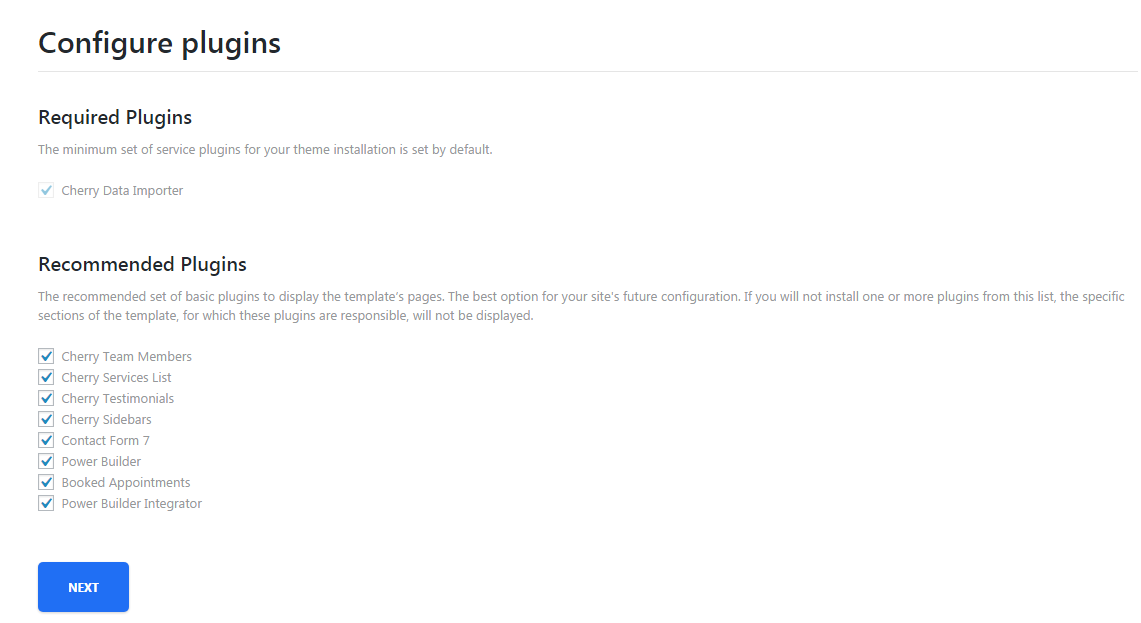
You can also select which particular plugins you want to be installed. To do it you just have to select them from the list that wil appear on your page. Then click on Next button and proceed to the installation process.
When the plugins are installed it is time to install demo content for your theme. Jet Plugin Wizard will offer you to do just that.
Demo Content Installation
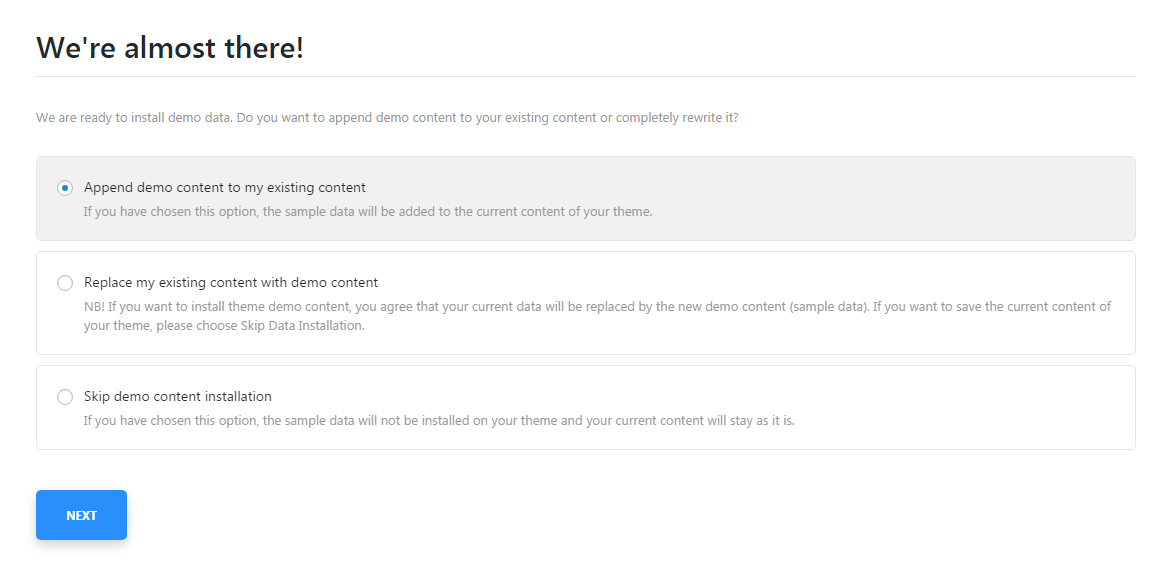
Jet Plugin Wizard will offer you several scenarios how to install demo content to your theme.
Append demo content to my existing content
this option will append the demo content for your theme with your existing content.
Replace my existing content with demo content
this option will rewrite your previous existing content with the demo content.
Skip demo content installation
by choosing this option you refuse to install demo content for your theme.
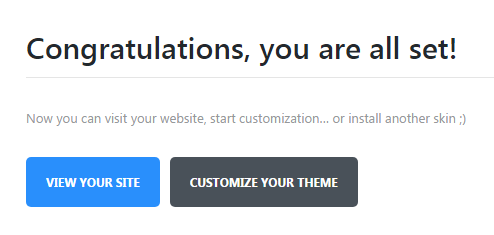
When the installation will be over you'll see the following notice.
JetReviews
JetReviews is a plugin that assists in creating reviews and adding them to the pages, built with Elementor live page builder. It can display both manually input reviews and the ones added via WordPress Dashboard.
You can master the widget’s blocks responsiveness by changing the elements’ height and width for different devices. The plugin has a fully responsive appearance, making it perfectly fitted for almost all kinds of screens, from mobile devices to tablets and desktops.
Detailed documentation about JetReviews can be found here.
Jet Tabs
JetTabs is a plugin that allows adding stylish tabs and accordion widgets with vertical and horizontal layouts and building content inside them using Elementor live page builder widgets.
The plugin makes it simple to create a template with Elementor and add it to the Accordion or Tabs widget. It helps organize content and style it up according to one’s needs and preferences.
Detailed documentation about Jet Tabs can be found here.
Jet Theme Core
JetThemeCore is a powerful plugin which is aimed to help users create custom headers, footers, sections, etc.
Start Working with JetThemeCore
From this bock you will learn what JetThemeCore is and which settings it contains.
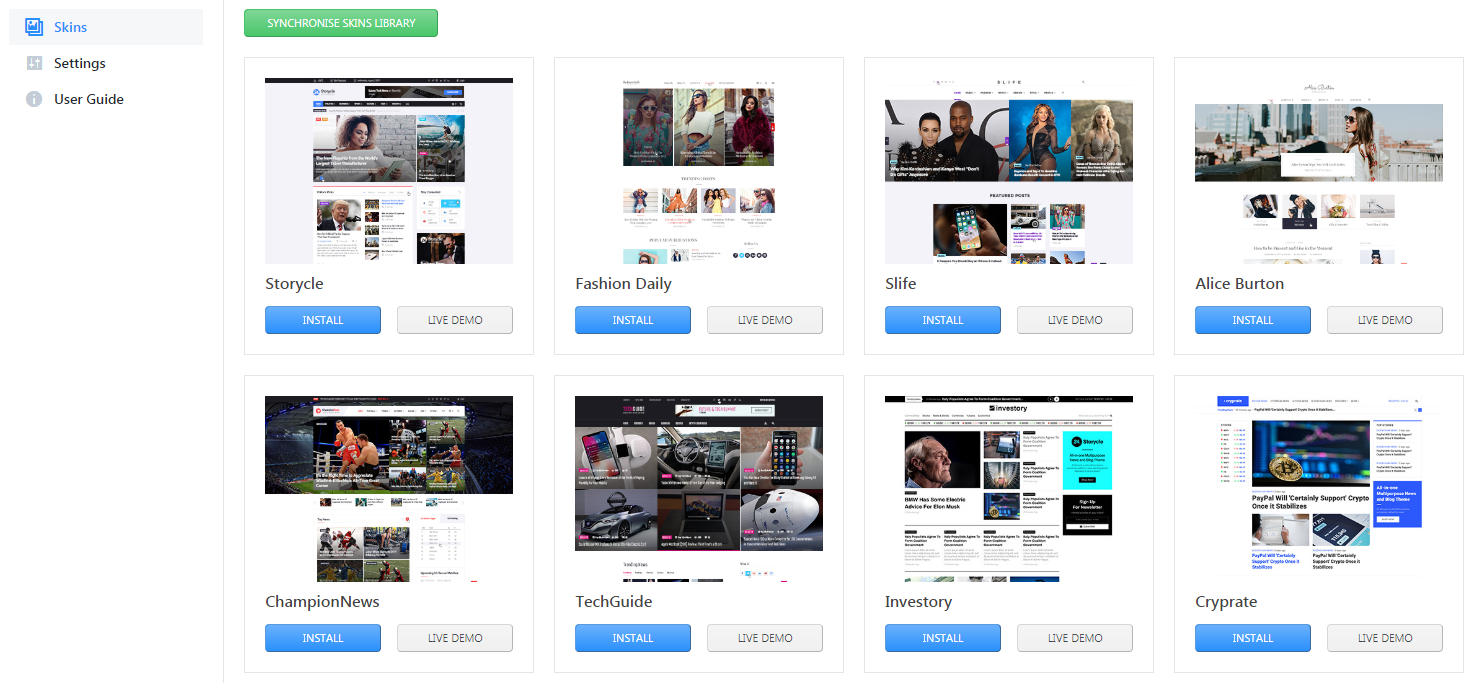
First, navigate to the Dashboard and locate Storycle Theme at the bottom left corner.
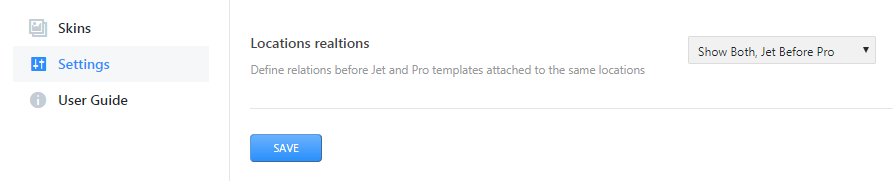
Click on it and locate the page with Skins and Settings.
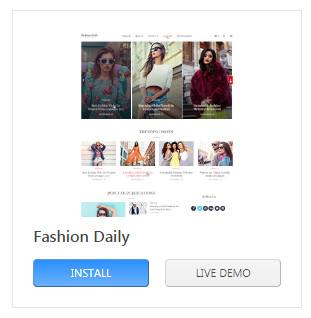
Skins block contains a Library with variations of skins, which can be selected and installed. Click on Install button to install the needed skin.
Settings block is responsible for Locations relations. Here you can select relations between Jet and Pro templates attached to the same locations from the dropdown list. Click Save button once selected.
JetThemeCore Library
From this block you can learn how to create new templates and work with them using JetThemeCore plugin.
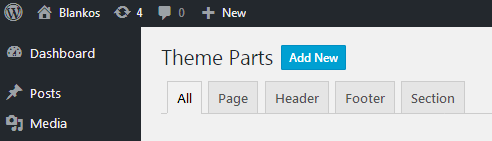
First, let’s navigate to Storycle Theme > My Library section on the left of the Dashboard. Here open My Library sub menu.
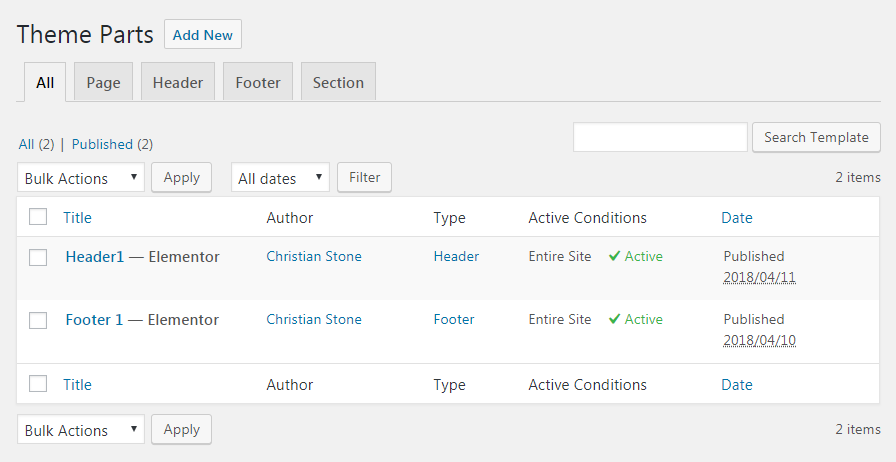
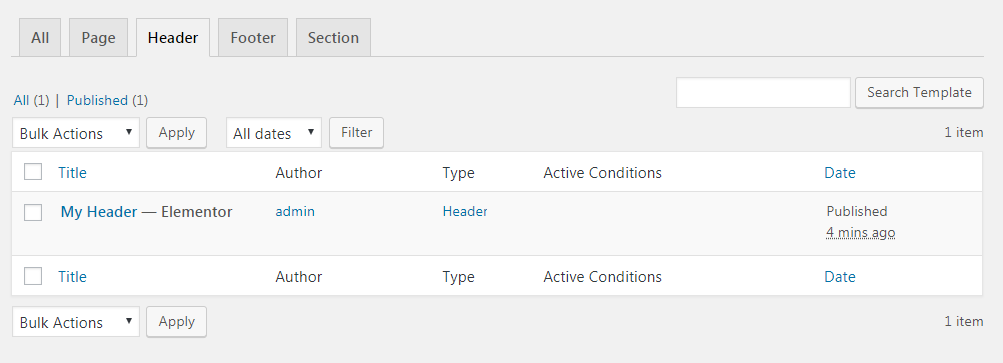
In the Theme Parts block you’re able to view the existing templates for your theme or create the new ones.
Theme Parts:
All
shows all the existing theme parts;
Page
displays the existing page templates;
Header
here you can view all the existing footer templates on your site;
Footer
here you can see all the existing footer templates on your site;
Sections
here you can view the list of the section templates.
Every template shown in these blocks can be edited, removed to the trash bin, restored, etc.
Creating Headers & Footers
From this block one can learn how to create header & footer templates and assign them for different pages.
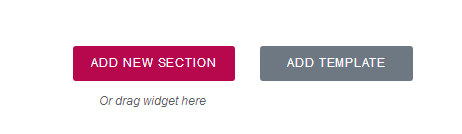
First, click Add New button located on the right of the Theme Parts title.
In the Theme Parts block you’re able to view the existing templates for your theme or create the new ones.
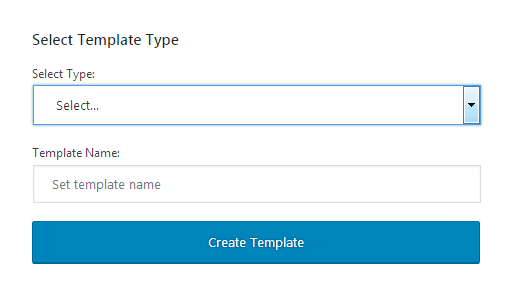
In the newly opened window select the template type from the dropdown menu (page, header, footer, section).
Type in the template name in the corresponding field.
Use Elementor page editor to create a new unique header / footer.
After that navigate to Headers / Footers tab and here select the header / footer you want to use as a template on your website’s pages.
Jet Tricks
JetTricks is a plugin that allows adding different visual effects without ever needing to add a single line of code. The plugin is made for those people who enjoy exquisite animation effects and are willing to add them to the website pages to liven up the website.
JetTricks allows to add Parallax to different widgets, create unfolding sections, sticky columns and View More buttons.
Detailed documentation about Jet Tricks can be found here.
Stock Ticker
A simple and easy configurable plugin for WordPress that allows you to insert stock ticker with stock price information to posts, pages, widgets or even to template files. Insertion is enabled by shortcode or multi instance widget.
With Stock Ticker you can set global set of symbols you’ll use site-wide, configure default set of stock symbols that will be displayed in ticker inserted by empty shortcode, define custom names for companies to be used instead of the symbols and use many other options.
Installation of Stock Ticker plugin
Install and activate Stock Ticker.
Get a free API Key from AlphaVantage.co
In WordPress Dashboard go to Settings -> Stock Ticker.
Enter to field AlphaVantage.co API Key Alpha Vantage API Key you received in previous step.
Enter to field All Stock Symbols all stock symbols you’ll use on whole website in various widgets and shortcodes, separated by comma. This field is used to fetch stock data from AlphaVantage.co API by AJAX in background. Because AV have only API to get data for single symbol, that can take a while to get. Please note, for default shortcode symbols there is still have field in Default Settings section of plugin.
Save settings and click button Fetch Stock Data Now! to initially fetch stock data to database and wait for a while until we get all symbols from AlphaVantage.co for the very first time.
Insert shortcode [stock_ticker] to page or post, or Stock Ticker Widget to preferred Widget Area.
WordPress Social Login
This WordPress Social Login plugin allows your website readers and customers to register on using their existing social accounts IDs, eliminating the need to fill out registration forms and remember usernames and passwords. Also, it gives opportunity to control your users access to your website as well as to import users contact list from Google Gmail, Facebook, Windows Live and LinkedIn.