Monstroid2
Monstroid2 Theme
In this block You can find the detailed information on customization, widgets and localization of Monstroid2 WordPress theme.
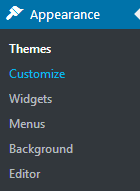
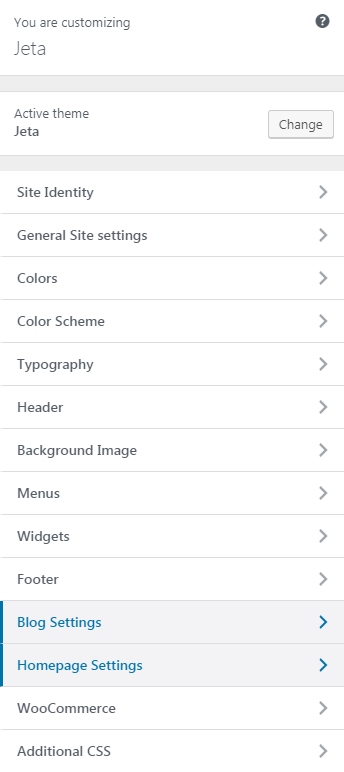
Customizer
In this block you can fiund the detailed information on how to use customize Kava theme. The customization settings are located in Appearance > Customize block in WordPress Dashboard.
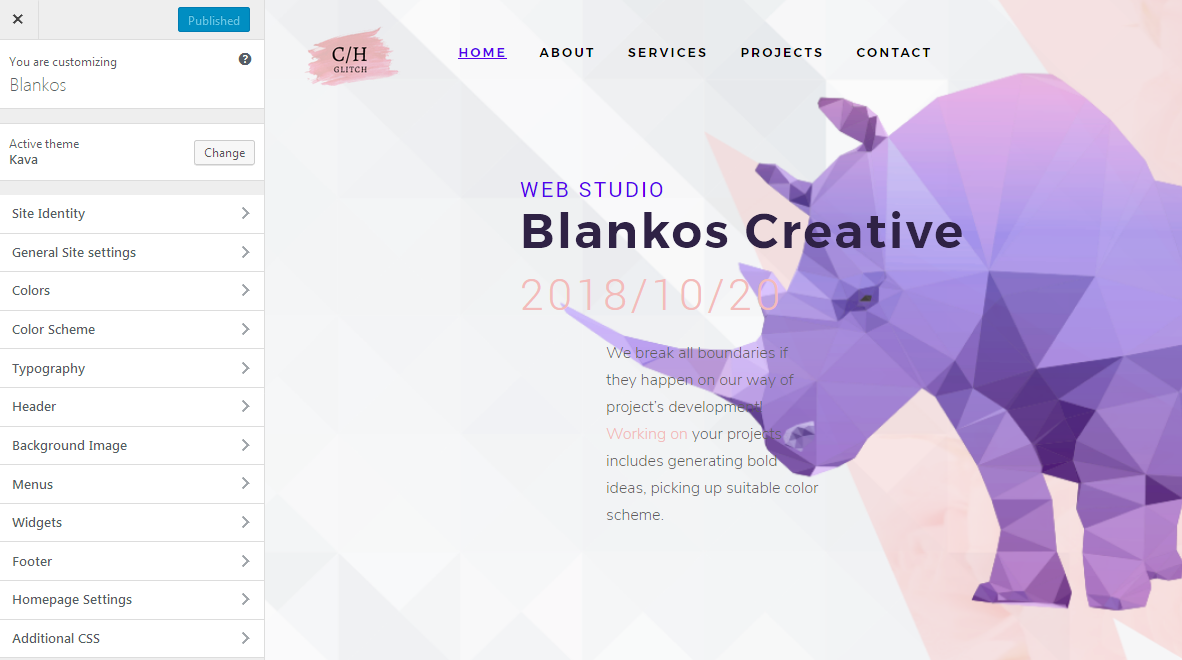
Site Identity

Here you can setup site identity.
-
- Logo
- Here you can select an image to be shown as the website's logo, or change the one previously set to the new logo image.
-
- Site Title
- Your website title goes here.
-
- Tagline
- this short statement is similar to a subtitle or advertising slogan.
-
- Show tagline on top panel
- this property specifies whether to show or hide tagline on top panel.
-
- Show toTop button
- this property specifies whether to enable or disable topTop button.
-
- Show page preloader
- this property specifies whether to show preloader or not.
-
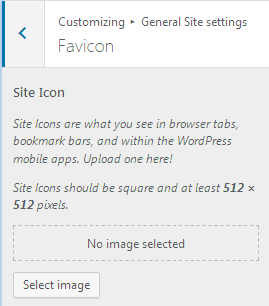
- Site icon
- here you can define the site icon to use as a favicon.
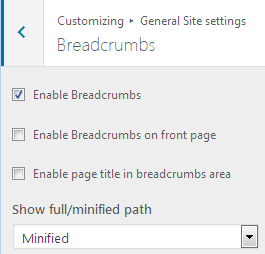
- Enable / Disable breadcrumbs.
- Enable / Disable breadcrumbs on front page.
- Enable / Disable p[age title in breadcrumbs area.
- Show full / Minified breadcrumbs path.
- Show social links in header.
- Show social links in footer.
-
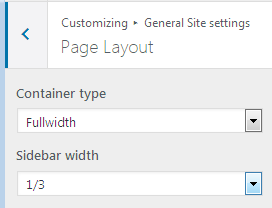
Container type:
-
- Boxed
- boxed layout will have fixed width and left/right indents
-
- Full Width
- wide layout will fit window width.
-
- Sidebar width:
- 1/3;
- 1/4.
General Site Settings
Here you can configure general site settings.
Favicon
Breadcrumbs
Social Links

Page Layout
Colors
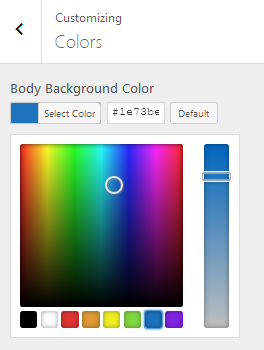
Here you can set up the body background color of template.
Color Scheme
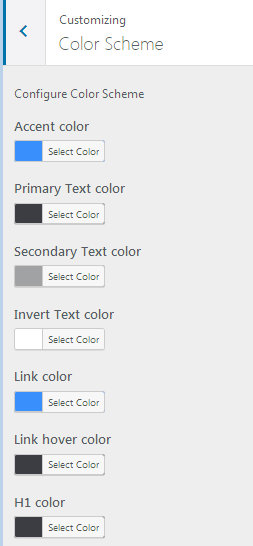
Here you can set up site color scheme.
-
- Accent color
- here you can set the accent color to use on your site.
-
- Primary text color
- here you can set the primary text color to use on your site.
-
- Secondary text color
- here you can set the secondary text color to use on your site.
-
- Invert text color
- here you can set the invert text color to use on your site.
-
- Link color
- here you can set the link text color to use on your site.
-
- Link hover color
- here you can set the link hover color to use on your site.
-
- Link hover color
- here you can set the link hover color to use on your site.
-
- H1 color
- color of the H1 title.
-
- H2 color
- color of the H2 title.
-
- H3 color
- color of the H3 title.
-
- H4 color
- color of the H4 title.
-
- H5 color
- color of the H5 title.
-
- H6 color
- color of the H6 title.
Typography

Here you can configure headers and text typography
-
- Body text
- main website text typography options.
-
- H1 Heading
- H1 heading font settings.
-
- H2 Heading
- H2 heading font settings.
-
- H3 Heading
- H3 heading font settings.
-
- H4 Heading
- H4 heading font settings.
-
- H5 Heading
- H3 heading font settings.
-
- H6 Heading
- H4 heading font settings.
-
- Logo text
- here you cna specify the text to apply for the textual logo type.
-
- Breadcrumbs
- breadcrumbs font settings.
-
- Menu
- menu font settings.
-
- Button
- button font settings.
-
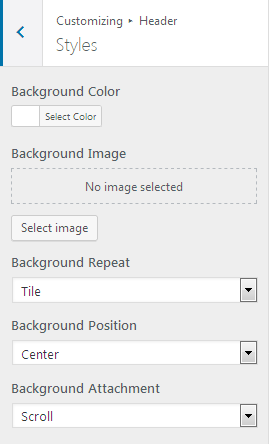
- Background color
- here you can set background color for the header.
-
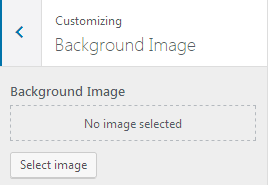
- Background Image
- here you can define site header background image.
-
- Background Repeat
- this property sets if a background image will be repeated, or not. By default, a background-image is repeated both vertically and horizontally.
-
- Background Position
- this property sets the starting position of a background image. By default, a background-image is placed at the top-left corner.
-
- Background Attachment
- this property sets whether a background image is fixed or scrolls with the rest of the page. By default, a background attachment is scroll.
-
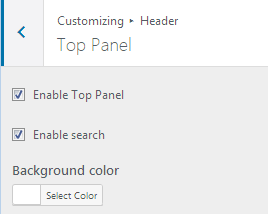
- Enable top panel
- enable/disable top panel.
-
- Enable search
- show / Hide search form in top header part.
-
- Background color
- here you can define header top panel background color.
-
- Main
- Select primary navigation menu
-
- Footer
- Select navigation menu, that will be displayed in site footer
-
- Social
- Select navigation menu, that will be used for social networks.
-
- Copyright text
- set custom copyright text for your Footer area
-
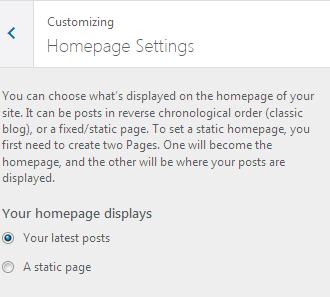
Your homepage displays:
- your latest posts;
- a static page.
Header
You can set header items here
Header Styles
Top Panel
Background Image
Here you can set up the main background image of the body template.
Menus
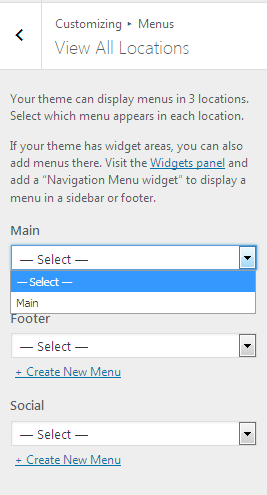
Your theme supports 3 menu locations. Select which menu appears in each location. You can also place menus in widget areas with the Custom Menu widget.
Widgets
You can configure widgets and their positions here. Main theme functionality is focused in widgets. Each template has a specific set of Widget Areas
Footer
Settings for the website footer section
Homepage Settings
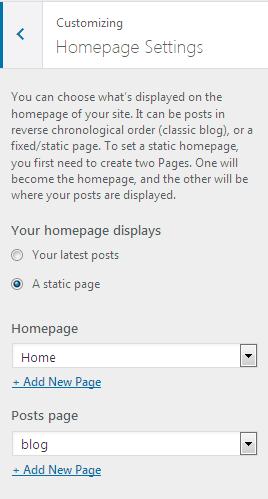
Here you can set the home page or an archive posts page to be opened as a website's home page
Additional CSS
This section allows you to add custom CSS and instantly see how your changes affect your site. The live prewiew allows you to work quickly without page refreshes slowing you down.
Blog Layouts
This section contains information on how to change the blog layouts using Customizer Blog settings.
Changing Blog Layouts
First, navigate to your WodPress Dashboard. Here open Appearance > Customize tab.
Make sure that You're currently customizing the page which displays blog posts. If not, please, open Homepage Settings and here check Your homepage displays > Your latest posts.
After that return to Customizer's main panel and open Blog Settings.
In Layout dropdown select one of the layouts you want to apply for the blog page:
- listing;
- grid;
- masonry;
- justify;
- creative.
In Style dropdown select one of the 10 available styles for the layout. Each layout has 10 different styles.
In Sidebar dropdown specify where you want to position the sidebar: on right side, on left side or no sidebar at all.
Choose the navigation type you want to apply: pagination or navigation.
Select the needed sticky label type: font icon, text label, text with icon.
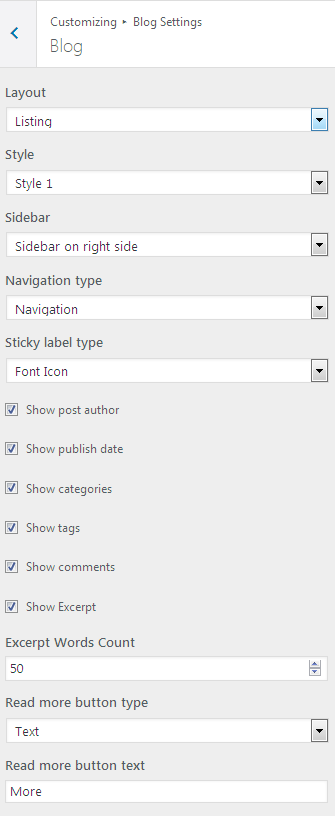
Show post author - enable this option in order to display the author of the publications.
Show publish date - here you can enable the displaying of the publish date.
Show categories - here you can enable the categories for displaying.
Show tags - here you can enable the tags for displaying.
Show comments - here you can enable the comments to be displayed.
Show Excerpt - here you can enble the post excerpts to be shown.
Excerpt Words Count - here you can specify the length of the post excerpt in words.
Read More button type - here you can sen specify the type of the Read more button (Text, Icon, Text and Icon).
Read more button text - here you can select the text to be displayed on the Read more button.
Posts, Categories and Post Formats
This section will show you some basics on working with WordPress. Content in WordPress is stored as posts and categories. Let’s see how to work with them.
Creating a Blog Post
To add a blog post, you need to do the following:
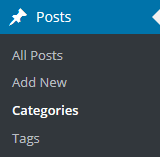
- Open the Posts tab.
- Click Add New.
- Add content to the post.
You can check detailed information about adding posts at WordPress Codex
Adding a Category
To add a category you need to do the following:
- Open the Posts tab.
- Click Categories to see all categories.
- Enter new category name.
- Click Add New Category.
- Click Publish.
You can check detailed information about adding categories at WordPress Codex.
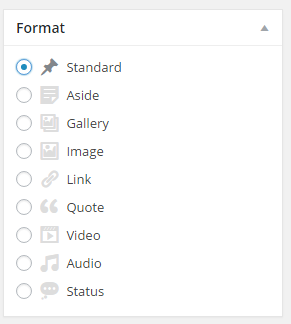
Post Formats
Post formats are used to customize the available post options and markup. You can choose a post format on the post editing screen.
You can check detailed information on post formats at Post Formats Page .
Check the list of available posts formats with description and settings below.
Standard Post Format
Standard post format has the following fields:
- Post title - post title.
- Post content - post content.
- Categories - post category(ies).
- Tags - post tags.
- Featured Image - post featured image.
- Other fields that can be enabled in Screen Options in the top right corner.
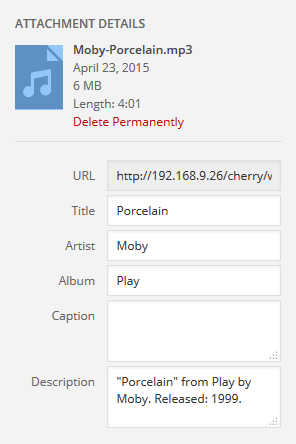
Audio
Audio format is used to publish audio content.
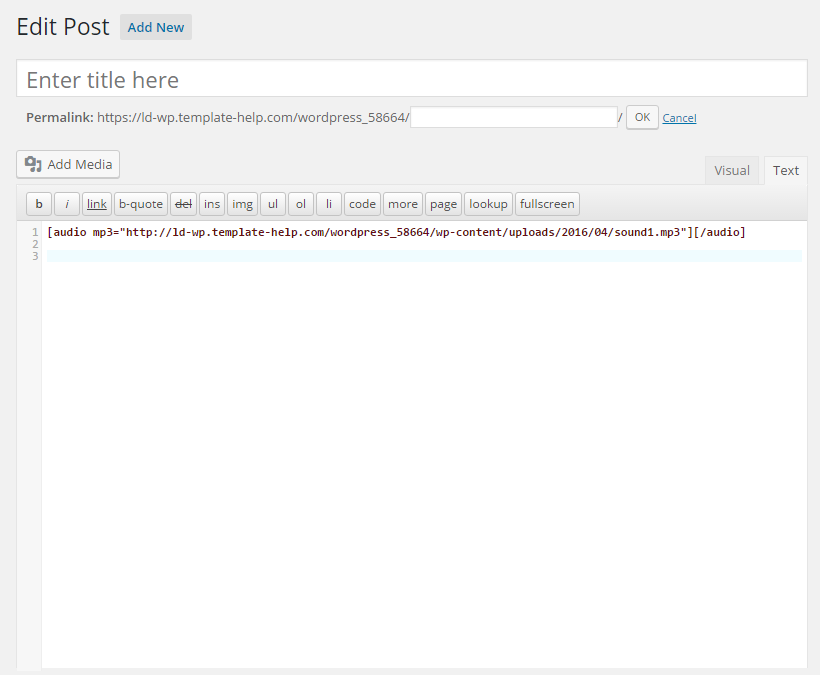
You can edit the following fields in the media gallery file settings:
- URL - audio file direct URL.
- Title - audio track name.
- Artist - audio track performer.
- Album - audio track album.
- Description - audio track description.
Gallery
The main feature of this post format is the possibility to add an unlimited number of images.
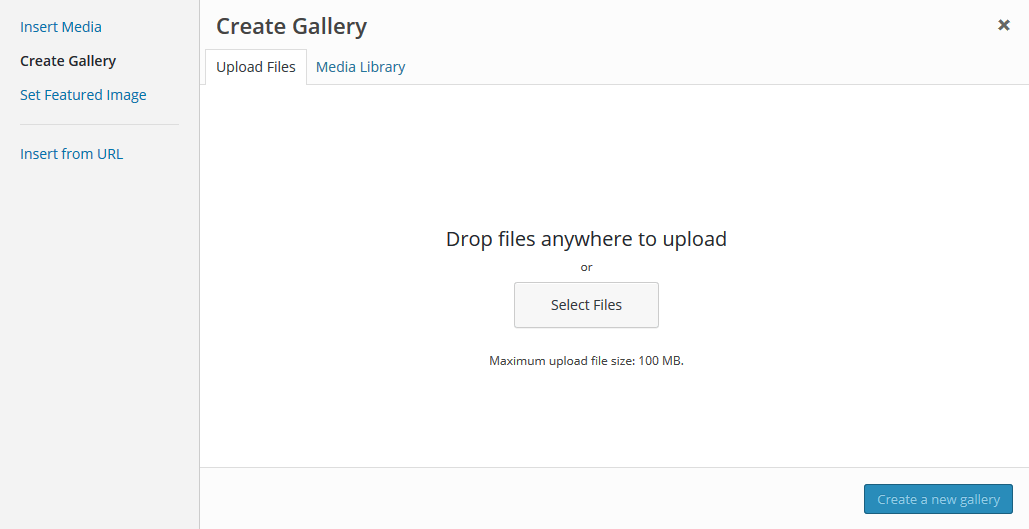
Adding a gallery:
Click Add Media.
Drag files or click Select Files to add images from the local computer.
After the images are uploaded, you can find them in Media Library. Click Uploaded to this post to view the images.
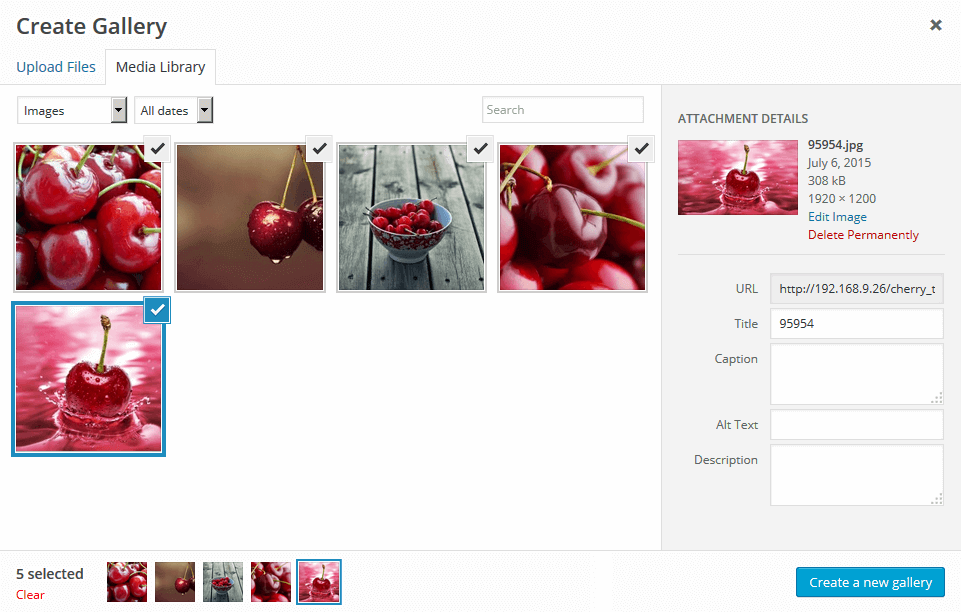
After editing, you can close the media library. The uploaded images will be added automatically.
Gallery post format has the same fields that the standard post format has (e.g. title, content, category, etc).
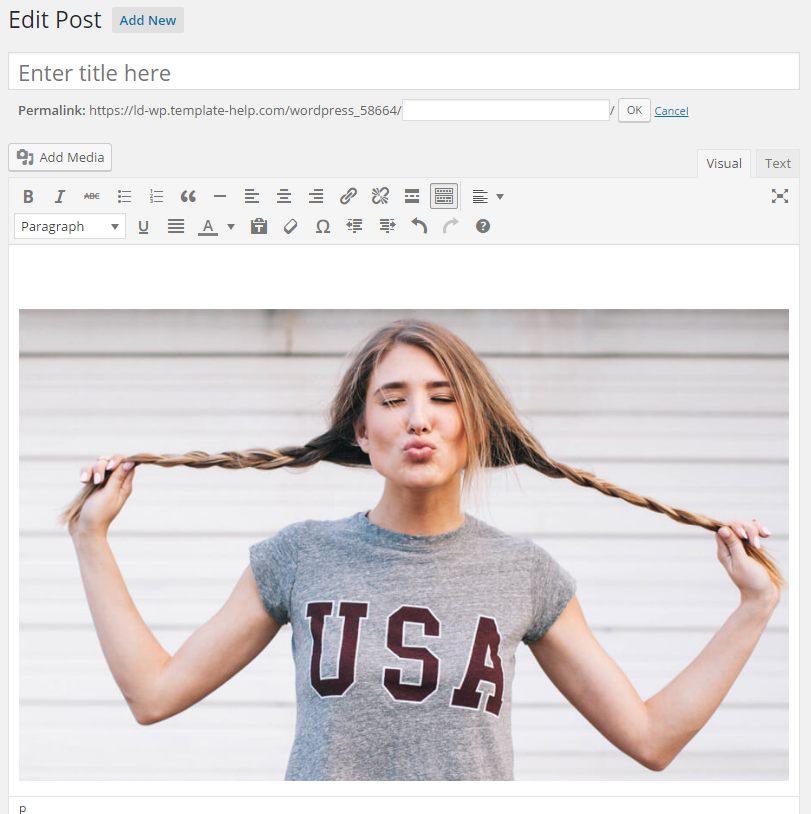
Image
Image format is a format that includes one image uploaded through the Featured Image option.
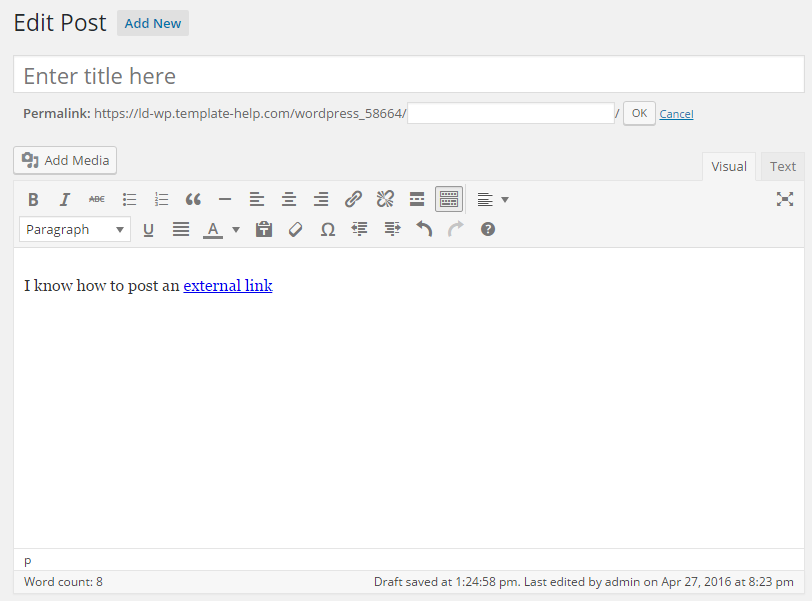
Link
Link post format can be created in the visual editor by adding a URL in standard post format. Post title will be used as the URL text.
Moreover, you can add a description of the target page and link any part of the text.
Quote
Quote post is used to publish the statements.
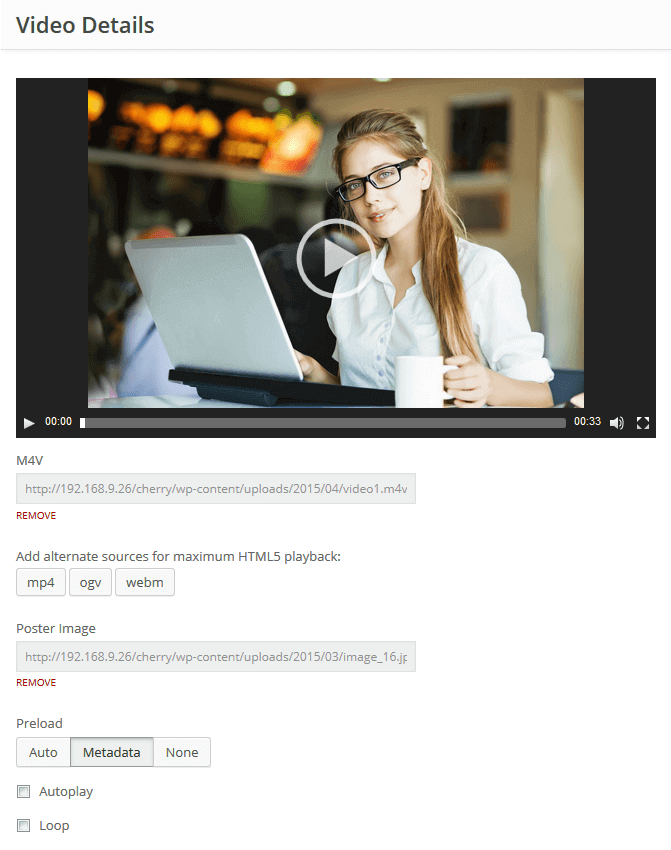
Video
Video post is used to publish video content.
There are two ways of adding video into the post:
- Embedded Code - used to add video from the external sources like Youtube, Vimeo, etc
- Add video through the media library
You can edit the following fields in settings:
- M4V - direct link to the video in m4v format with delete function
- Add alternative source for maximum HTML5 playback - alternative source of various video formats (mp4, ogv, webm)
- Poster image - set an image for video poster
- Preload - set video preloader (auto, metadata, none)
- Autoplay - set video to autoplay
- Loop - loop video
Simple Widgets
This section highlights the basics of working with the widgets (functional blocks). It explains where to start from, how to set them up correctly and use the full range of options.
Archives
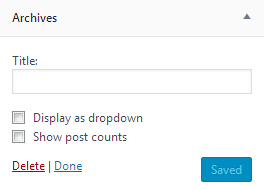
This widget is designed to display archives.
-
- Title
- enter the title of the widget.
-
- Display as dropdown
- this option allows to display the categories as a dropdown list.
-
- Show post counts
- show/Hide post counts.
Calendar

This widget is designed to display calendar
-
- Title
- enter the title of the widget.
Categories
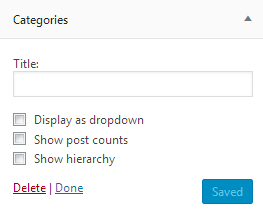
This widget is used to setup and display categories.
-
- Title
- this property specifies the widget title.
-
- Display as dropdown
- this option allows to display the categories as a dropdown list.
-
- Show post counts
- show/hide post counts.
-
- Show hierarchy
- show hierarchy.
Meta
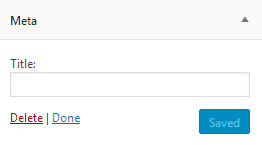
The widget is used to show 5 standard links.
-
- Title
- this property specifies the widget title.
Navigation Menu
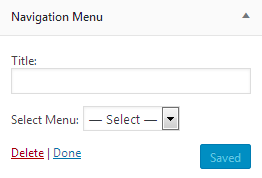
This widget allows you to add navigation menu to the sidebar.
-
- Title
- this property specifies the title of the widget.
-
- Select menu
- here you can select any of the predesigned menus.
Pages
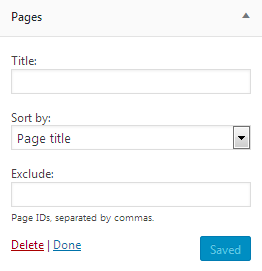
This widget displays a full list of pages of your site.
-
- Title
- this property specifies the widget title.
-
- Sort by
- this option allows to sort the pages by page title, page order or page ID.
-
- Exclude
- specify the IDs of the pages you want to exclude.
Recent Comments
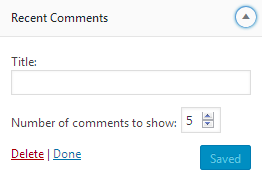
This widget is used to display the recent comments to the posts on the homepage.
-
- Title
- this property specifies the widget title.
-
- Number of comments to show
- this property allows you to change the number of the displayed comments.
Recent Posts
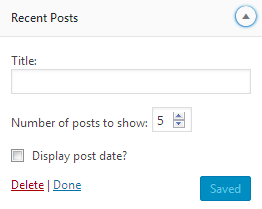
This widget is used to display recent posts on the homepage.
-
- Title
- this property specifies the widget title.
-
- Number of posts to show
- this property allows you to change the number of the displayed posts.
-
- Display post excerpt?
- show/hide post exerpt.
-
- Excerpt words length
- this property specifies the excerpt words length.
-
- Display post date?
- show/hide post date.
-
- Display post thumbnail?
- show/hide post thumbnail.
RSS
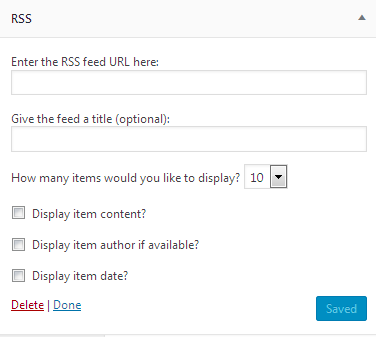
The widget is used to display RSS feeds on the website.
-
- Enter the RSS feed URL here:
- specify the RSS feed URL.
-
- Give the feed a title (optional):
- specify the title.
-
- How many items would you like to display?
- specify the number of items displayed.
-
- Display item content?
- show/hide item content.
-
- Display item author if available?
- show/hide item author.
-
- Display item date?
- show/hide item date.
Search
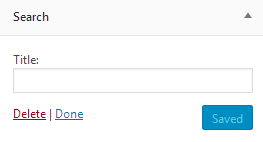
This widget adds a search field to the page
-
- Title
- specify the widget title.
Tag Cloud
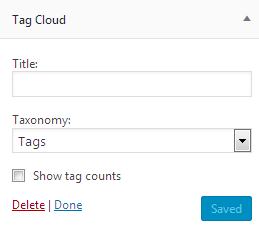
The widget allows you to display tag cloud on the website.
-
- Title
- this property specifies the widget title.
-
- Taxonomy
- choose a proper taxonomy type.
Text
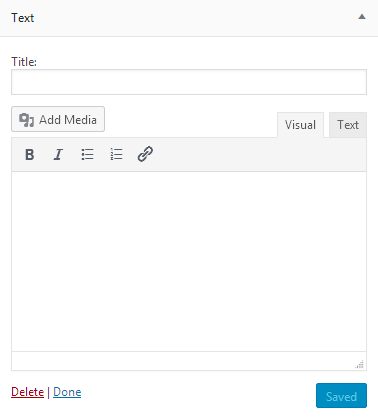
The widget allows you to display various text blocks, you can also use it to insert the shortcodes.
-
- Title
- this property specifies the widget title.
-
- Content
- insert any kind of content.
-
- Automatically add paragraphs
- this option enables the "Automatically add paragraphs" function.
Localization
Manual Localization
WordPress offers a very easy option to change languages in your theme.
- go to Settings > General in your theme's dashboard;
- at the bottom of your page you will find Site Language option. Choose the needed language in the dropdown menu and click Save Changes button;
- after the language has been switched, you need to translate your theme. To do so, go to wp-content > themes > theme name > languages, where you should have the proper language files installed in this directory.
If you do not see the language you want to use in the list, you can manually install language packs in WordPress.
WordPress uses a gettext system for translations, where a main .pot template file can be found and used. Each language consists of two files: with .po and .mo extension. You will need a .mo file for your language.
- go to the WordPress translation teams page . Check if there is a WordPress translation available for your language;
- click on the percentage value to see the status of the translation progress in your language and then click on current WordPress version;
- you will be transferred to GlotPress (a web-based app used by WordPress team to manage and translate WordPress projects);
- go to the bottom until you see the Export section;
- in the dropdown, select Machine Object Message Catalog (.mo) and then click on Export link.
- repeat the same actions for Portable Object Message Catalog (.po) and then click on the Export link;
- download and unzip the language pack on your computer. Connect to your website using an FTP client. Once connected, upload the language files to /wp-content/languages folder;
- once the file has been uploaded, go to the WordPress dashboard;
- go to Settings > General > Site Language option, and you will find the language you have just uploaded.
Poedit
WordPress theme can also be localized by using Poedit program. Localization becomes possible because of using GNU gettext framework for translation and such types of files as POT (Portable Object Template), PO (Portable Objects) and MO (Machine Objects) files.
Installing Poedit
- to start your theme's localization you need to download and install Poedit;
- once Poedit has been installed, open it, and go to File > New Catalog;
- go to Catalog Properties window > Translation Properties tab > Fill in your project's information. Note! Each tab in the Catalog Properties window should be filled.
- go to the Sources paths tab. Enter the path for the folder which will be used by Poedit program to search for source files containing text you need to translate;
- go to the Sources keywords tab. Define the functions to be used to localize the text in files, _() and _e(). Click OK button;
- on this step name and save your POT file. We recommend to choose .pot extension and save the file in a folder in your theme directory;
- Poedit will scan folders specified in the Sources path tab, once you click OK button. The program will generate a list of the localized text in your theme's files;
- the final step - save your POT file, and your theme is ready for translation!
Localization using Poedit
- open Poedit and select Create new translation. In the pop-up window select WordPress theme you need to translate. Your theme's default translation template in THEMEXXX/lang/YYY.po (where THEMEXXX is the name of your theme and YYY – default language of the theme). Open it;
- in the appeared dropdown menu select a language you need to translate your theme to. Click OK button and go ahead to translate your theme;
- highlight any string you want to translate in the Source text section. In the Translation section enter a desired translation of the source string:
- after your theme has been translated, save the file in the same directory as the original template;
- upload the .po file you have saved on previous step, and .mo file (the same as you have saved, but containing .mo extension, is generated automatically by Poedit) to the corresponding directory on your hosting account;
- open wp-config.php file, which is located in your WordPress installation, and add it to the line: define ("WPLANG", "ZZZ");, where ZZZ is the name of the file you have used to save your translation;
- your theme will now appear translated!
Loco Translate Plugin
With Loco Translate you can do built-in translation and editing of your files via WordPress admin panel, and use such tools as extracting strings and generating templates. Loco Translate has protected language directory for saving custom translations. It supports native MO file compilation and PO features. The plugin has such important features as configurable PO file backups and built-in WordPress local codes.
Installing Loco Translate plugin
- unzip all files to the /wp-content/plugins/loco-translate directory;
- log into WordPress admin and activate the Loco Translate plugin through the Plugins menu;
- go to Loco Translate > Home in the left-hand menu to start translating.
Polylang Plugin
Polylang plugin provides a number of useful options, such as RTL language support, ability to make your site either bilingual or multilingual, automatic copy of categories, post tags, etc. when adding a new post or page translation, and customizable language switcher.
Installing Polylang plugin
- unzip all files to the /wp-content/plugins/polylang directory;
- log into WordPress admin and activate the Polylang plugin through the Plugins menu;
- go to the languages settings page and create the languages you need;
- add the language switcher widget to let your visitors switch the language.
Make sure you are using WordPress 4.0 or later and that your server is running PHP 5.2.4 or later (same requirement as WordPress itself). If you tried other multilingual plugins, deactivate them before activating Polylang.
Note! Your theme should be with the corresponding .mo files (Polylang automatically downloads them when they are available for themes and plugins in this repository). If your theme is not internationalized yet, please refer to the Theme Handbook.
The WordPress Multilingual Plugin (WPML)
WPML plugin is a user-friendly plugin which help you to build multilingual sites both personal and corporate ones. With WPML you will be able to translate pages, menus, posts and the whole texts. Every WordPress theme that uses API runs multilingual with this plugin.Installing WPML plugin
- log in to your WPML.org account;
- go to the Downloads section;
- log into WordPress admin and activate the Polylang plugin through the Plugins menu;
- download the needed WPML components. You will receive a ZIP file for each one of WPML’s components;
- unzip each file. A directory will be created;
- download the needed WPML components. You will receive a ZIP file for each one of WPML’s components;
- upload the unzipped directories to /wp-content/plugins directory;
- go back to the Plugins page and enable the newly uploaded/added plugins;
- follow WPML’s setup wizard to add languages to your site.
The first time you use WPML, you need to manually download it and install. Then, register to receive automated updates to future versions.
You can find more detailed instructions and guides in WPML Documentation.
Additional information about Localization can be also found on Zemez Support Portal.