From this block you can get the information on how to start working with JetGuten blocks using Gutenberg editor.
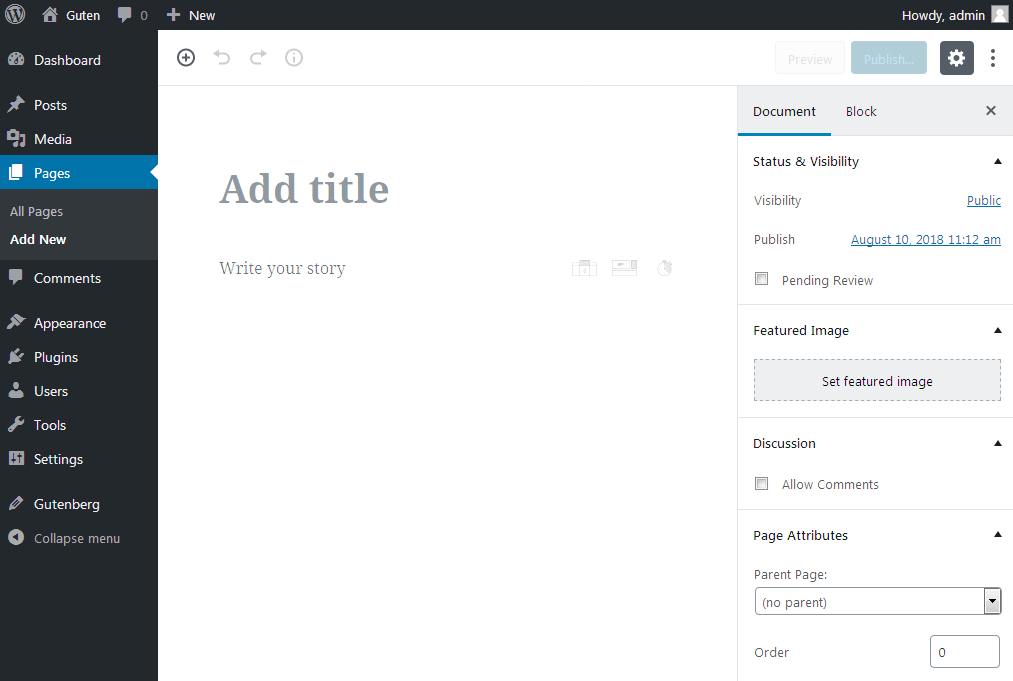
First, let’s create a new page using Gutenberg editor. To do it navigate to Pages > Add New in admin panel. If you’re creating a new page from All Pages, click the dropdown arrow on Add New button and here select Gutenberg editor from the dropdown list. You’ll be redirected to Gutenberg page editor.
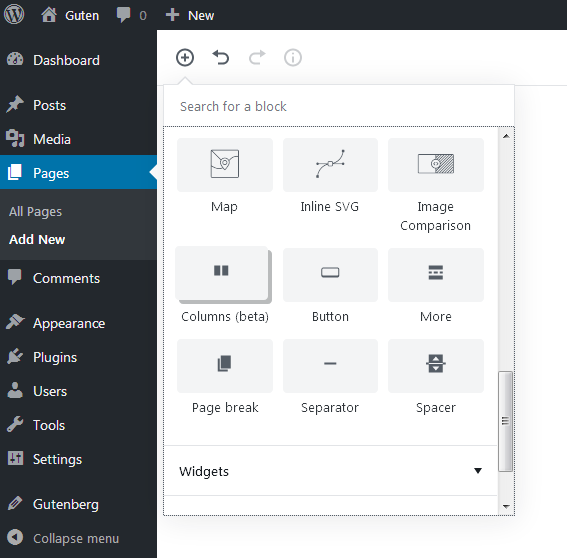
Add the title of the page, and start creating page’s structure using Layout Elements. You can locate the columns, spacers, separators, etc., in Add Block > Layout Elements section.
Here you can separate the page’s content using columns (sometimes it is needed in the case you want to display several Pricing Table blocks or Banner blocks in a row.
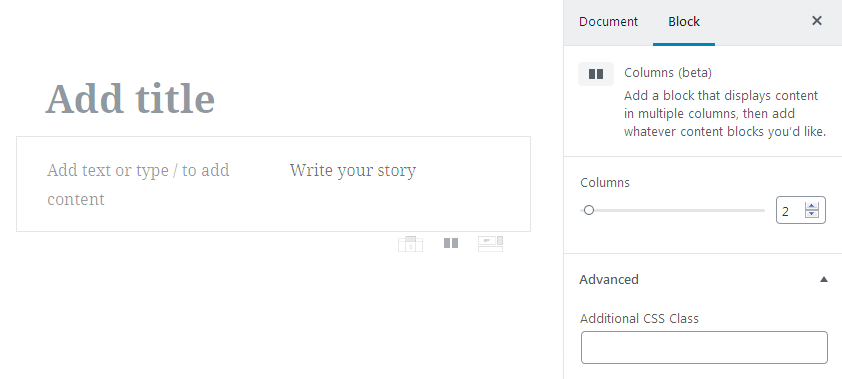
To customize the number of columns click the block you want to edit and switch from Document to Block tab. Here use the control to change the number of columns to use (by default there are 2 columns).
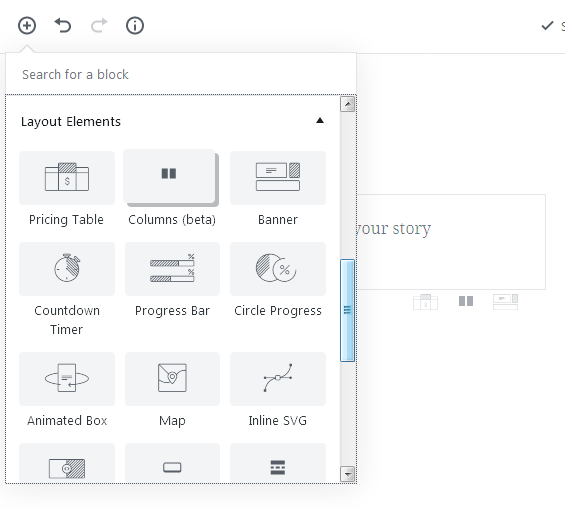
Locate JetGuten blocks in Add Block > Layout Elements. Here you’ll find:
Pricing Table;
Countdown Timer;
Banner;
Circle Progress;
Animated Box;
Map;
Progress Bar;
Inline SVG;
Image Comparison.
These blocks can be used for adding more content to the pages built with Gutenberg.
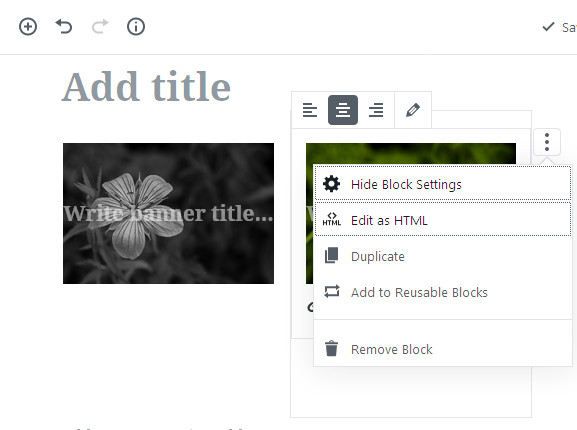
You can edit these blocks using the visual interface located on the right or click Options in the top right corner of the block and select Edit as HTML.
After that you’ll have the direct access to HTML of this block. To switch back to visual interface select Edit Visually option.
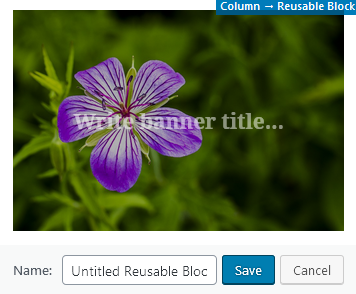
In order to save one of the already styled blocks added with JetGuten as a template click Options for the block and select Add to Reusable Blocks.
After that it will become available in Add Block > Reusable section. Then you'll have to add the name for the block and click Save button to save it.
When everything is done you can preview the changes using Preview button or click Publish to make the page live on your site.