LawnCare
Plugins
The plugins used in this template are described here.
Booked - Appointment Booking
Booked is a powerful and easy-to-use appointment booking plugin for WordPress.
Create a Profile Page
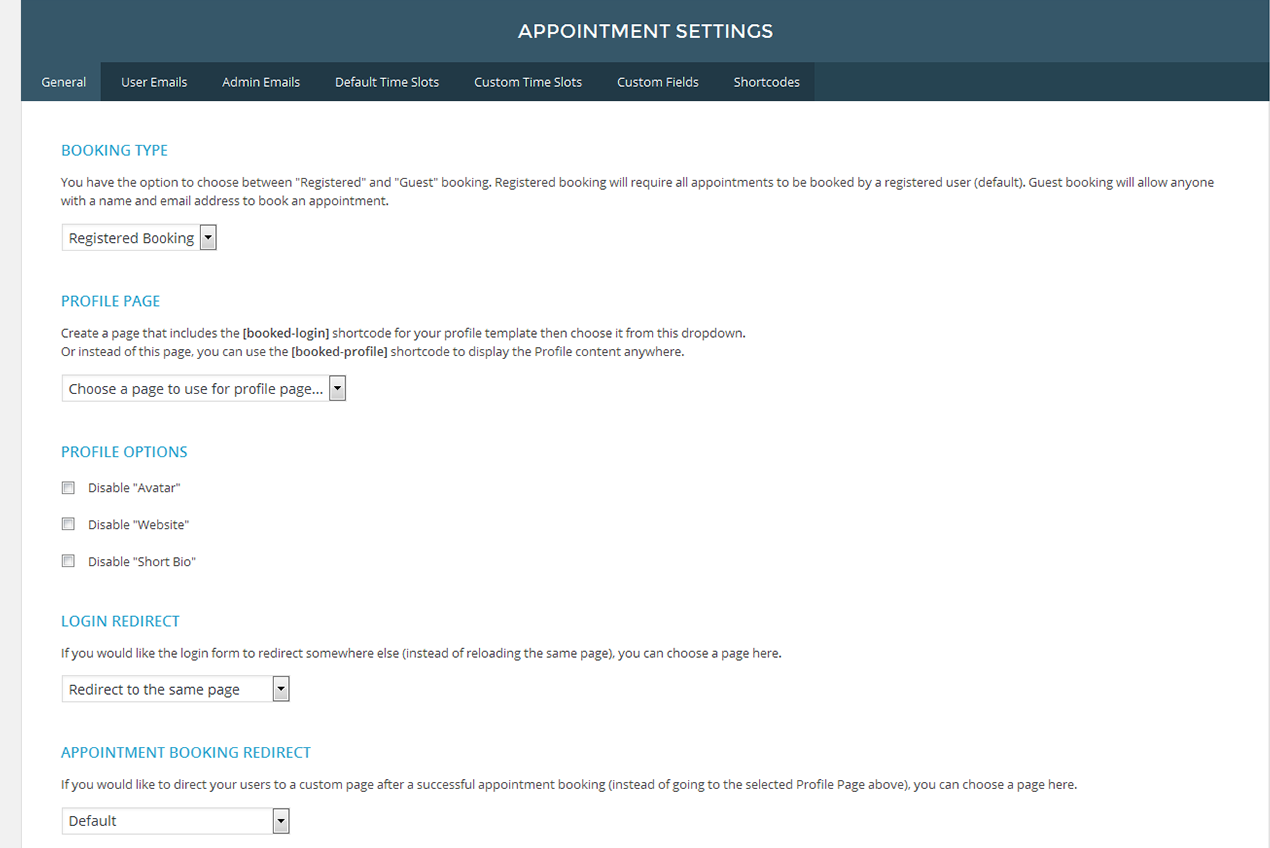
If you would like your customers to manage their own appointments and edit their profile, you’ll want to activate the profile page. It’s an easy process though, just follow the guide below:
- Create a page and give it a title. “Profile” works too, but it can be whatever you want it to be.
- Add the [booked-login] shortcode to the page so your users can log in to view their profile.
- Go to the Booked Settings panel (Appointments > Settings) and choose this new page from the dropdown in the General Settings tab.
Just after installing the Contact Form 7 plugin, you’ll see a default form named “Contact form 1″ and a code like this:
GENERAL SETTINGS
- Profile Page - As described above, you will choose the page you want to use for the profile from this dropdown.
- Time Slot Intervals - When creating your default time slots (described below), you can choose the intervals at which you can choose your time slots. Just change it with this dropdown.
USER EMAILS
All emails can be turned off one by one by simply removing the content of the email in the fields. If nothing is there then no email is sent. All emails have special tokens you can use in place of actual content. This content is placed into the email when it gets sent. The tokens are listed above each email form.
- Registration - This is the email that is sent to your new users, welcoming them to your website.
- Appointment Confirmation - This email is sent to the user when they book an appointment as a confirmation that the appointment has been submitted.
- Appointment Approval - This is the email that is sent to the user when their appointment is approved.
- Appointment Cancellation - This is the email that is sent to the user if their appointment is cancelled by the website admin.
APPOINTMENT CREATION
The power of Booked is that your customers can pick and choose from available time slots when they would like to book their appointment. However, in some cases the admin needs this power. You can create appointments quickly and easily using the appointment calendar:
- Click “Appointments” in the admin panel.
- You will see a big calendar, showing the current month (if the current date is wrong, please make sure the correct time zone is selected from Settings > General).
- Pick the day on which you want to book the appointment.
- Choose a time slot and click the “New Appointment…” button.
- If this is a current customer, you can simply select them from the user dropdown.
- If this is a new customer, you can quickly add them as a new user by using the registration fields. The first name and email are the only required fields.
- When the appointment is booked, the user will get an email welcoming them to the site (with a username/password) as well as an appointment confirmation email. These emails can be customized/turned off from the Booked Settings panel.
APPOINTMENT CANCELLATION
To cancel someone’s appointment, simply find the appointment on the calendar and click the “ ×” next to their name in the time slot from which you want to remove them.
Shortcode
[booked-calendar year="2016" month="7" calendar="12" switcher="true"]
Default Time Slots
Setting your default time slots is at the heart of the Booked plugin. Each day is assigned to default time slots. For example, if your business is open on Monday – Friday from 8:00am – 4:00pm and you have 2 employees available every hour, you would create 2 times slots every hour from 8–4, Monday – Friday.
BULK TIME SLOT ENTRY
To quickly add a bunch of time slots, you can use the Bulk time slot entry option:
- Click “Add…” at the top of the day you’re adding time slots to.
- Switch to the “Bulk” tab.
- For the “Start time…”, select “8:00am”.
- For the “End time…”, select “4:00pm”.
- Leave the next dropdown as “Every 1 hour” to set your time slots every hour.
- Choose “2 time slots” as the last option, and then click “Add”.
- Your available time slots for that day will then be added and your customers can start booking the appointments!
SINGLE TIME SLOT ENTRY
Alternatively, you can add a single time slot to any day/time:
- Click “Add…” at the top of the day you’re adding time slots to.
- Choose a “Start time” and “End time” and then select how many time slots you want to add.
- Click “Add” and that time slot entry will be added as a default for that day.
Adding Custom Time Slots
- Go to the Booked Settings panel and then go to the Custom Time Slots tab.
- Click the “Add Date(s)” button.
- Choose the calendar you want to use (if applicable).
- Choose the Start Date.
- If this is a one day setting, you can leave the End Date blank. If this is a date range, choose the End Date.
- To add a single time slot, click the “+ Single Time Slot” button. To bulk add time slots, click the “+ Bulk Time Slots” button.
- For single time slots, you’ll choose how many available appointments for this time slot and then you’ll choose the start and end times. Alternatively, you can check the “All day” checkbox to make this an all day time slot.
- To add bulk time slots, choose how many available appointments there are, choose a start and end time for the entire span of your day, choose the time between each slot if you need a 10 minute break for example. Then choose the interval for the time slots to be entered.
For more information, please visit video tutorial
Adding Vacation/Closed Dates
- Go to the Booked Settings panel and then go to the Custom Time Slots tab.
- Click the “Add Date(s)” button.
- Choose the calendar you want to use (if applicable).
- Choose the Start Date.
- If this is a one day setting, you can leave the End Date blank. If this is a date range, choose the End Date.
- Check the “Disable appointments” checkbox to make this a vacation/closed date.
- That’s it
For more information, please visit video tutorial
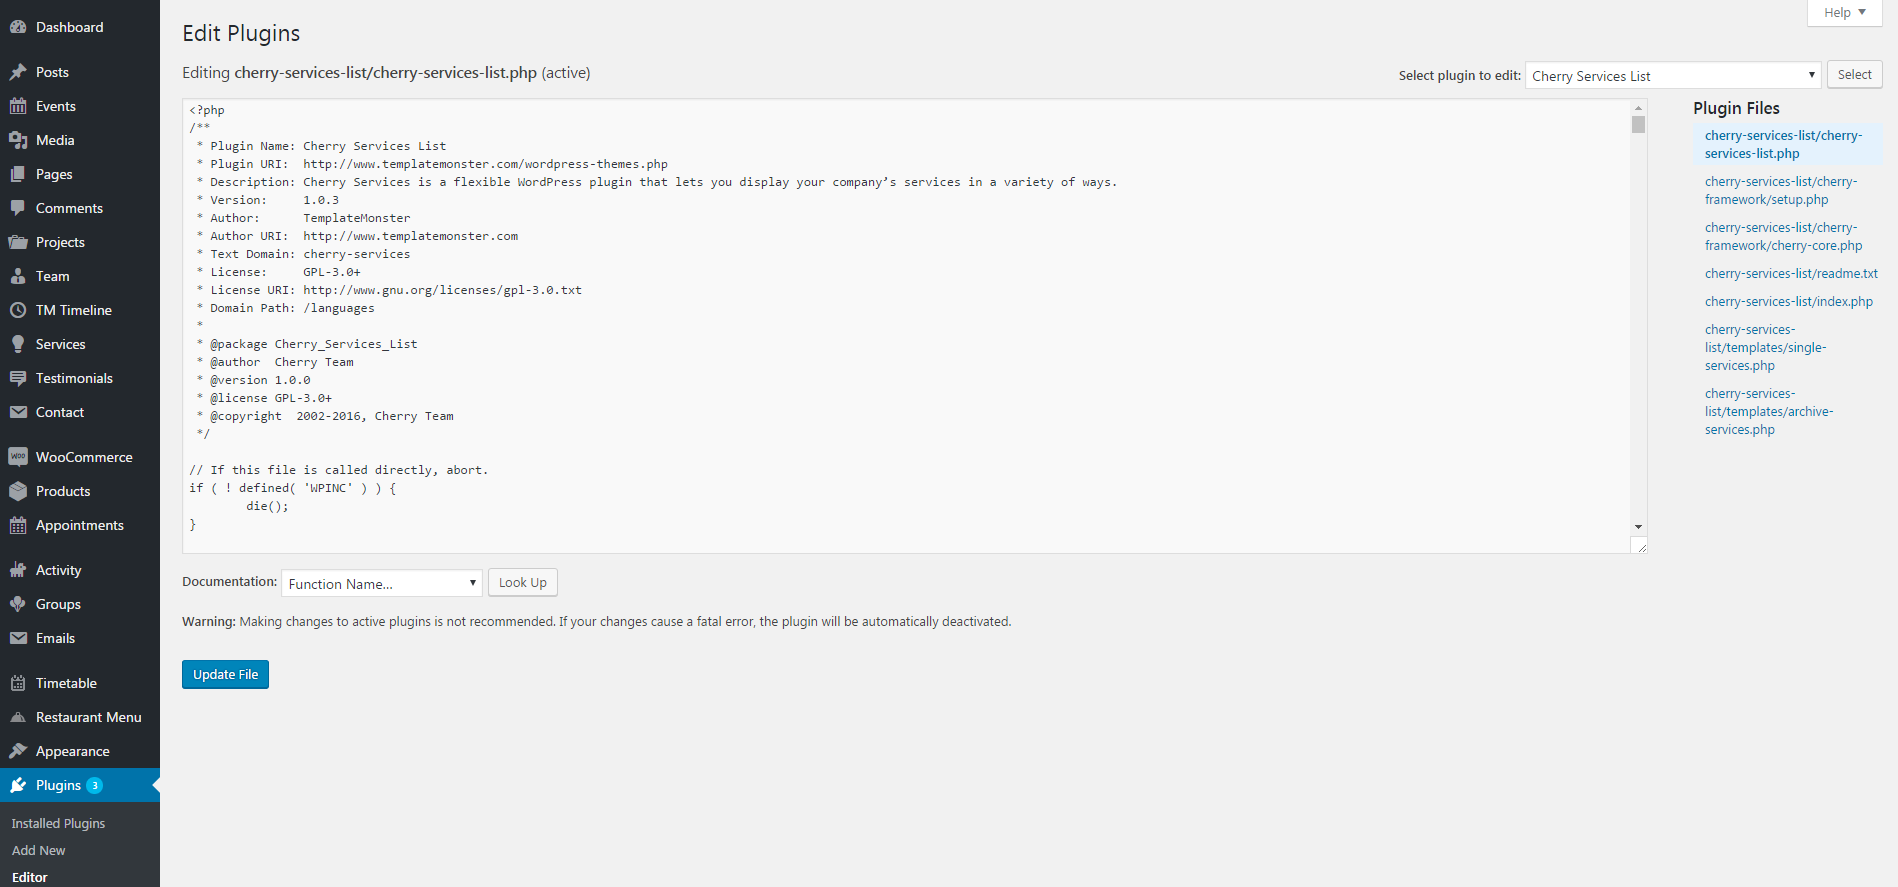
Cherry Services List
Cherry Services is a flexible WordPress plugin that lets you display your company’s services in a variety of ways: as single pages, galleries, and even as embedded content blocks on the homepage of your website with the help of custom shortcodes. The plugin adds a custom post type named “Services”, which you can use to display what your company offers – in a professional way.
Cherry Sidebars
Cherry Sidebars allows to create and manage your own dynamic sidebars.
Cherry Sidebars is a lightweight plugin for creating multiple widget areas, and outputting them on posts or pages of your choosing. Now you don’t have to limit yourself to one widget area, instead you can create as many as you like. Group your widgets into multiple areas, and pick which one you want to display for a certain post or page.
The plugin can be useful for certain posts or pages, where you want your content to be different, for example you need to add a banner ad to your popular post, or a bio section to the ‘About’ page. Cherry Sidebars would be a perfect tool for this task.
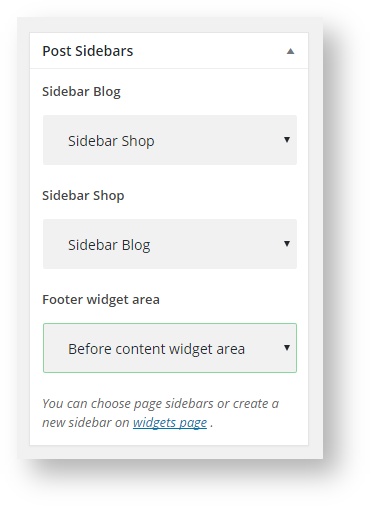
An example of two custom sidebars with the widgets:

The form for creating a sidebar. Simply specify name and description for your new sidebar:

This is the sidebar manager panel that allows you to assign one of the sidebars to the current page.
Contact Form 7
Contact Form 7 plugin can manage multiple contact forms. It also lets you customize the form and the mail contents flexibly with simple markup.
Displaying a Form
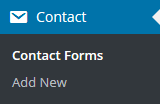
Let’s start with displaying a form on your page. First, open the ‘Contact -> Contact Forms’ menu in your WordPress administration panel.
You can manage multiple contact forms there.
Just after installing the Contact Form 7 plugin, you’ll see a default form - “Contact form 1″ and a code like this:
[contact-form-7 id="1234" title="Contact form 1"]
Copy this code. Then open (‘Pages -> Edit’) of the page where you wish to place the contact form. A popular practice is creating a page named ‘Contact’ for the contact form page. Paste the code you’ve copied into the contents of the page.
Now your contact form setup is complete. Your site visitors can now find the form and start submitting messages to you.
Next, let’s see how you can customize your form and mail content.
Customizing a Form
Title for this contact form is (1) which is just a label for a contact form and is used for administrative purposes only. You can use any title you like, e.g. “Job Application Form,” “Form for Event 2016/01/01″ and so on.
Shortcode for this contact form is(2). Copy this code and paste it into your post, page or text widget where you want to place this contact form.
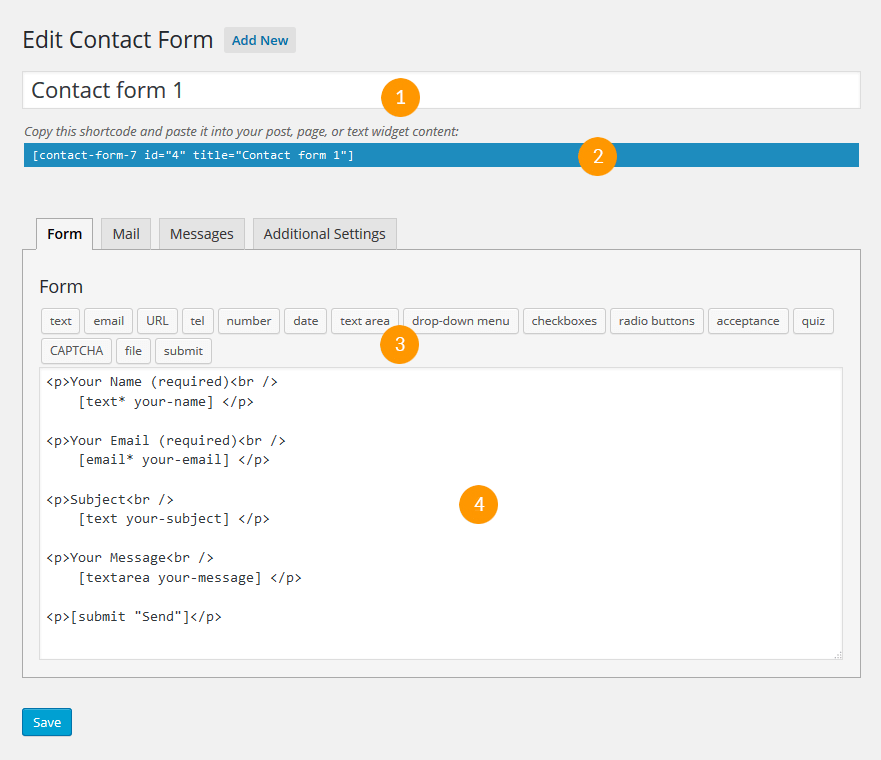
Form Tab
Form editing the field (4). You can customize the form content here using HTML and form-tags. Line breaks and blank lines in this field are automatically formatted with
and <p> HTML tags.
Tag generators (3). By using these tag generators, you can generate form-tags without knowledge of them.
For more information about form-tags, see How Tags Work.
Mail Tab
You can edit the mail template for the mail which is sent in response to a form submission. You can use mail-tags in these fields.
An additional mail template is also available. It is called Mail(2) and its content can differ from the primary Mail template.
For more information, see Setting Up Mail.
Messages Tab
You can edit various kinds of messages, including “Validation errors occurred,” “Please fill in the required field,” etc.
Make sure that only plain text is available here. HTML tags and entities are not allowed in the message fields.
Additional Settings Tab
You can add customization code snippets here. For more details, see Additional Settings.
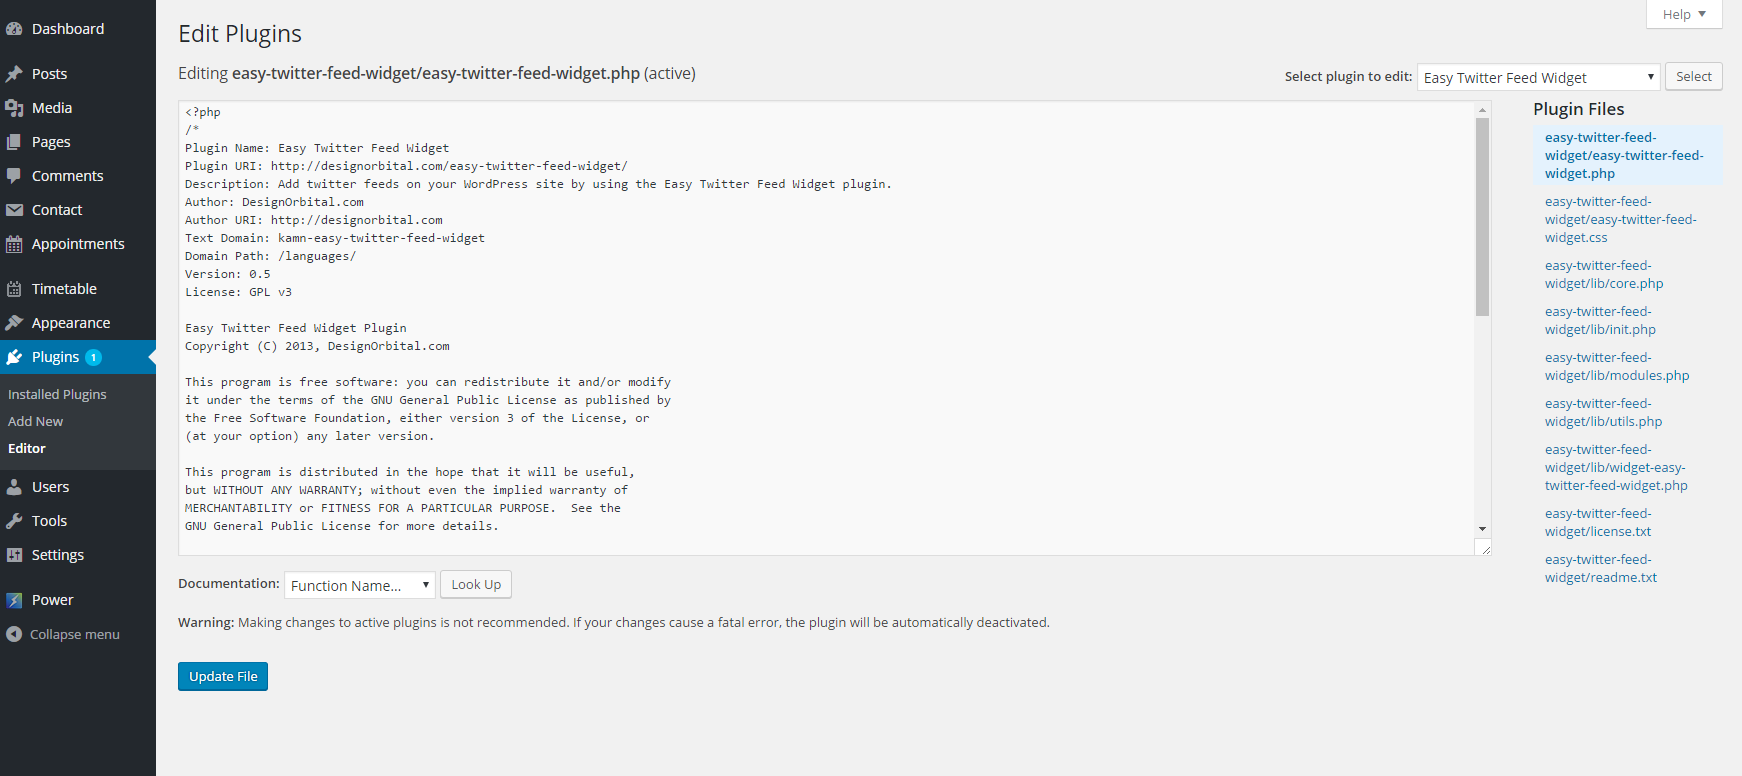
Easy Twitter Feed Widget
This Easy Twitter Feed Widget to display tweets on your WordPress site without creating an API . the plugin provides a nice interface to implement your tweets in a quick and easy way.
If you are planning to display the tweets on your blogsidebar without bells and whistles, our plugin can be an ideal choice.
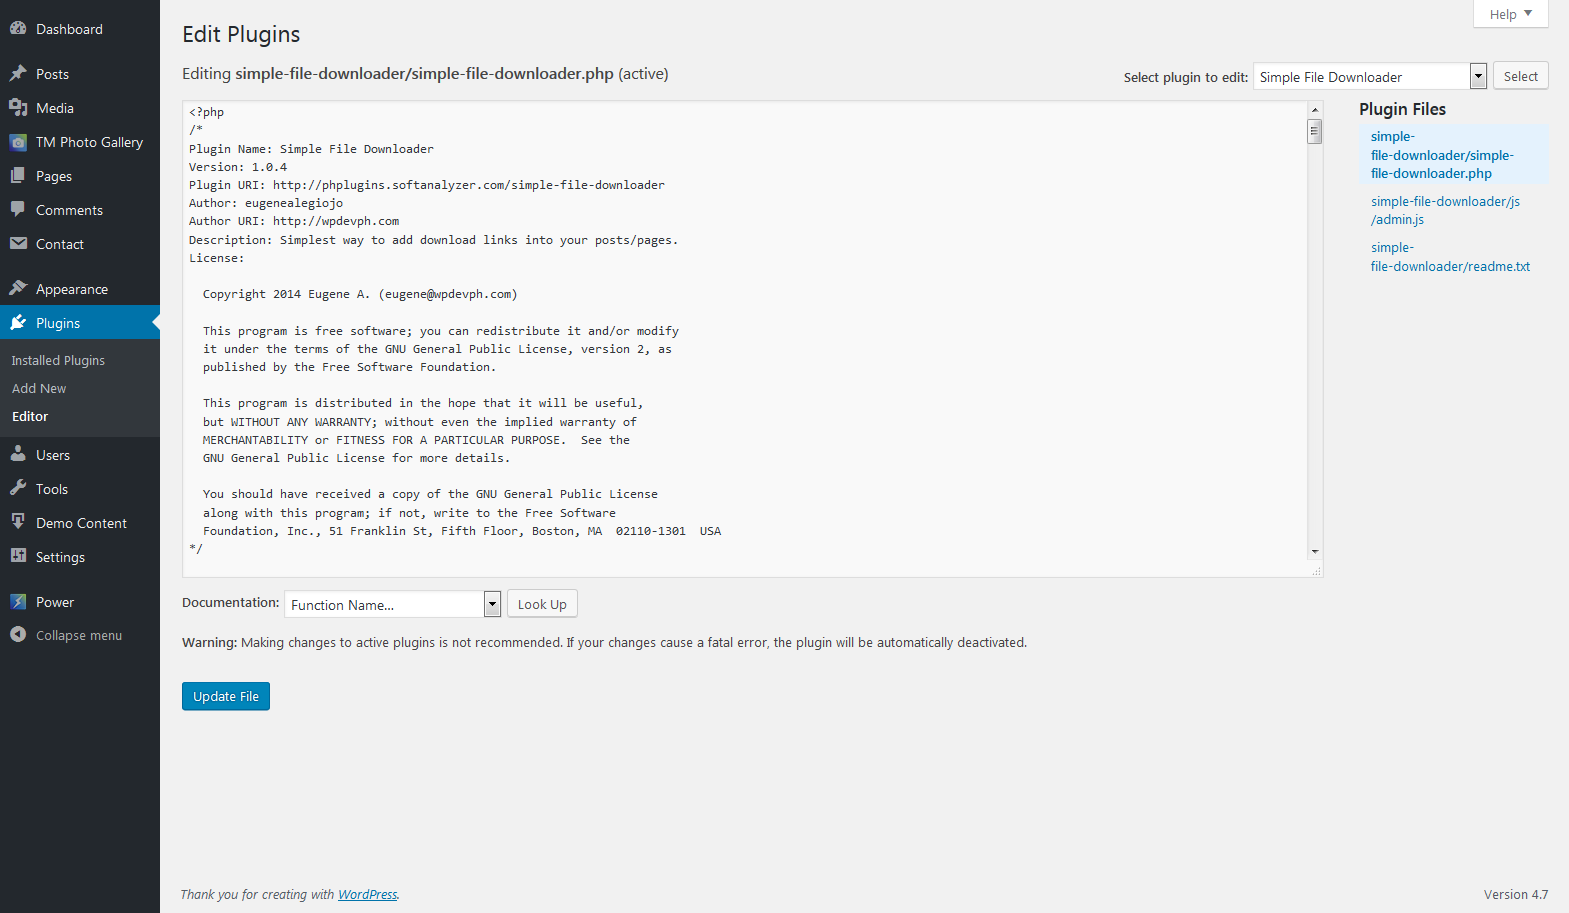
Simple File Downloader
The plugin that will let admin user to add download links to any posts/pages in simplest way and hassle free. Allows all your site visitors to download any files from your website without any user restriction.
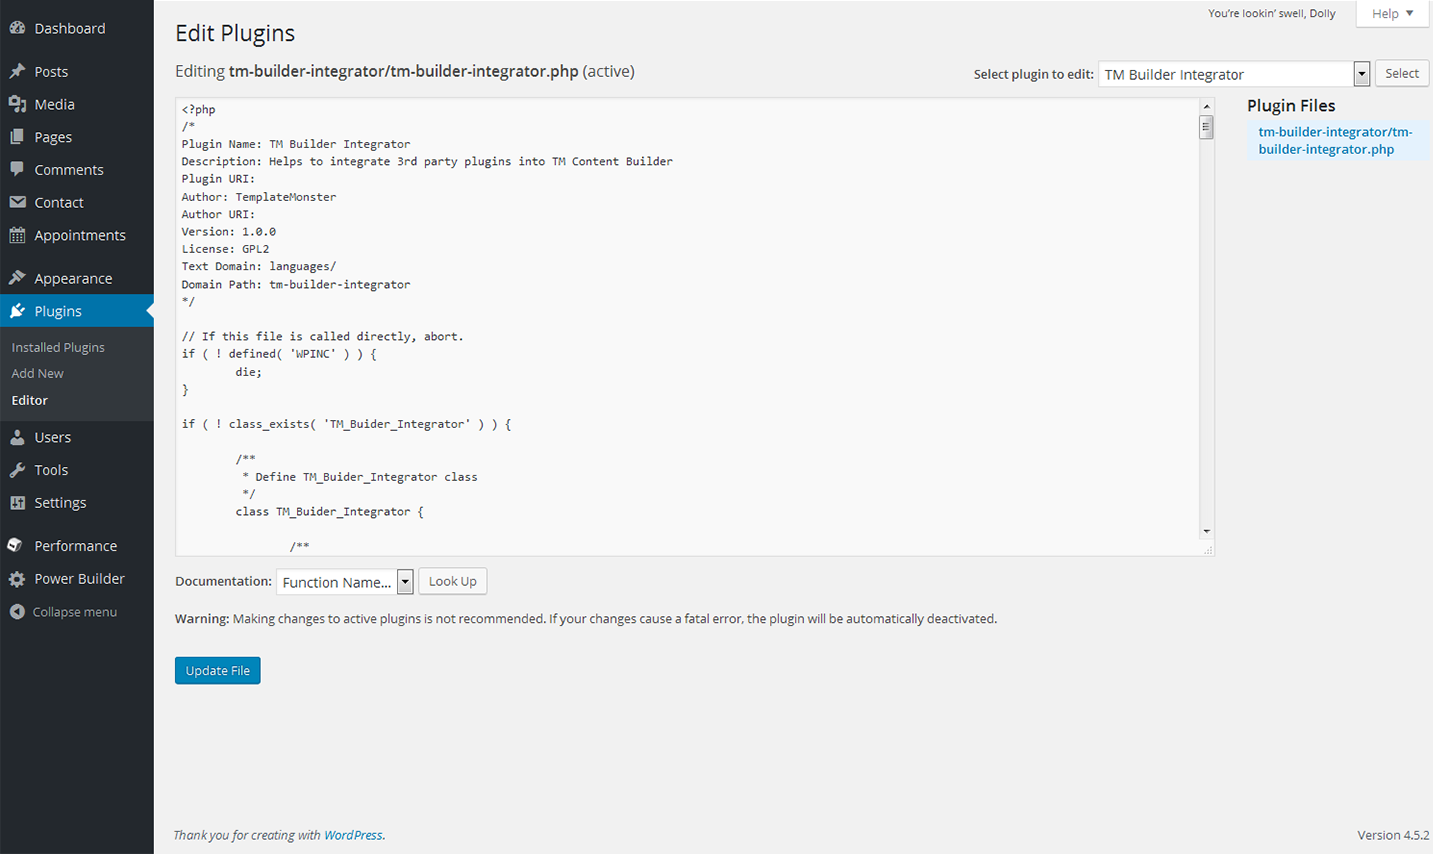
Power Builder Integrator
Power Builder Integrator is specially designed to help users integrate 3d party plugins into the Content Builder.
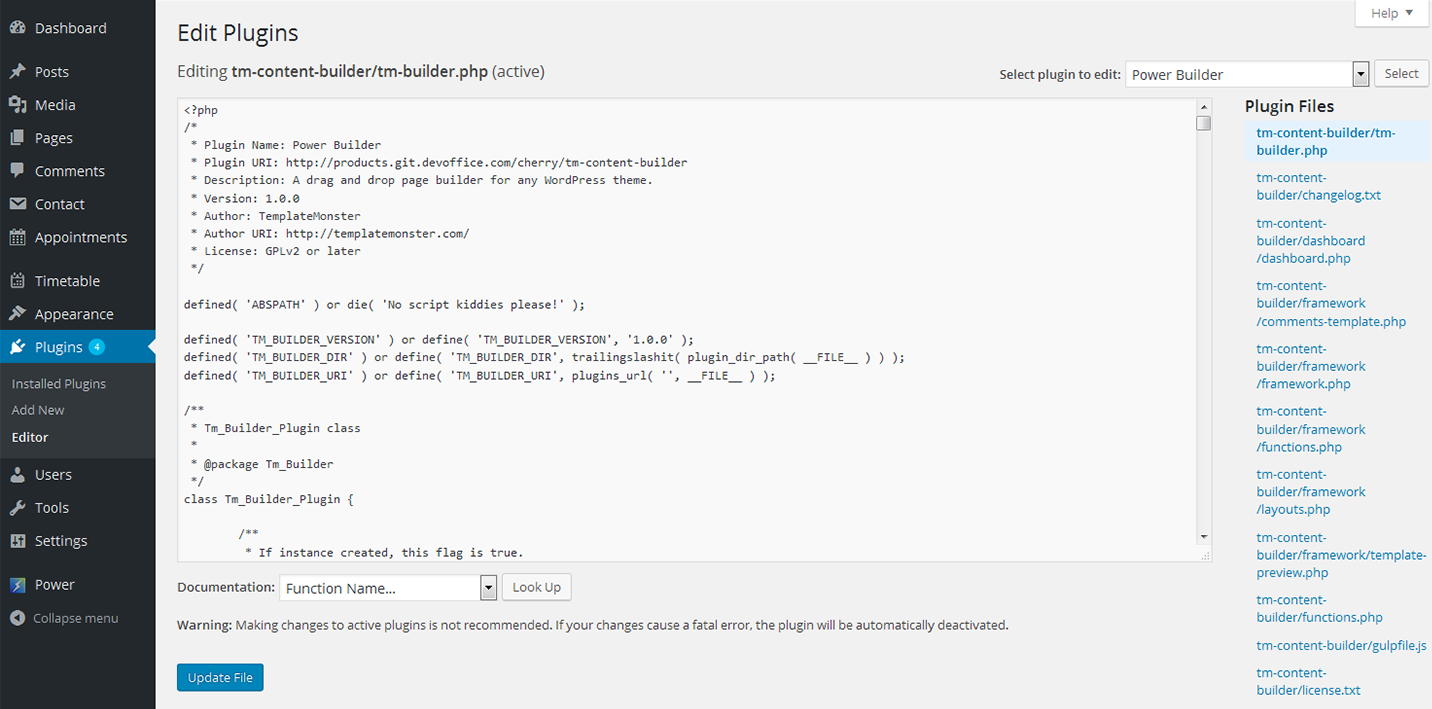
Power Builder
Power builder is a brand new drag and drop page builder from TemplateMonster. It allows even non developers to build top-quality and fully functional sites for any kind of business.
WP User Avatar
WP User Avatar enables you to use any photo uploaded into your Media Library as an avatar. This means you use the same uploader and library as your posts. No extra folders or image editing functions are necessary.