Booked
is a powerful and easy-to-use appointment booking plugin for WordPress.
Create a Profile Page
If you would like your customers to manage their own appointments and edit their profile, you'll want to activate the profile page. It's an easy process though, just follow the guide below:
Create a page and give it a title. Profile works too, but it can be whatever you want it to be.
Add the [booked-login] shortcode to the page so your users can log in to view their profile.
Go to the Booked Settings panel (Appointments > Settings) and choose this new page from the dropdown in the General Settings tab.
Just after installing the Contact Form 7 plugin, you’ll see a default form named Contact form 1 and a code like this:
General Settings
profile page
as described above, you will choose the page you want to use for the profile from this dropdown;
time slot intervals
when creating your default time slots (described below), you can choose the intervals at which you can choose your time slots. Just change it with this dropdown.
User Emails
All emails can be turned off one by one by simply removing the content of the email in the fields. If nothing is there then no email is sent. All emails have special tokens you can use in place of actual content. This content is placed into the email when it gets sent. The tokens are listed above each email form.
registration
this is the email that is sent to your new users, welcoming them to your website;
appointment confirmation
this email is sent to the user when they book an appointment as a confirmation that the appointment has been submitted;
appointment approval
this is the email that is sent to the user when their appointment is approved;
appointment cancellation
this is the email that is sent to the user if their appointment is cancelled by the website admin.
Appointment Creation
The power of Booked is that your customers can pick and choose from available time slots when they would like to book their appointment. However, in some cases the admin needs this power. You can create appointments quickly and easily using the appointment calendar:
click Appointments in the admin panel;
you will see a big calendar, showing the current month (if the current date is wrong, please make sure the correct time zone is selected from Settings > General);
pick the day on which you want to book the appointment;
choose a time slot and click the New Appointment button;
if this is a current customer, you can simply select them from the user dropdown;
if this is a new customer, you can quickly add them as a new user by using the registration fields. The first name and email are the only required fields;
when the appointment is booked, the user will get an email welcoming them to the site (with a username/password) as well as an appointment confirmation email. These emails can be customized/turned off from the Booked Settings panel.
Appointment Cancellation
To cancel someone's appointment, simply find the appointment on the calendar and click the × next to their name in the time slot from which you want to remove them.
Setting your default time slots is at the heart of the Booked plugin. Each day is assigned to default time slots. For example, if your business is open on Monday – Friday from 8:00am – 4:00pm and you have 2 employees available every hour, you would create 2 times slots every hour from 8–4, Monday – Friday.
Bulk Time Slot Entry
To quickly add a bunch of time slots, you can use the Bulk time slot entry option:
click Add at the top of the day you're adding time slots to;
switch to the Bulk tab;
for the Start time, select 8:00am;
for the End time, select 4:00pm;
leave the next dropdown as Every 1 hour to set your time slots every hour;
choose 2 time slots as the last option, and then click "Add;
your available time slots for that day will then be added and your customers can start booking the appointments!
Single Time Slot Entry
Alternatively, you can add a single time slot to any day/time:
click at the top of the day you're adding time slots to;
choose a Start time and End time and then select how many time slots you want to add;
click Add and that time slot entry will be added as a default for that day.
Adding Custom Time Slots
go to the Booked Settings panel and then go to the Custom Time Slots tab;
click the Add Date(s) button;
choose the calendar you want to use (if applicable);
choose the Start Date;
if this is a one day setting, you can leave the End Date blank. If this is a date range, choose the End Date;
to add a single time slot, click the + Single Time Slot button. To bulk add time slots, click the + Bulk Time Slots button;
for single time slots, you'll choose how many available appointments for this time slot and then you'll choose the start and end times. Alternatively, you can check the All day checkbox to make this an all day time slot;
to add bulk time slots, choose how many available appointments there are, choose a start and end time for the entire span of your day, choose the time between each slot if you need a 10 minute break for example. Then choose the interval for the time slots to be entered.
This plugin will help you export posts, comments, widgets, settings etc., from one site to another. With a single click of a button the plugin generates an XML file that can be imported to another website.
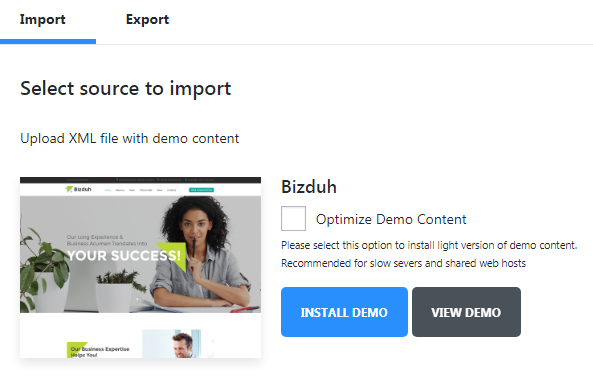
After the installation the plugin adds a new block - Demo Content where you can export or import the content.
Note: The images are not exported separately, they are downloaded from the server during the import.
File Import
To import the content, you need to upload the XML file and press Start Import.
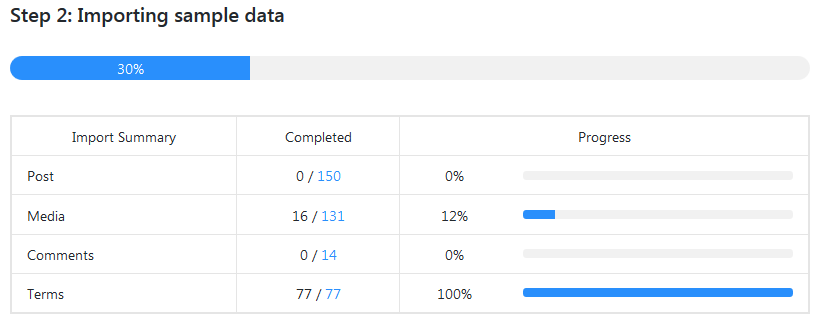
Once the import begins you will see a box with progress bars.
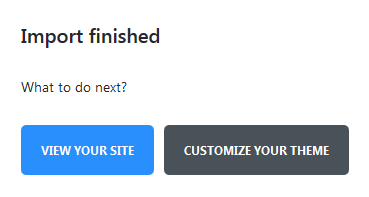
After the import is complete you can view the site or customize it.
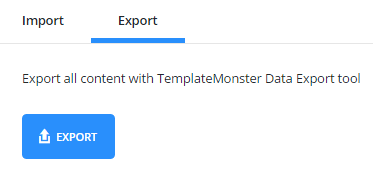
File Export
To export the data, you only need to press an Export button and an XML file will be created automatically.
Array Structure
XML importer settings. Features:
enabled
enable/disable XML importer;
use_upload
show/hide the files upload form;
path
path to the pre-installed sample-data;
import
import settings;
chunk_size
number of processed items at 1 importing step. The less this number is, the more steps will be during the importing process, and less time will be spent for 1 step. For this reason, it is strongly recommended to reduce this number for the themes with large sample data to avoid problems with importing files on weak servers;
remap
data post-processing settings. Here you need to add keys with posts IDs that can be changed during the import;
post_meta
post metadata settings;
term_meta
terms metadata settings;
options
options.
Export Settings
message
message displayed in the export block;
logo
url of the logo displayed in the export block;
options
options array for the additional export.
success links
associative array of links displayed on successful installation page. Link ID is used as a key. The plugin contains IDs for the homepage and for customizer;
label
link text;
type
type of displayed button (default, primary, success, danger, warning);
target
_balnk, _self;
url
link url.
Cherry Plugin Wizard
Cherry Plugin Wizard is a powerful instrument that allows you to install all the necessary plugins and demo-content in an easy and effortless way.
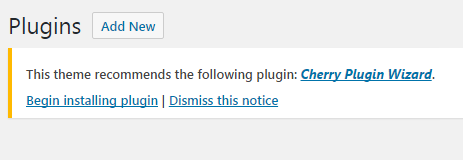
To install it you must go to Plugins tab in your administration panel. There you'll see the following notice.
Just click on Begin installing plugin link, and the installation will begin.
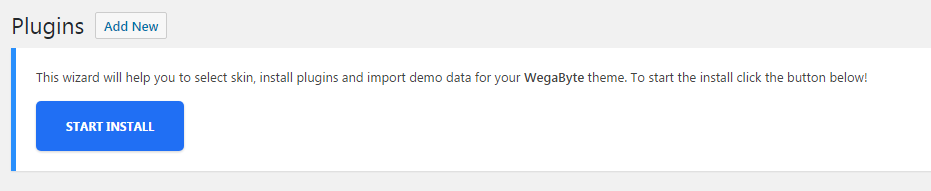
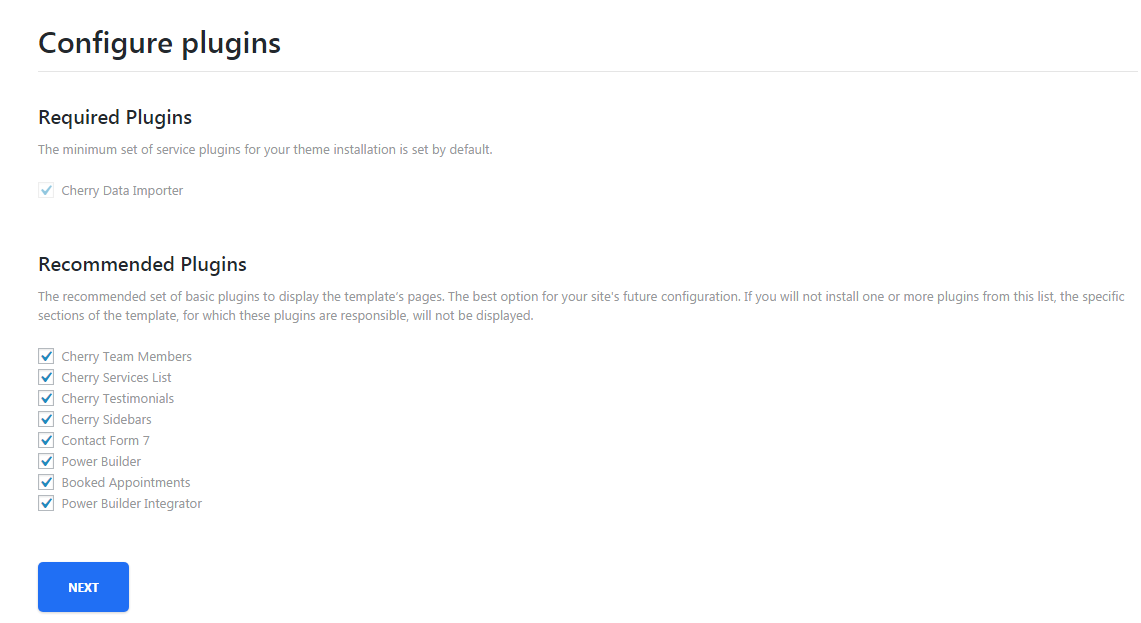
After Cherry Plugin Wizard is installed you will be able to see Cherry Plugin Wizard tab in your administration panel. Go to this tab, and Cherry Plugin Wizard will offer you to install the bunch of recommended plugins to your theme.
You can also select which particular plugins you want to be installed. To do it you just have to select them from the list that wil appear on your page. Then click on Next button and proceed to the installation process.
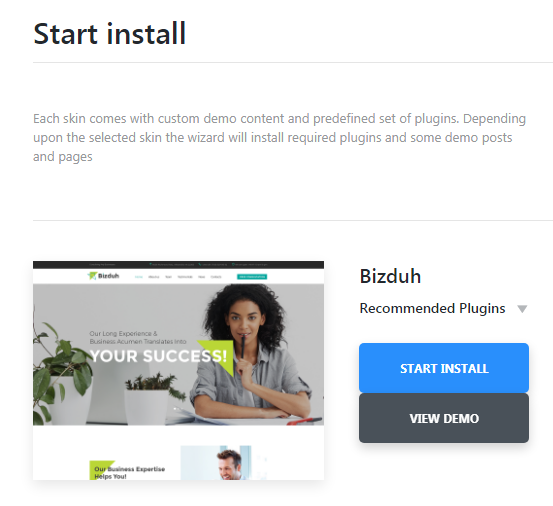
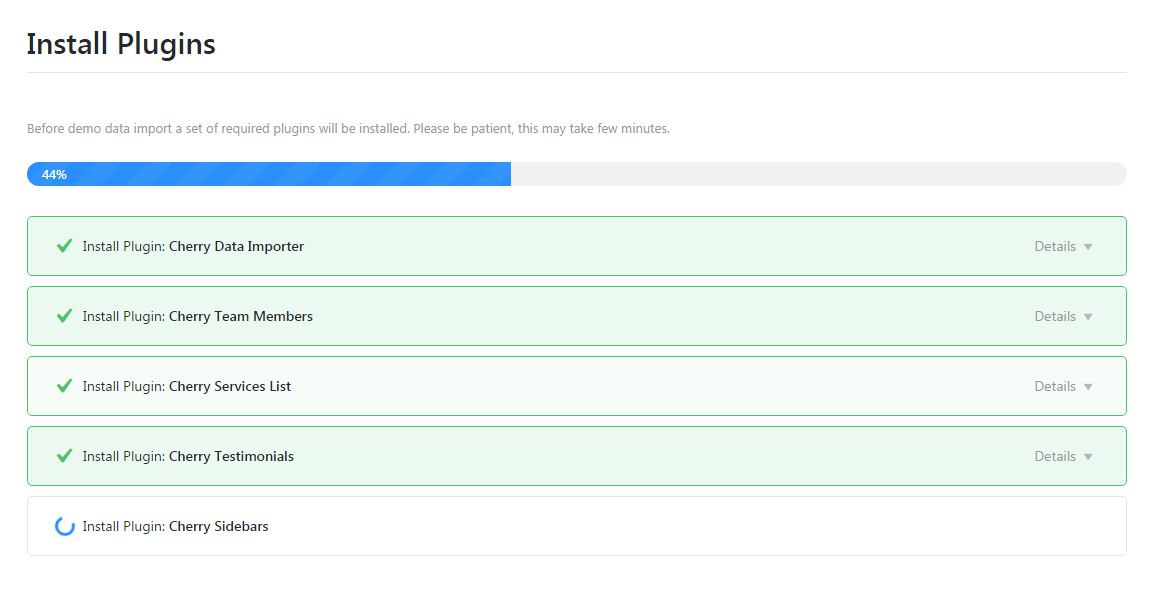
When the plugins are installed it is time to install demo content for your theme. Cherry Plugin Wizard will offer you to do just that.
Demo Content Installation
Cherry Plugin Wizard will offer you several scenarios how to install demo content to your theme.
Append demo content to my existing content
this option will append the demo content for your theme with your existing content.
Replace my existing content with demo content
this option will rewrite your previous existing content with the demo content.
Skip demo content installation
by choosing this option you refuse to install demo content for your theme.
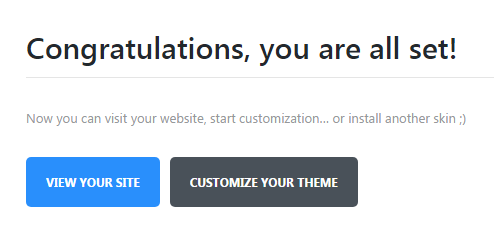
When the installation will be over you'll see the following notice.
Cherry Search
Cherry Search allows you to send search queries without reloading the page via AJAX technology. In this way, users can find any information they are interested in quickly and easily. Thanks to a full range of settings, you can customize the functionality of the plugin the way you need.
Settings
Once the plugin is installed you can see a Cherry Search button in the right sidebar of your admin panel:
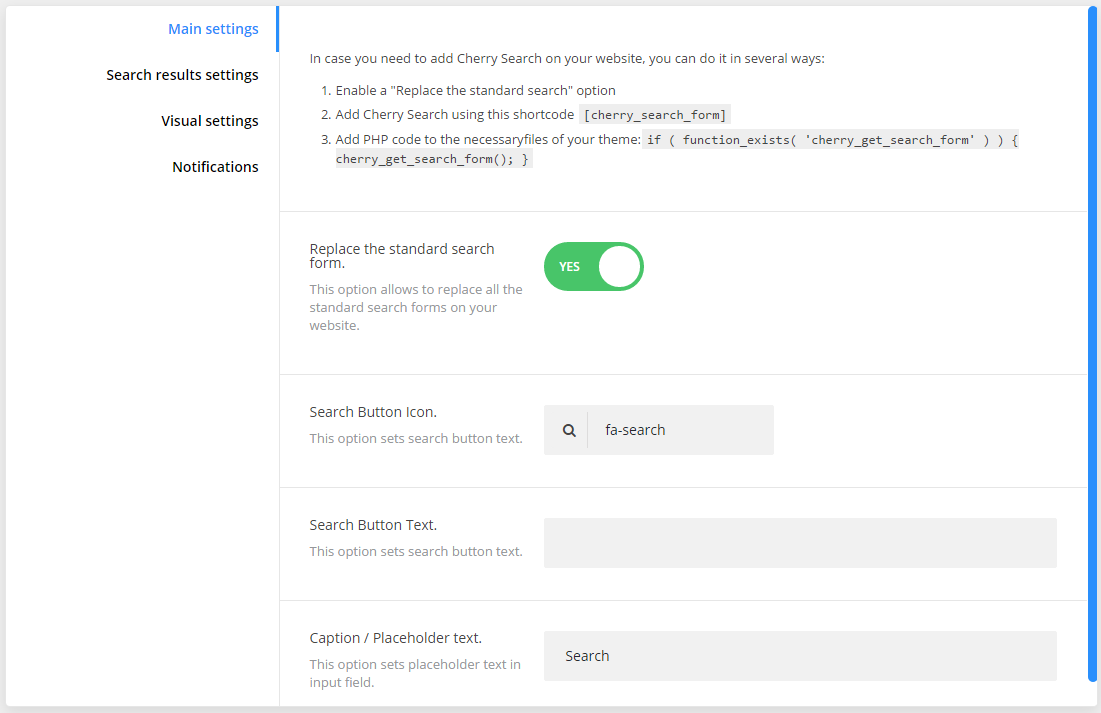
Main Settings
replace the standard search form
this option allows to replace all the standard search forms on your website;
search button text
this option sets search button text;
search button icon
this option sets search button icon;
caption / placeholder text
this option sets placeholder text in input field.
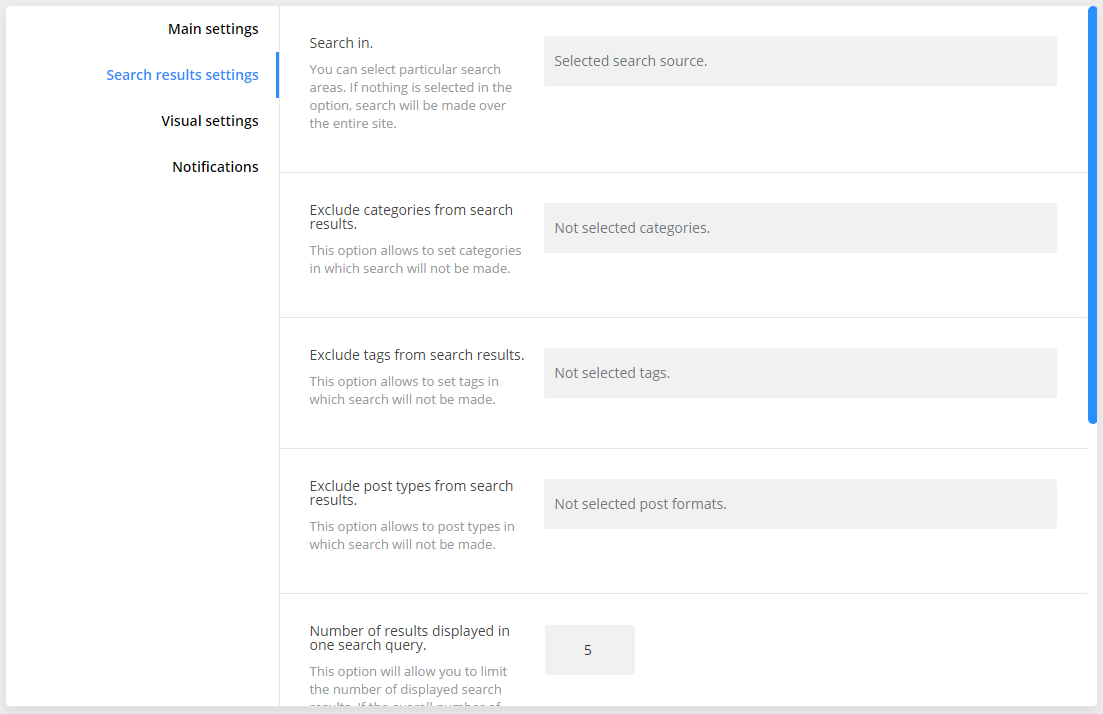
Search Result Settings
search in
you can select particular search sources. If nothing is selected in the option, search will be made over the entire site;
exclude categories from search results
this option allows to set categories in which search will not be made;
exclude tags from search results
this option allows to set tags in which search will not be made;
exclude post types from search results
this option allows to set post types in which search will not be made;
number of results displayed in one search query
this option will allow you to limit the number of displayed search results. If the overall number of results exceeds previous set limit, the load more button will come up;
sort search results by
sort search results by a certain criteria;
filter results by
filter search results by ascending or descending order.
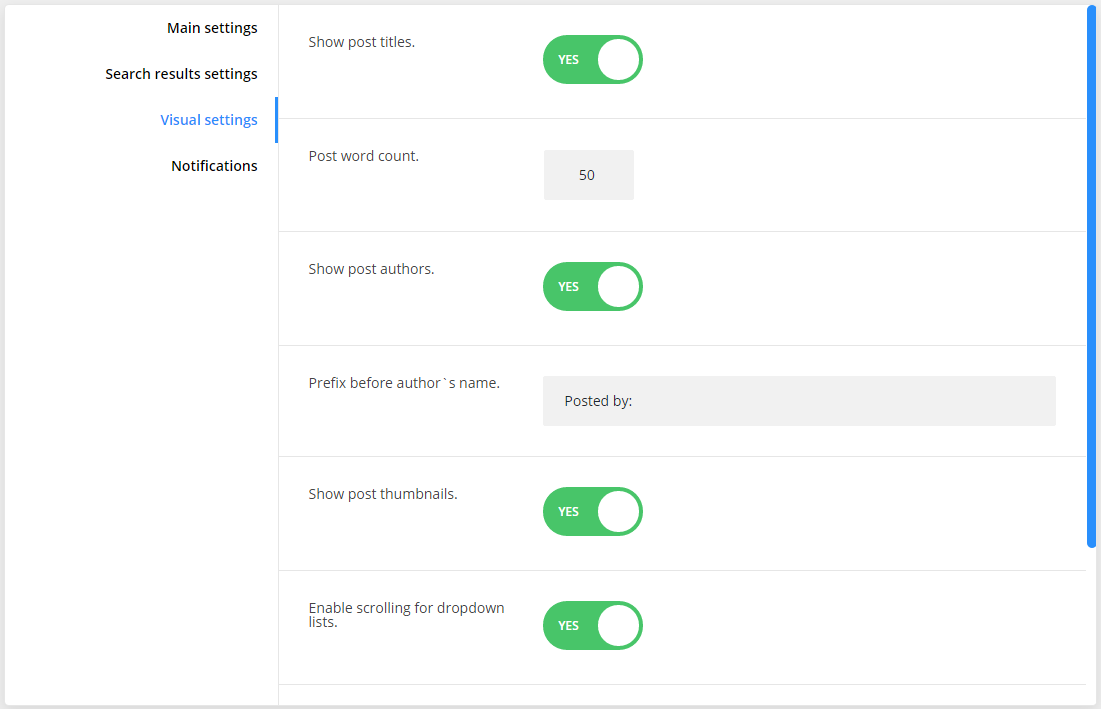
Visual Settings
show post titles
show/hide post titles;
post word count
specify the post word count;
show post authors
show/hide post authors;
prefix before author`s name
specify the prefix that will be displayed before author’s name;
show post thumbnails
show/hide posts thumbnails;
enable scrolling for dropdown lists
enable disable scrolling for dropdown search results lists;
dropdown list height
specify the dropdown list height;
view more button text
add text for view more button.
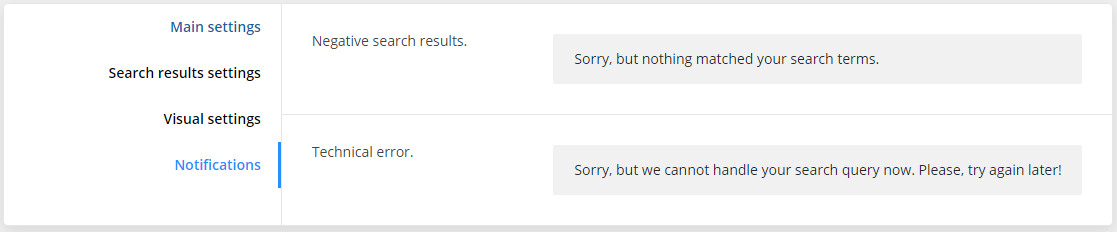
Notifications
negative search result
text that will be displayed if nothing is found;
technical error
text that will be displayed during technical error.
Cherry Services List
Cherry Services List can be useful for any business website whether it is large or small. It will help you to list all services you provide in an attractive and structured way. Thanks to a number of options and settings the plugin can be customized in accordance with the style and specification of your business.
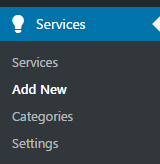
The plugin adds a custom post type named Services, which you can use to display what your company offers in a professional way.
Before integrating the plugin into your theme you need to make several minor adjustments to avoid problems with layout. So, follow the instructions listed below:
Installation
1. Create cherry-services folder in the root folder of your theme.
2. Copy archive-services.php and single-services.php files from the templates folder of the plugin to the cherry-services folder.
3. Open each of the copied files and delete function calls get_header(services); and get_footer(services).
Adding new post
To create a new post you need to click an Add New button in the Properties tab. On the new page you need to enter the title and text of the new property.
Now proceed to the box below. Here you need to specify:
state of progress
state of progress of the property;
price
enter the price;
property status
specify the property status (sale or rent);
location
specify the location of the apartment or office;
bedrooms
choose the number of bedrooms;
bathrooms
choose the number of bathrooms;
area
specify the area of the object;
parking places
specify the number of parking places;
gallery
add photos of the apartment or office.
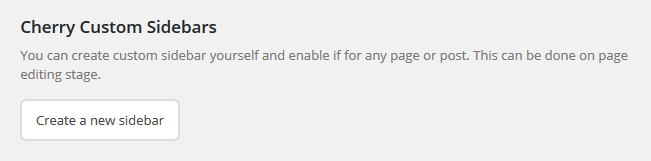
Cherry Sidebar Manager
This Cherry Sidebar Manager is designed to create custom sidebars with specific sets of widgets and define custom sidebars on pages.
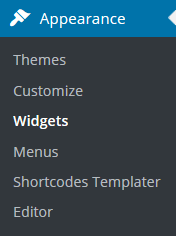
To add a new sidebar, go to the Appearance > Widgets section and click Create a new sidebar.
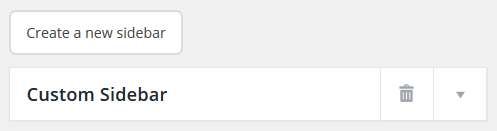
Input Sidebar name and Sidebar description. Then click Creating Sidebars
You can arrange your widgets set in your sidebar by adding the new ones, changing the order of widgets and removing the unused ones.
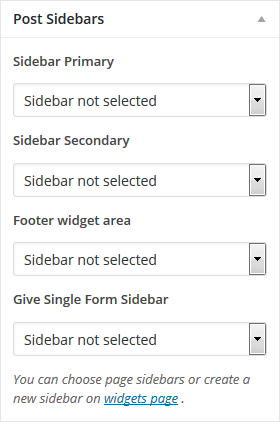
Avaliable Post Sidebar Areas
Cherry Team Members
The plugin
Cherry Team Members is specially designed to make it easier for the businesses to display info about their team and personnel. It contains a full set of options and tools that will help adjust the profile in accordance with the skills and the position of the members. Let’s take a closer look at the plugin on the front end.
properties
here you can see all the available posts;
types
in this section you can create various real estate types;
tags
add proper tags;
features
add all necessary features to the post;
settings
here you can find all the settings for the plugin.
Cherry Testimonials
Unveil customers' feedback on your services to look more reliable to prospects. This easy-to-use plugin
This Cherry Testomonials . is designed to help you add testimonials and reviews to the site and customize their look in accordance with the design of the website. Testimonials can also be added via shortcodes to any page or post.
With Cherry Testimonials, you can prove your testimonials aren't fake and were written by real people. Besides the testimonial itself, it's possible to reveal a lot of details about its author. They include his name, photo, email, company he works in, his position, and link to the site of that company or his personal blog.
Note that you can hide the email, position, company's name, and photo, if a customer doesn't want you to reveal any of that data.
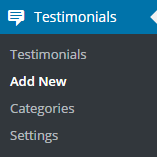
Adding new testimonials
To add a new testimonial, find Testimonials tab in the WordPress sidebar and press Add New button.
Power Builder
Power builder is a brand new drag and drop page builder. It allows even non developers to build top-quality and fully functional sites for any kind of business.
Power Builder Integrator
Power Builder Integrator is specially designed to help users integrate 3d party plugins into the Content Builder.