Travelop
Third-party Plugins
Facebook Widget Plus
This Facebook Widget Plus is specially designed to help you display likes from your Facebook account on the WordPress sidebar. It can be customized even by non developers and users wihout coding skills.
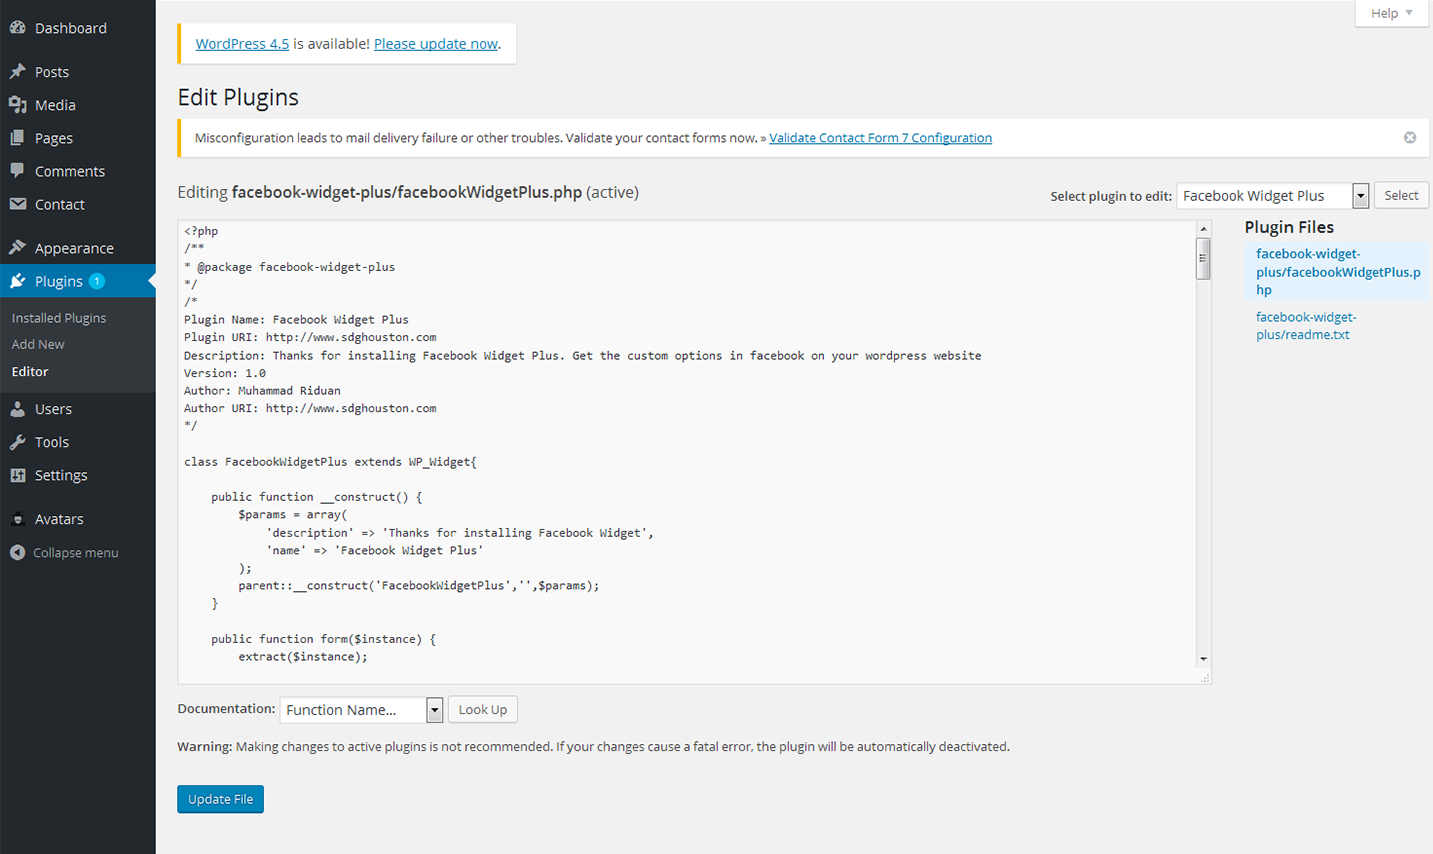
Installing Facebook Widget Plus
Go to Plugins > Add New
Type in the name of the WordPress Plugin or descriptive keyword, author, or tag in Search Plugins box or click a tag link below the screen
Find the WordPress Plugin you wish to install
Click Details for more information about the Plugin and instructions you may wish to print or save to help setup the Plugin
Click Install Now to install the WordPress Plugin
The resulting installation screen will list the installation as successful or note any problems during the install
If successful, click Activate Plugin to activate it, or Return to Plugin Installer for further actions
To customize the widget, navigate to the "Widgets" section of our documentation and find Facebook Plus Widget.
Easy Twitter Feed
Display tweets on your site without creating an API. With the help of this advanced Easy Twitter Feed Widget plugin. In this way, you can add tweets quickly and worry-free.
It will be a perfect solution for both experienced bloggers and begineers who only start working with the plugins.
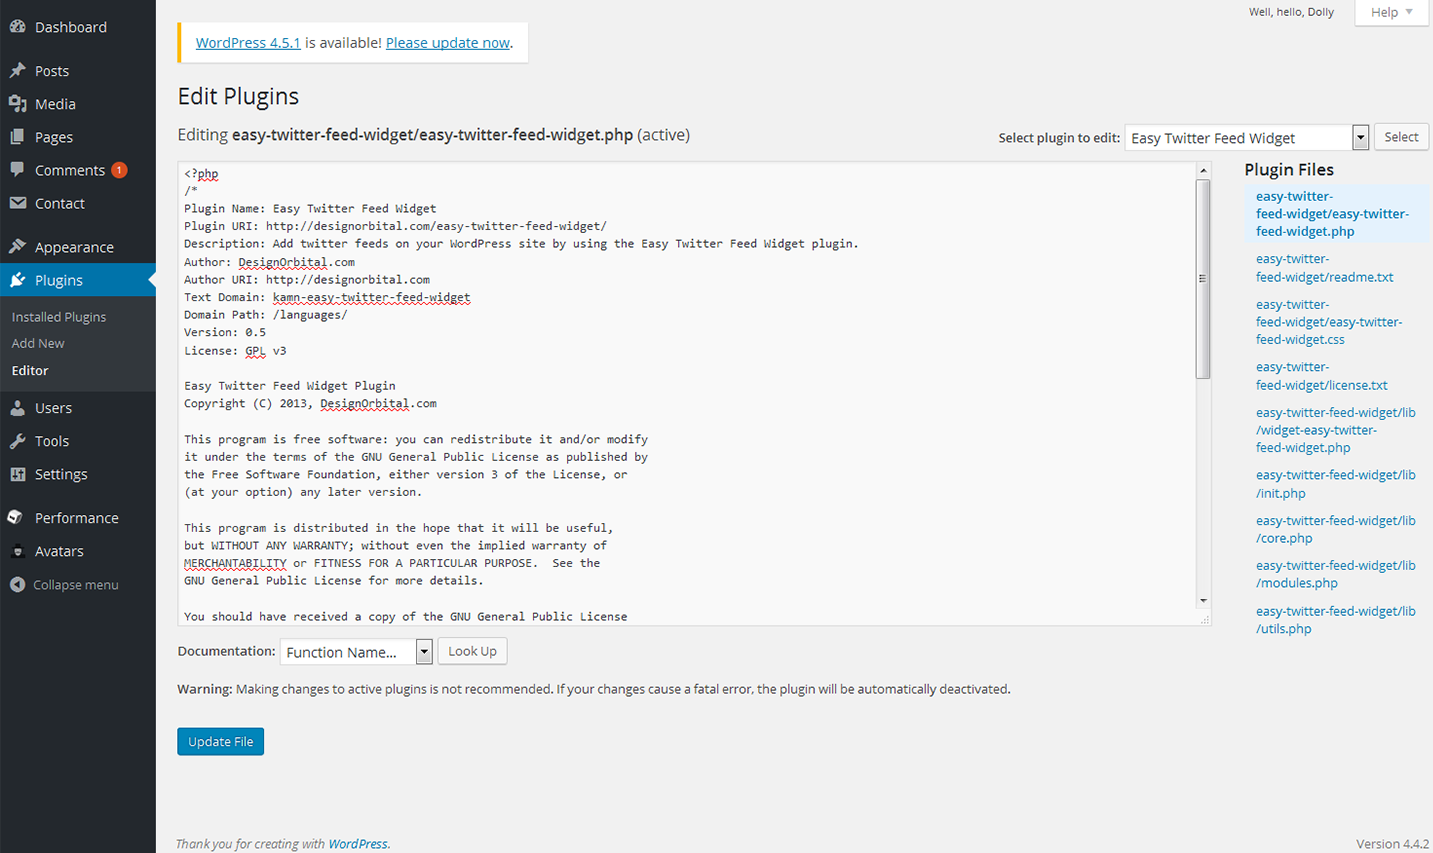
Installing Easy Twitter Feed plugin
Upload the easy-twitter-feed-widget folder to the /wp-content/plugins/ directory
Activate the Easy Twitter Feed plugin through the 'Plugins' menu in WordPress
Configure the plugin by going to the Settings > Easy Twitter Feed Options
Use the Easy Twitter Feed by going to the Appearance > Widgets
Next you need to get Twitter Widget ID. Follow the steps listed below:
Sign In to your Twitter Account
Go to Settings > Widgets > Create new
Click Create Widget button
You can copy the Widget ID from Browser Address Bar e.g. 419173025219799552
OR You can copy the Widget ID from the given HTML under the Widget Preview i.e. data-widget-id="419173025219799552"
To customize the widget, navigate to the "Widgets" section of our documentation and find Easy Twitter Widget.
WP User Avatar
With the help of this WP User Avatar plugin you can easily use custom avatars that are uploaded through Gravatar. It allows you to upload the avatars right from the Media Library of your WordPress account.
Installing WP User Avatar
Download, install, and activate the WP User Avatar plugin.
On your profile edit page, click "Edit Image".
Choose an image, then click "Select Image".
Click "Update Profile".
Upload your own Default Avatar in your WP User Avatar settings (optional). You can also allow Contributors & Subscribers to upload avatars and disable Gravatar.
Choose a theme that has avatar support. In your theme, manually replace get_avatar with get_wp_user_avatar or leave get_avatar as-is.
You can also use the [avatar_upload] and [avatar] shortcodes in your posts. These shortcodes will work with any theme, whether it has avatar support or not.
Right after the installation, you will see a new tab on the left sidebar. Let's navigate to the "Settings" section.
Here you can see the list of settings that allow you to adjust the avatars in accordance with your preferences. Once the customization is complete, press the "Save Changes" button.
Regenerate Thumbnails
Regenerate Thumbnails plugin is specialy designed to regenerate the thumbnails for the image attachments either for all image uploads, individual image uploads or specific image uploads.
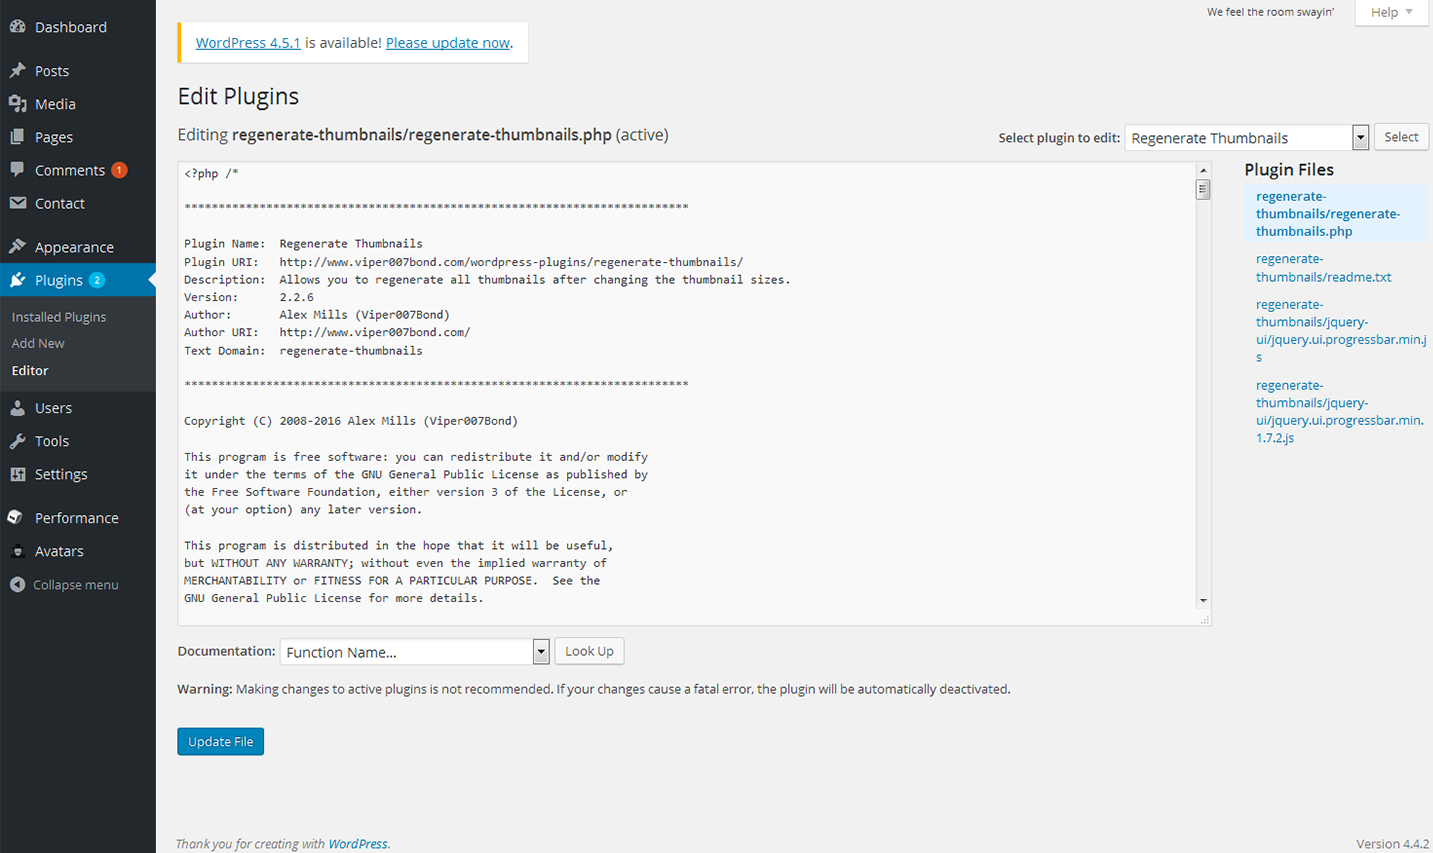
Installing Facebook Widget plugin
Go to your admin area and select Plugins -> Add new from the menu.
Search for "Regenerate Thumbnails".
Click install.
Click activate.