Monstroid2
Creating Templates
From this block you can learn how to create new templates and work with them using JetThemeCore plugin.
- First, let’s navigate to Dashboard > Crocoblock > Theme Templates section on the left of the Dashboard. Here open Theme Templates sub menu.
- In the Theme Parts block you’re able to view the existing templates for your theme or create the new ones.
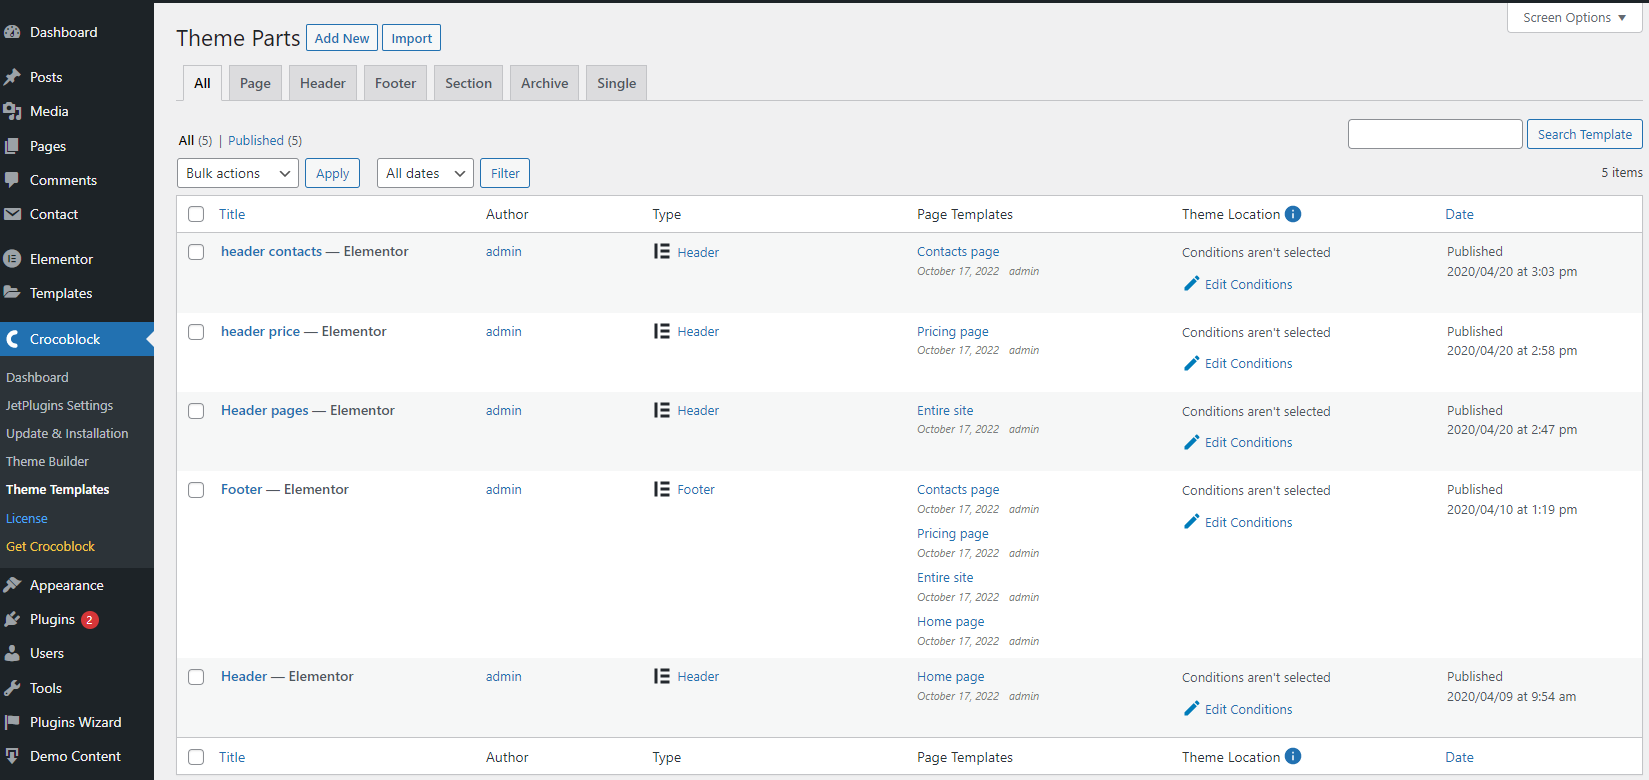
Theme Parts:
- All - shows all the existing theme parts;
- Page - displays the existing page templates;
- Header - here you can view all the existing footer templates on your site;
- Footer - here you can see all the existing footer templates on your site;
- Section - here you can view the list of the section templates.
- Every template shown in these blocks can be edited, removed to the trash bin, restored, etc.

Creating Headers & Footers
From this block one can learn how to create header & footer templates and assign them for different pages.
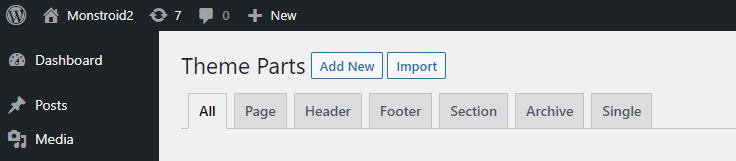
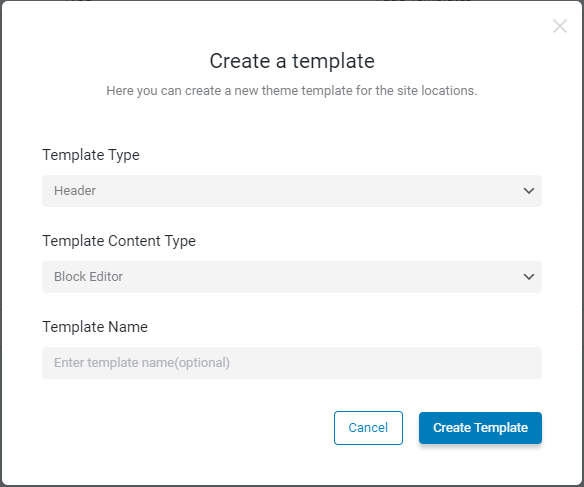
- First, click Add New button located on the right of the Theme Parts title.
- In the newly opened window select the template type from the dropdown menu (page, header, footer, section).
- Type in the template name in the corresponding field.
- Use Elementor page editor to create a new unique header / footer.
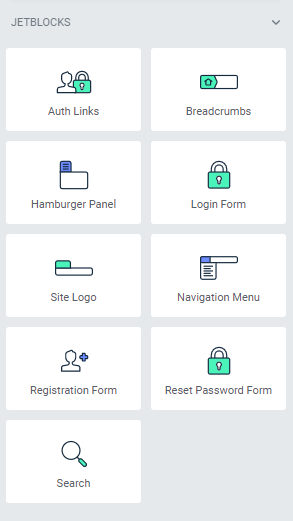
- You can use the JetBlocks widgets in order to add the authorization links, login forms, site logos, search or WooCommerce Cart to the header. Feel free to check JetBlocks documentation which contains the detailed explanations on how the widgets work.
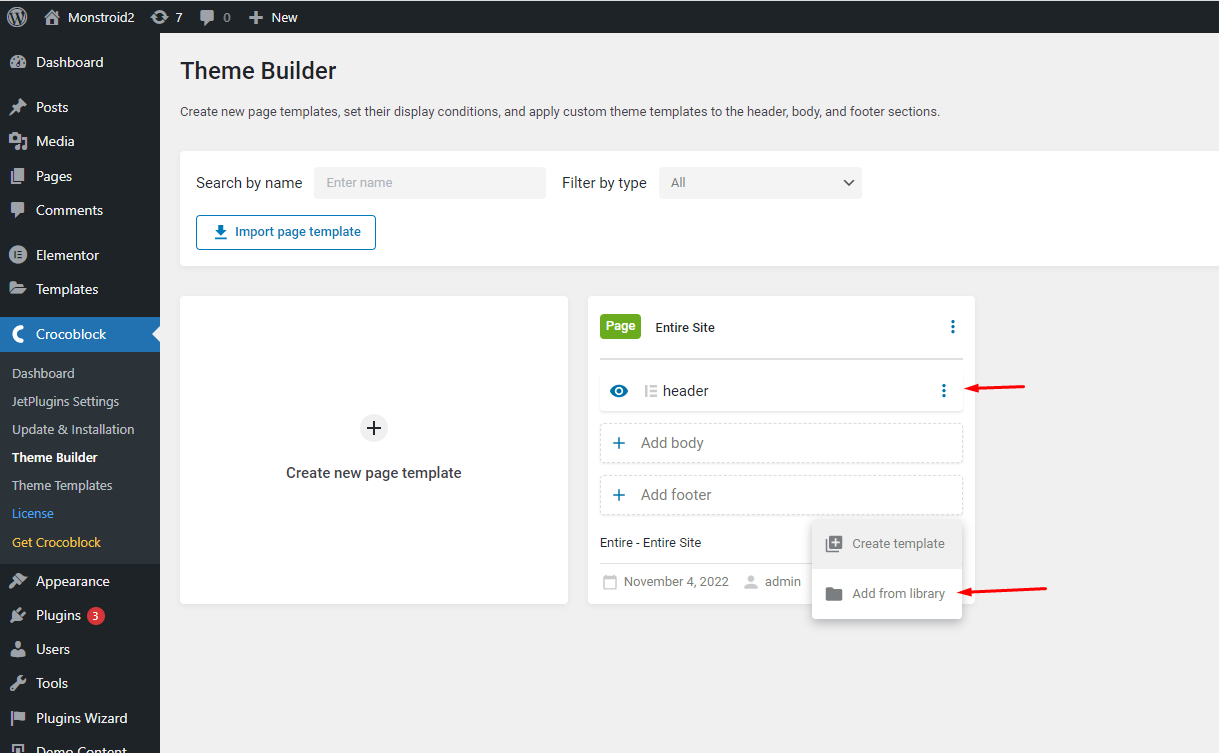
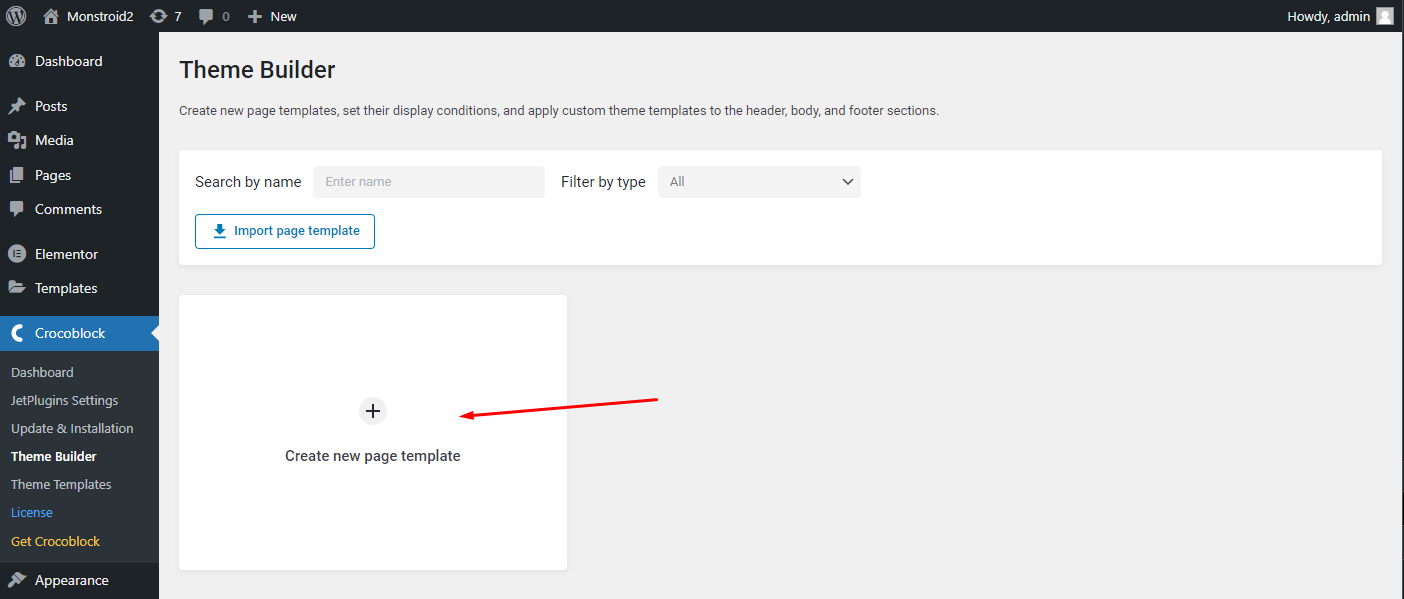
- When the header or footer is created navigate to WordPress Dashboard > Crocoblock > Theme Builder. Then press the Create new page template button.
- Straightaway, you can set the conditions in the appeared pop-up, just hit the Add Condition button.
- Entire — for the whole site;
- Singular — for available singular pages;
- Archive — for provided archive options;
- Advanced — for URL parameter, device, and roles;
- Woocommerce — for WooCommerce products archive, single product, and pages.
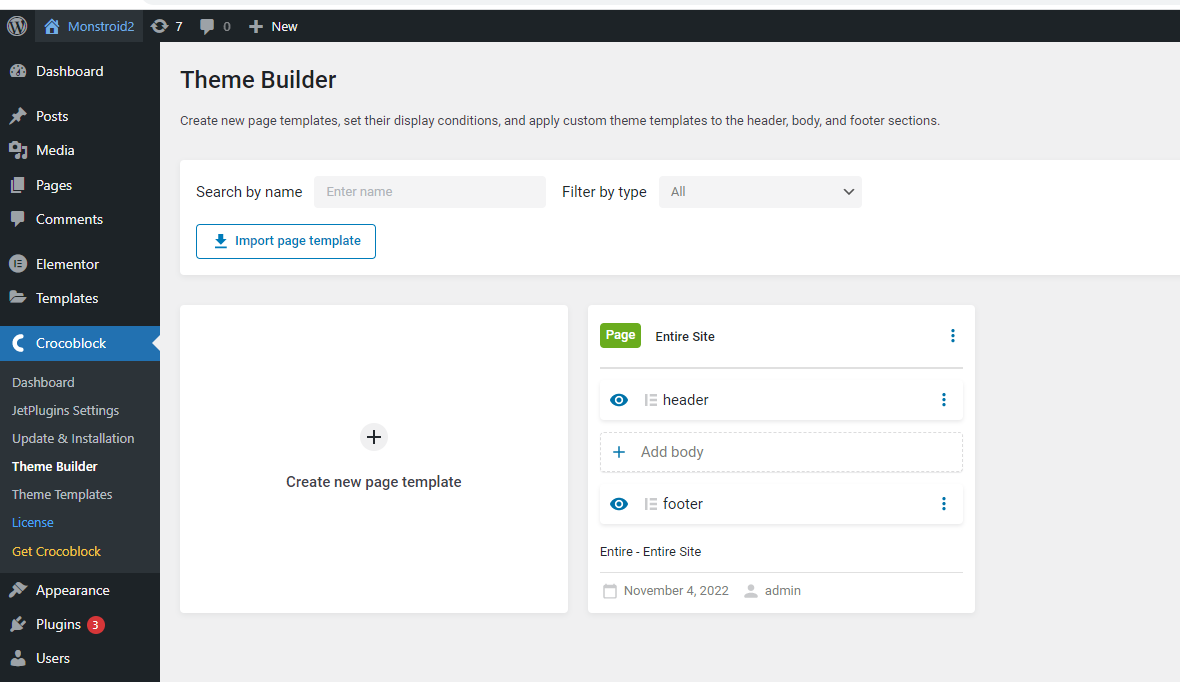
- Next, you only need to add the desired templates for the header and footer
- After selecting the desired templates, you will have a header and footer set for the selected pages
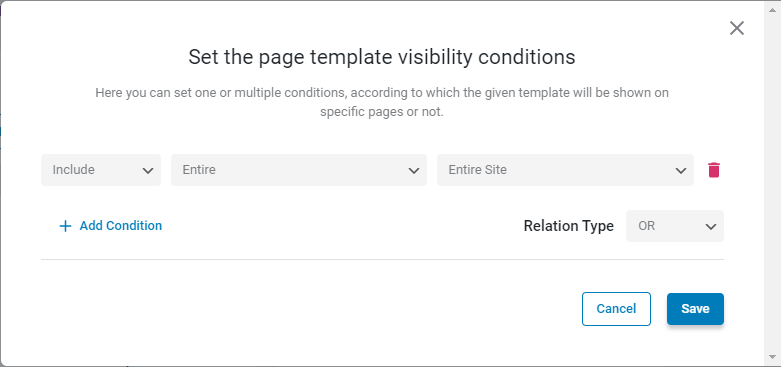
The first selector allows you to choose from two options: Include (allows including conditions for display) and Exclude (lets you exclude conditions).
The second drop-down defines the source type:
You can set several conditions by hitting the Add condition button above the first condition.

You can get more information here.