From this block you can learn more about creating parallax backgrounds using JetElements Parallax effect.
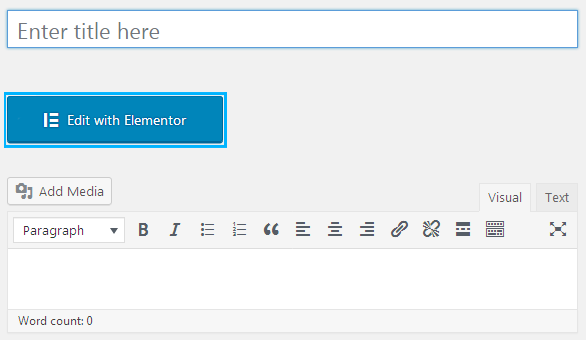
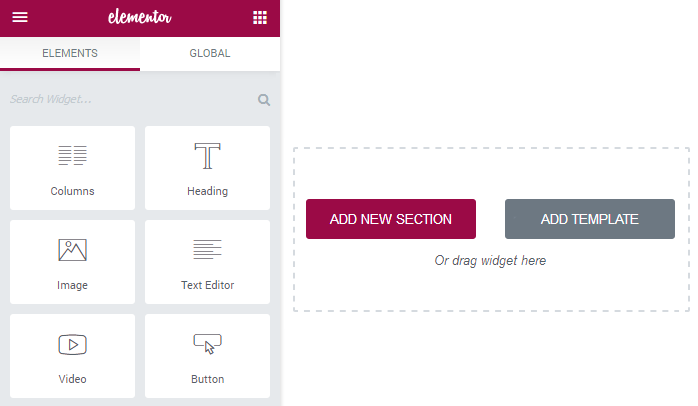
First, let’s access the Elementor section background settings. To do it, please, navigate to Elementor page editor and click Add New Section button.
Select the section structure and add content widgets to it (e.g., spacers, headings, etc.).
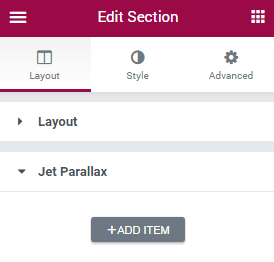
Hover on the upper border of the section and click Edit Section option in order to access the section settings.
In Layout settings locate Jet Parallax tab. Open it and click Add Item button to add a new item with the Parallax effect.
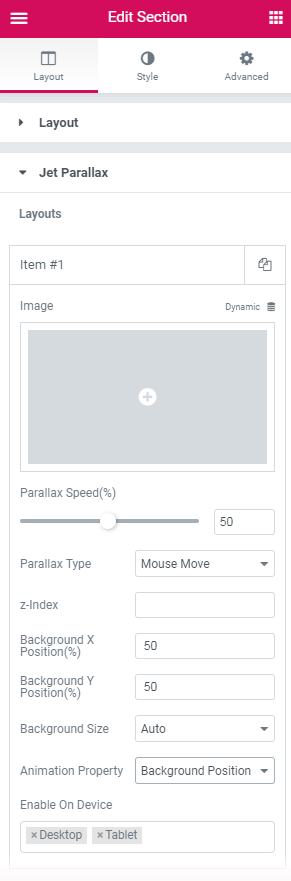
You can see the list of the available Parallax settings below.
Click on the newly created item and there click Image to add a new image from the media library or upload it from your hard drive. Also you can add dynamic custom image.
To change the speed of the parallax effect you need to use the Parallax Speed control. Drag it leftwards to reduce the speed, or rightwards to increase it.
Select the parallax type from the Parallax Type dropdown list.
None - select this parallax type not to use parallax effects for this element.
Scroll - select this type to apply the parallax effect on scroll.
Mouse Move - select this type to make the parallax effect respond to the mouse moves.
Background X Position % - define the item’s horizontal position in percents in relation to the background.
Background Y Position % - define the item’s vertical position in percents in relation to the background.
Background Size - here you can select the preferable size for the item (Auto, Cover or Contain).
Animation Property - here you can define the animation effect for the item (Background position, Transform, Transform 3D)
Enable on Device - here you can specify the devices, where the item appears.
Note, that you can add as many items with different parallax settings (speed, position), as you need.
In order to change the order of the parallax itemsdrag and drop the items up and down. The first item from the list will be shown above all the other items, and cover them. The last item from the list will be shown below all the other item layers.
Z-Index - use this option if you want the parallax item to cover the section’s content.
To view the changes, please, click Save button to save the changes and click View Page option in the bottom left corner to navigate to the page and see the results.