JetBlog
Adding Content with JetBlog
From this block you can learn how to add content with JetBlog addon to the pages built with Elementor.
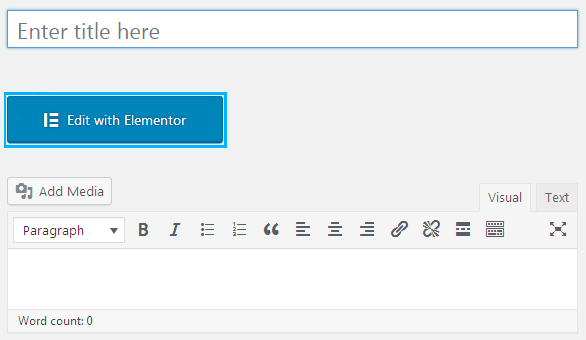
- Navigate to Pages > Add New tab in the left column of the WordPress Dashboard. Click on Edit with Elementor button. You’ll be redirected to Elementor editor page.
When Elementor editor will open, you’ll see the block containing Add New Section button at the right part of the screen, where your future page’s draft is displayed.
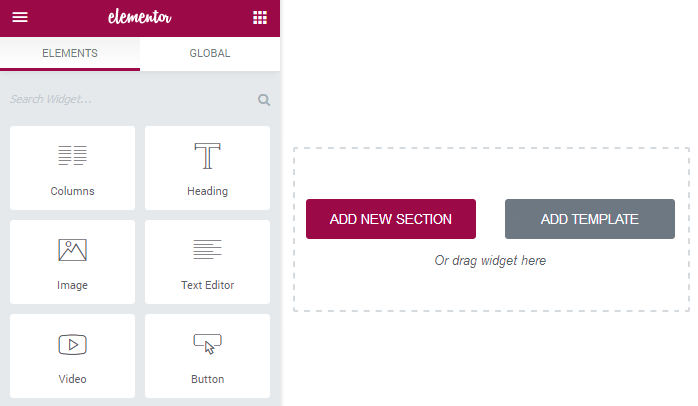
Click on Add New Section to add the section, where you will place JetBlog module.
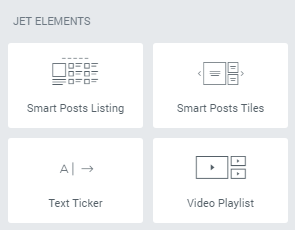
- Now you’re ready to add JetBlog modules to the columns. Choose one of the elements you want to add to the page, and drag it to the column area.

- In the left column you’ll see the module settings. You can manage content, style, or use advanced styling options from here.
Keep in mind, that for different elements the options may vary. Each element has its own styling and content management settings.