JetCompareWishlist
Working with Wishlist
From this block you can learn how to set the products wishlist with JetCompareWishlist plugin for Elementor.
1. Create a page
In the Dashboard > Pages block create the page, where you want to display the products wishlist.
2. Enable Wishlist functionality
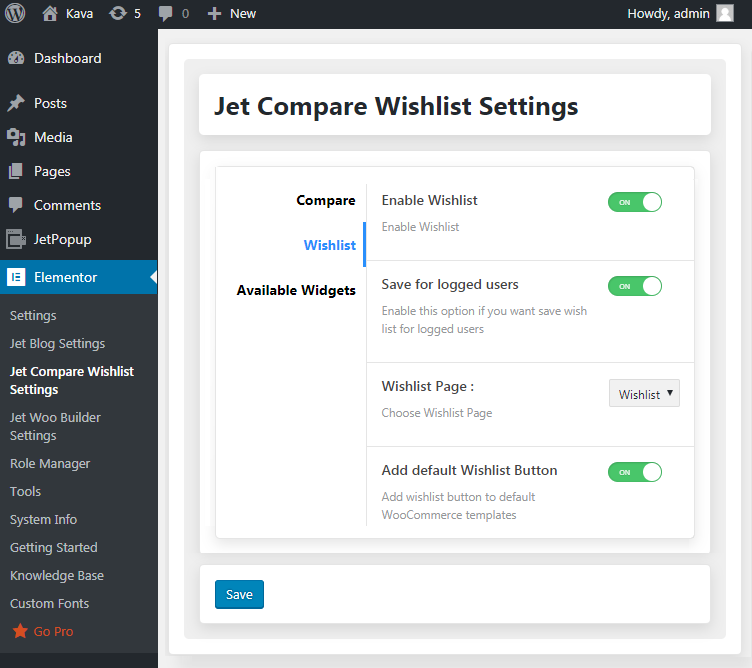
Then go to Elementor > JetCompareWishlist settings > Wishlist block and move the toggle near Enable Wishlist option.
3. Set the conditions
Enable Save for logged users option if you want to provide logged users only with an opportunity to save their wishlists.
4. Select a page
You need to define the wishlist page, where you want to apply wishlist functionality in Wishlist Page option. Also, you can add Wishlist button to default WooCommerce Single and Archive templates.
5. Adding widgets
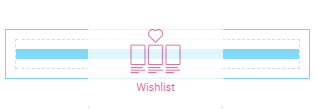
Here you can learn how to add Wishlist Button, Wishlist Count Button and Wishlist widgets to Elementor sections.
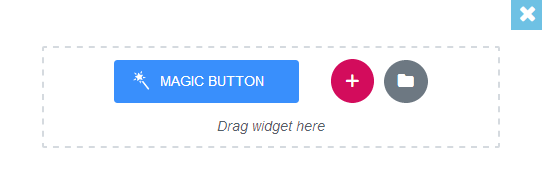
- First, let’s open the page where you want to add the Wishlist Button, Wishlist Count Button or Wishlist widget using Elementor live page builder. To do it click Edit with Elementor button.
- Add a new section to the page using Add New Section button.
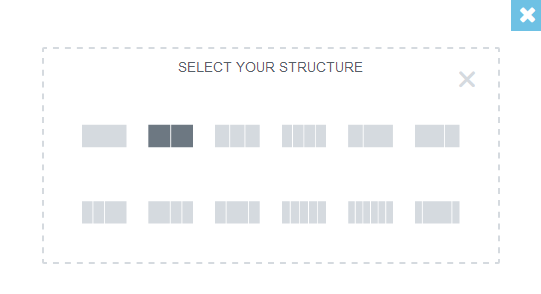
- Select the preferable columns structure for the section. You can also drag the column borders in order to set the custom columns width. Feel free to edit the columns width, set the content position, etc, by editing the column.
- On the left you can see the list of the available widgets which you can drop to the column you’ve created. Find Wishlist Button, Wishlist Count Button, or Wishlist widget and drop it to the needed area.
- After the page is built click Update button to preserve the changes.