VitaHealth
Template Installation
Zemez theme is built as a WordPress theme, so you need to have WordPress engine installed first. If you have not installed it yet, please refer to the Engine Installation section.
WordPress Installation
Download the required WordPress version. You can check which release is required on the template preview page in the requirements list. Make sure you download the correct version.
You can download the WordPress platform on the official WordPress.org website: Download WordPress . If you need another release, follow this link: WordPress versions archive . Once the platform is downloaded, you'll need to unpack the files. You can use any file archiver that supports ZIP format to unpack the ZIP file.
These tutorials will show you how to unpack the archived files, if you have Windows OS (using WinZip) and if you have MAC OS (using StuffitExpander) .
- Archived Files Extraction
- WinZip Downloading and Installation
- Archived Files Extraction for Windows
- Template Extraction on MAC OS
Once the WordPress platform files and folders are unpacked, you need to upload them to the hosting server.
Upload the files and folders to the server into the PUBLIC_HTML or WWW directory.
You can also take a look at these tutorials that give detailed information on how to upload the files to a hosting server:
Next, you need to create a database for the WordPress platform.
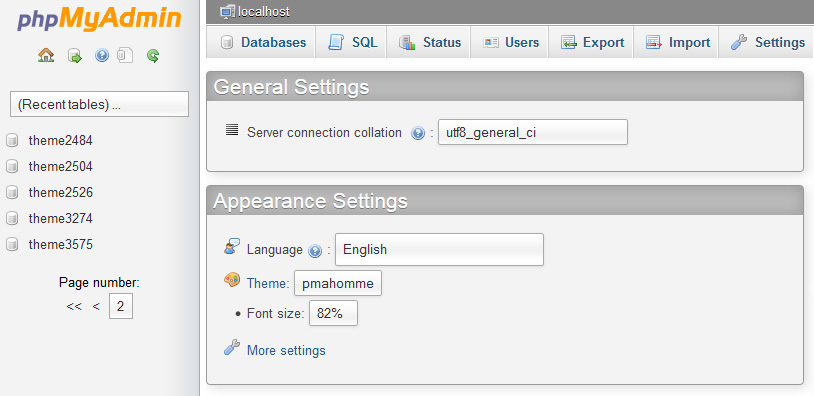
You can create it using the database management tool in the hosting cpanel (usually it is PhpMyAdmin). With the help of phpMyAdmin you can create a new database in 3 simple steps (check the slides below):
-
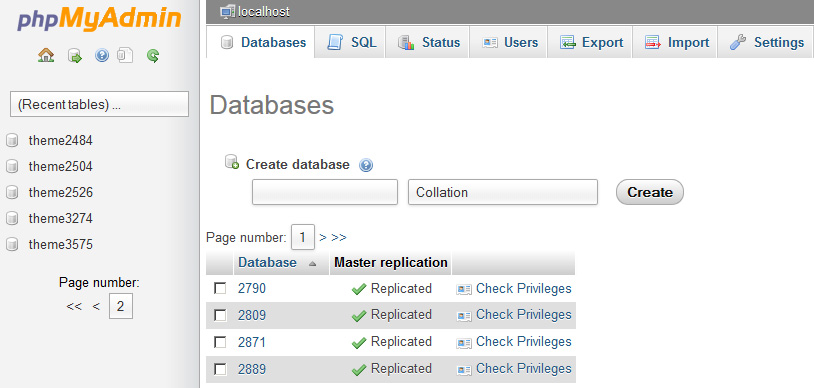
Click the Database button at the top navigation menu to see the list of databases.
-
Enter database name in the Create new database field.
-
Click the Create button.
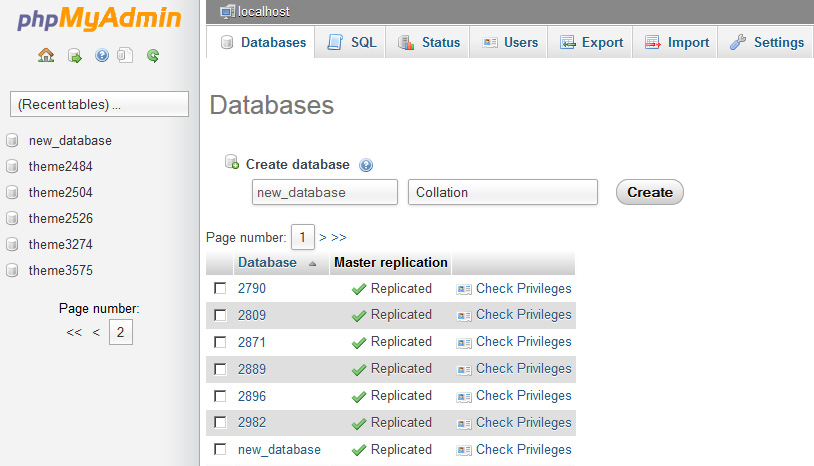
You will see the new database in the list now. Click on its name to access it.
If you face any difficulties while creating the database, contact your hosting provider for tech support.
You can also check the following tutorials:
Enter the WordPress directory path into the browser address bar and click Enter. WordPress installation will begin.
Creating the Configuration File
WordPress installation screen will inform you that the configuration file is missing. Click Create Configuration File to create it.

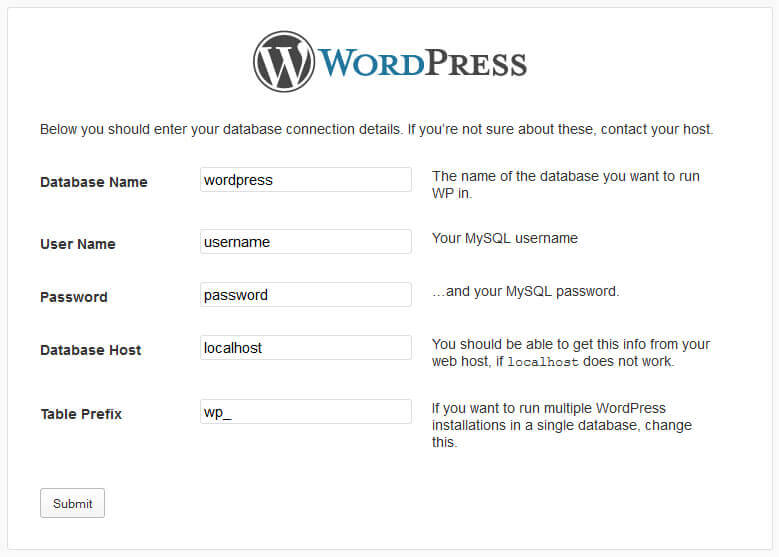
Database Details
You need to enter the WordPress database connection details here.
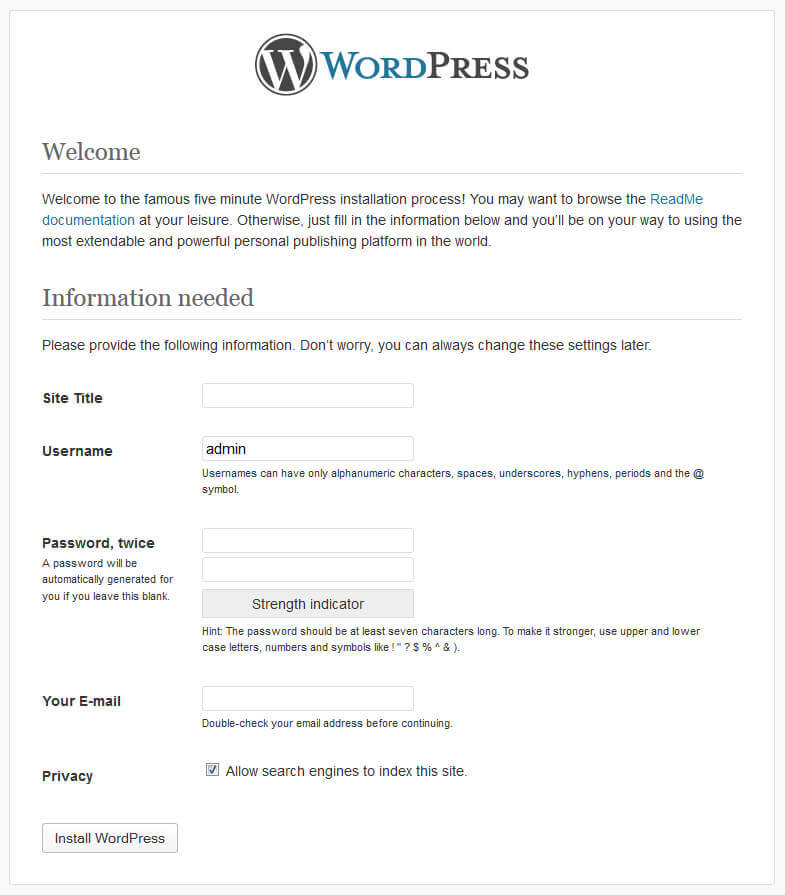
Website Details
You need to enter the next details:
- website name
- administrator login and password
- website e-mail
Click Install WordPress
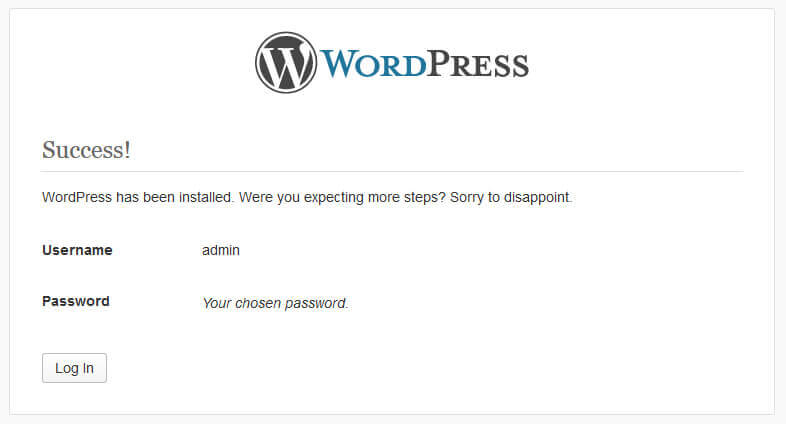
If you have entered the correct details, you will see a successful installation message and the WordPress dashboard access button.
You can also take a look at these video tutorials:
Manual Installation
Now you can proceed to theme installation: theme_name.zip. Follow the steps listed below:
1. Extract the template package.
Note: You should install the theme on a clean WordPress, and there should be no users except for Admin.
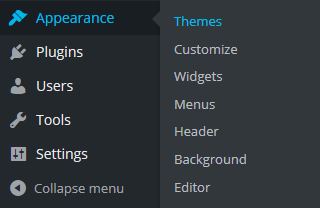
2. Navigate to the Appearance > Themes section at the admin panel of the site and open the Theme folder.
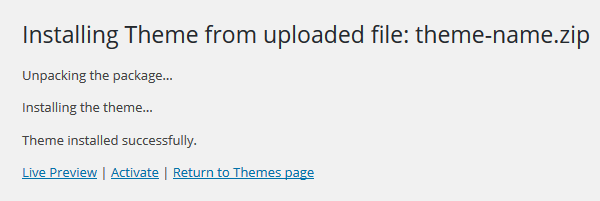
3. Locate the archive named as theme-name.zip and install the theme by pressing Install Now.
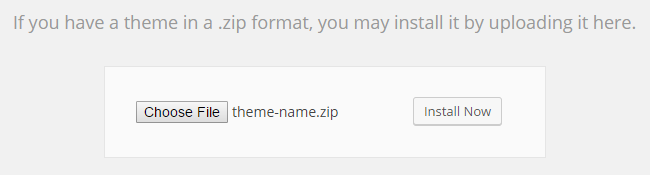
4. Next please press on Activate link.
Automatic Installation Using Cherry Installer
The theme comes with a pre installed Cherry Data Importer plugin that will help you upload the information quickly and easily.
Check a step by step guide here.
Upload via FTP
To use this method, you need to have access to your WordPress site files on FTP through the File Manager of your hosting control panel or an FTP client like Filezilla, CuteFTP, Total Commander, etc.
- Unzip the theme-name.zip files to any folder on your hard drive (first, right-click each of the .zip files, select Unzip to… theme-name respectively, so you get the one folder called theme-name).
- Upload the theme-name folder to the /wp-content/themes/ directory on your FTP server.
- Log in to your WordPress admin panel (add /wp-admin after your domain name in the browser address bar).
- Go to the menu Appearance > Themes.
- Under the Available Themes section find theme-name and activate it by clicking the Activate button.
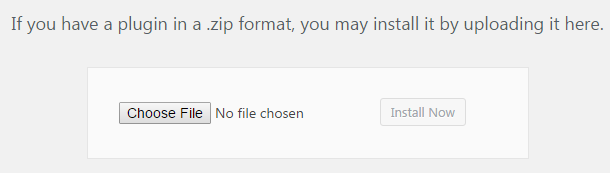
Manual Plugin Installation
If you need to install plugins manually, you can do it this way.

Manual Sample Data Installation
For installing the sample data manualy please follow the instructions listed below.
1. Open the theme\manual_install folder of your downloaded template package.
2. Upload the “uploads” folder to the wp-content directory of your WordPress installation, accept folder(s) replacement. Please note that your images may be replaced with sample images.
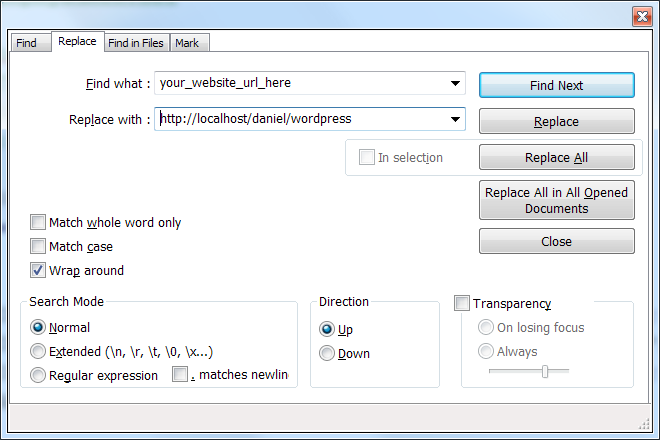
3. Open the theme-name.sql file that is located in the theme/manual_install/ folder in any text editor (preferably Sublime Text or Notepad) and replace all instances of your_website_url_here with your website URL in the entire document using the Find and Replace tool (hit Ctrl+H hot keys to open this window). E.g.: http://www.mywebsite.com. Please, make sure that you do not have the forward slash "/" sign at the end of the address and the url starts with http://www. Save your changes and close the file.
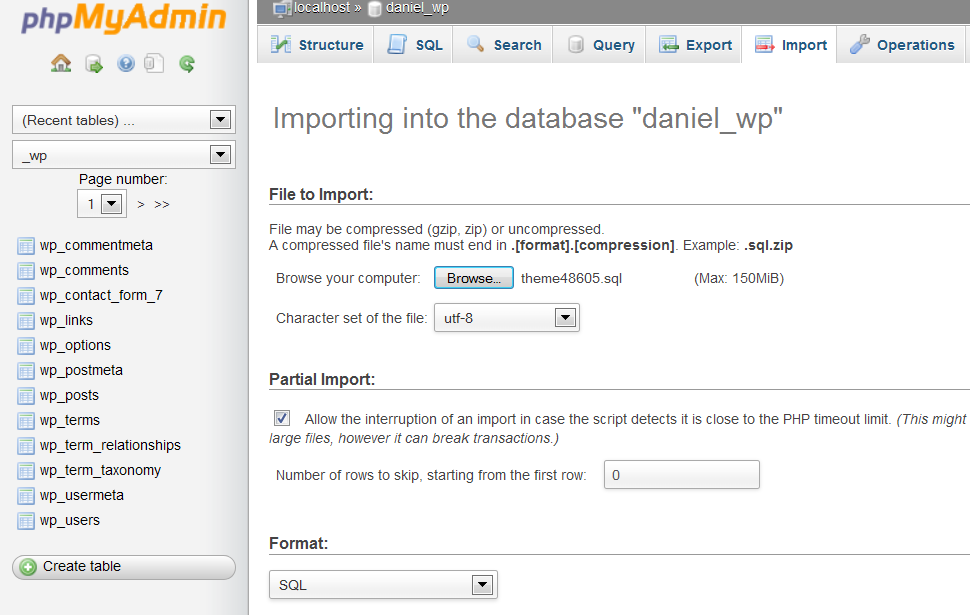
4. Now you can import the dump file with the phpMyAdmin tool or some other database management tool.
5.Open your WordPress database using a database management tool. Usually, the database tool is called PhpMyadmin.
6. Go to the Import tab and import the .sql file.
7. Go to Settings->Permalinks.
8. Click the Save Changes button.
9. Refresh your home page. That's it, the template has been installed with demo sample content.