Cherry Live Demo Mods Switcher plugin can manage your website appearance and customize it without using the standard cistomizer. Its functions are multiple and spectacular allowing anyone to create an attractive and useful exterior right from the home page.
Activating Cherry Live Demo Mods Switcher
Go to Plugins menu in your WordPress administration panel. Click on Activate link.
Settings
Cherry Live Demo Mods Switcher plugin has these settings:
header style - select header style from 3 different variations;
footer style – select footer style from 3 different variations;
typography – change typography settings;
elements – change elements appearance;
sidebar settings – allow to hide or show existing sidebars and add new sidebars on the page;.
blog layout settings – allows to change blog layout into listing, masonry or grid.
Cherry Sidebar Manager
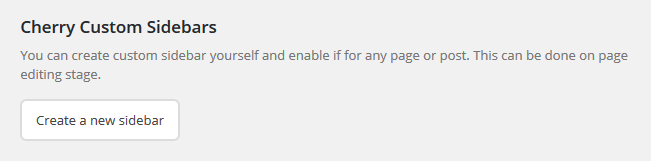
Cherry Sidebar Manager is designed to create custom sidebars with specific sets of widgets and define custom sidebars on pages.
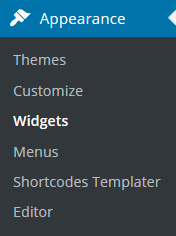
To add a new sidebar, go to the Appearance > Widgets section and click Create a new sidebar.
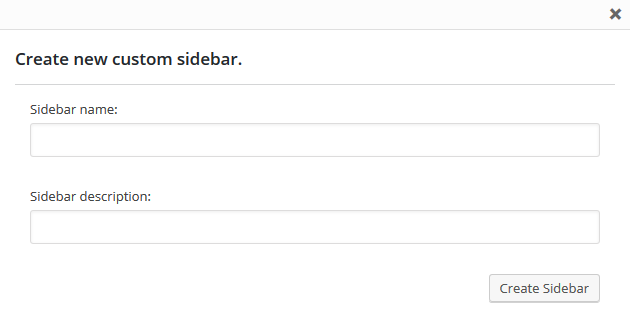
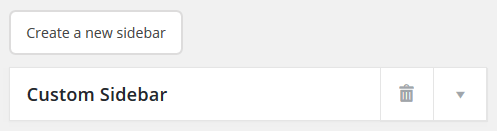
Input Sidebar name and Sidebar description. Then click Creating Sidebars
You can arrange your widgets set in your sidebar by adding the new ones, changing the order of widgets and removing the unused ones.
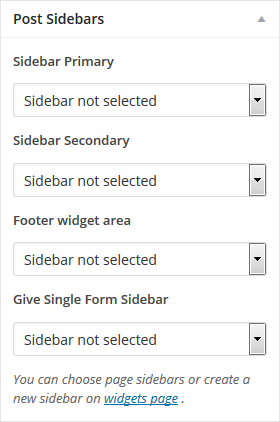
Avaliable Post Sidebar Areas
Contact form 7
Contact form 7 plugin can manage multiple contact forms. It also lets you customize the form and the mail contents flexibly with simple markup.
Displaying a Form
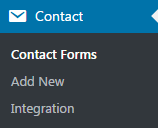
Let’s start with displaying a form on your page. First, open the Contact > Contact Forms menu in your WordPress administration panel.
You can manage multiple contact forms there.
Just after installing the Contact Form 7 plugin, you’ll see a default form - Contact form 1 and a code like this:
[contact-form-7 id="2526" title="Contact form 1"]
Copy this code. Then open (Pages > Edit) of the page where you wish to place the contact form. A popular practice is creating a page named Contact for the contact form page. Paste the code you've copied into the contents of the page.
Now your contact form setup is complete. Your site visitors can now find the form and start submitting messages to you.
Next, let’s see how you can customize your form and mail content.
Customizing a Form
Title for this contact form is just a label for a contact form and is used for administrative purposes only. You can use any title you like, e.g. Job Application Form and so on.
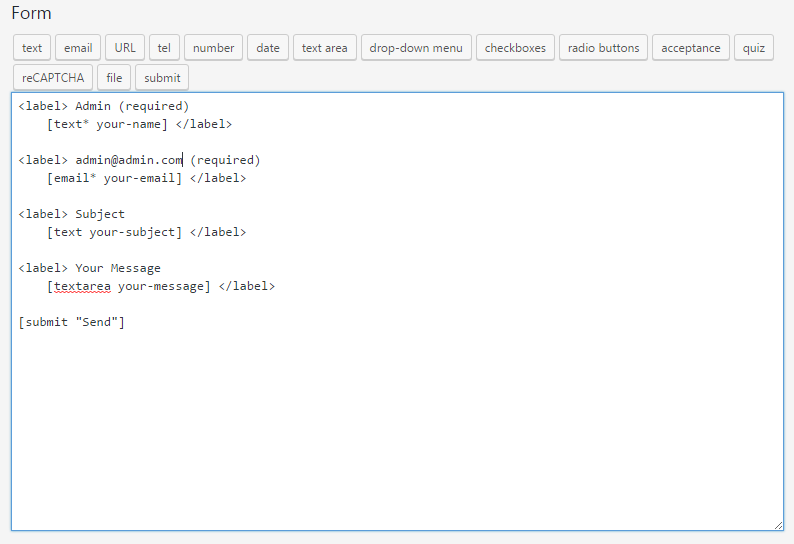
In the form you can enter different tag generators. They can be generated automatically.
text - form-tag generator for text;
email - form-tag generator for email;
text - form-tag generator for text;
tel - form-tag generator for phone numbers;
date - form-tag generator for date input;
text area - form-tag generator for text areas;
drop-down menu - form-tag generator for drop-down menus;
checkboxes - form-tag generator for adding chackboxes;
acceptance - form-tag generator for creating acceptance checkbox;
quiz - form-tag generator for creating a quiz;
reCapthca - form-tag generator for adding a captcha;
file - form-tag generator for adding files;
submit - form-tag generator for creating submit form.
You can also customize the form content using HTML and form tags.
Line breaks and blank lines in this field are automatically formatted with <br/> and <p> HTML tags.
Tag generators (3). By using these tag generators, you can generate form-tags without knowledge of them.
For more information about form-tags, see How Tags Work.
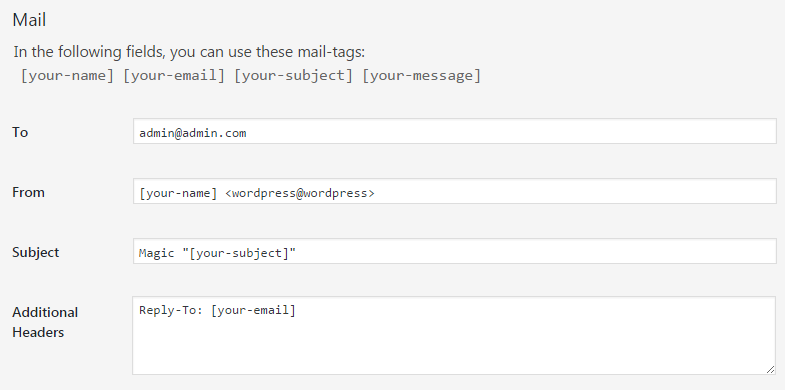
Mail Tab
You can edit the mail template for the mail which is sent in response to a form submission. You can use mail-tags in these fields.
An additional mail template is also available. It is called Mail(2) and its content can differ from the primary Mail template.
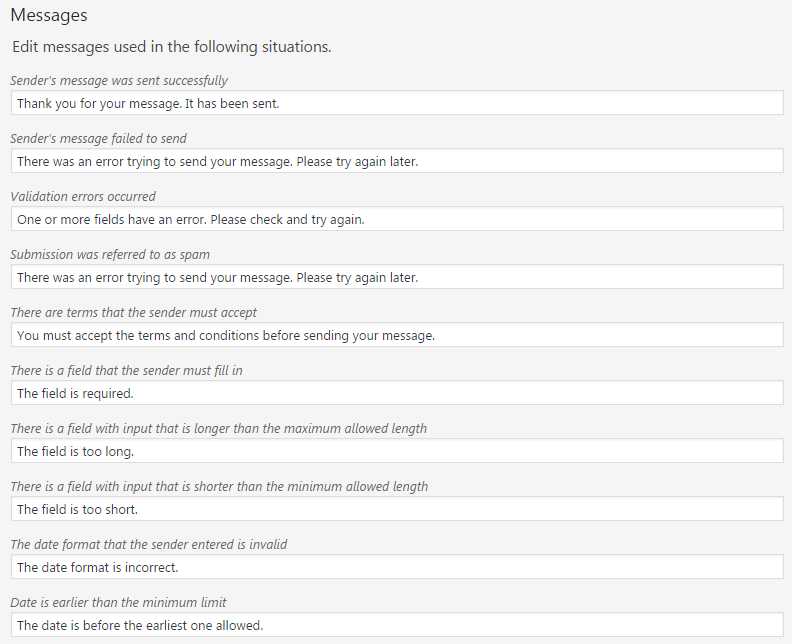
You can edit various kinds of messages, including Validation errors occurred,Please fill in the required field, etc.
Make sure that you enter only plain text here.
HTML tags and entities are not allowed in the message fields.
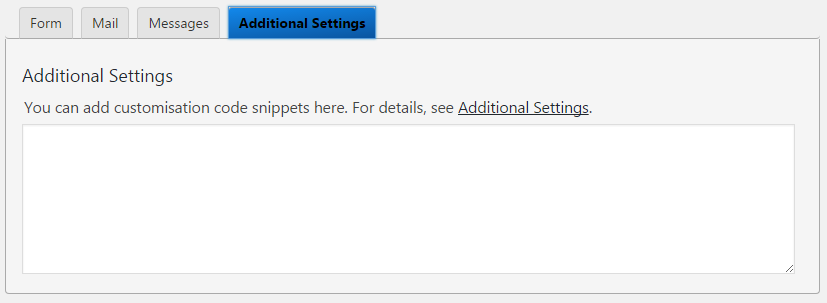
Additional Settings Tab
You can add customization code snippets here. For more details, see
Contact Form 7.
Power Builder
Power builder is a brand new drag and drop page builder. It allows even non developers to build top-quality and fully functional sites for any kind of business.
Simple File Downloader
The plugin will let admin user to add download links to any posts/pages in simplest way and hassle free. Allows all your site visitors to download any files from your website without any user restriction.
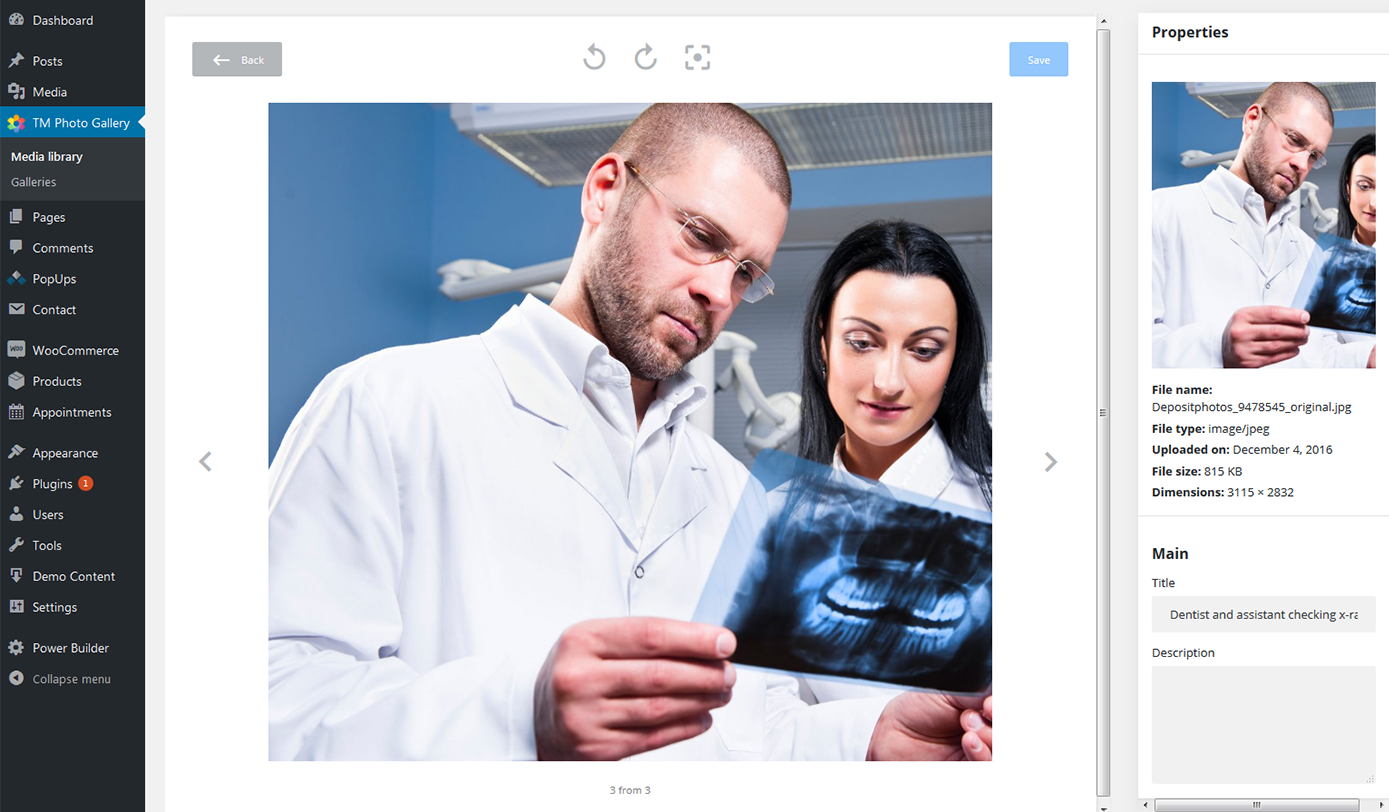
TM Photo Gallery
Use TM Photo Gallery plugin to add various kinds of photo galleries to your site with a single click of a mouse. You just need to create a gallery and add it to any page or post you like. It will be a perfect solution for blogs or online stores to create compelling portfolios and presentations.
TM Photo gallery allows you to create:
sets - containing albums with photos and separate images;
albums - containing photos only;
separate - not categorized images.
For More Information see full documentation on
Gallery plugin.