MaryVille
Third-party Plugins
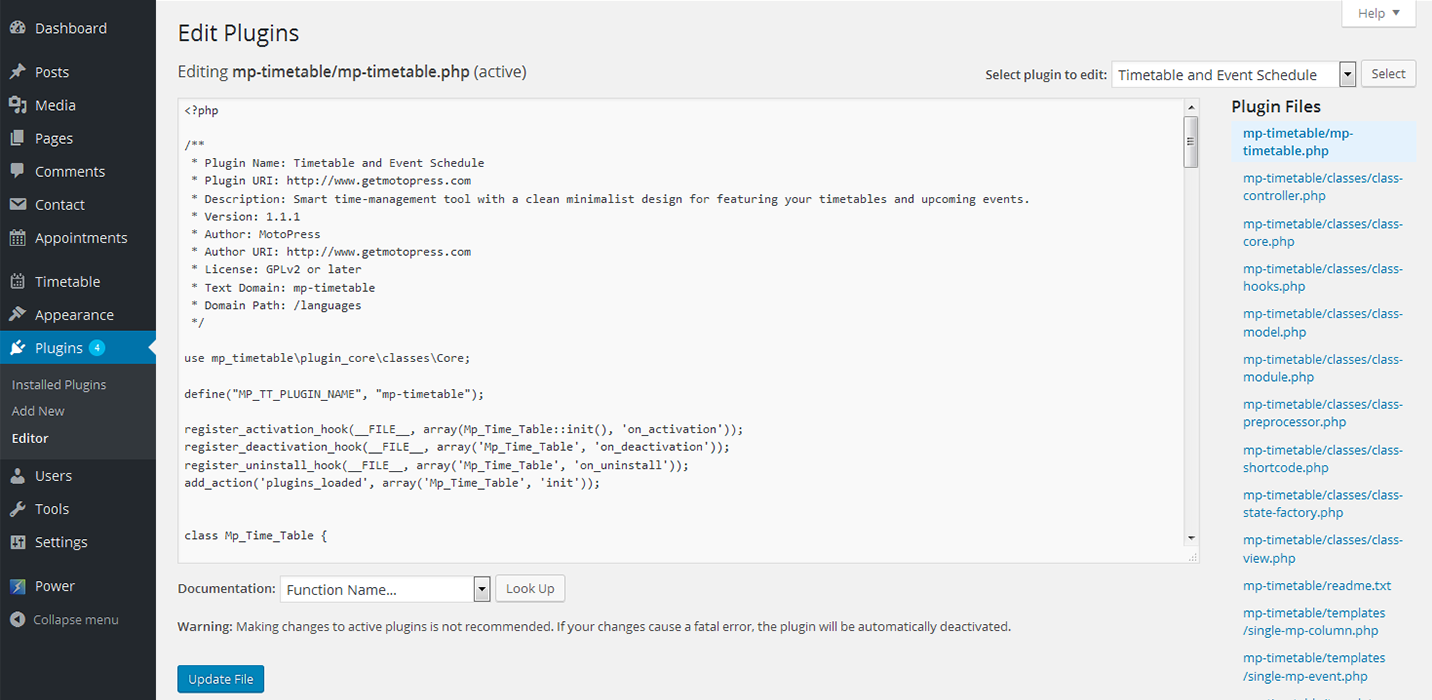
Timetable and Event Schedule
This Timetable and Event Schedule plugin is an easy manageable timetablebuilding tool for constructing various kinds of event schedules (lessons, conferences, concerts, etc.) and featuring Upcoming events in the additional widget. It comes with clean modern interface and responsive design.
Installing
After downloading the plugin, you should have motopresstimetable.zip file on your computer. This is a compressed file that contains all the plugin data. Follow the steps listed below to install it:
Log into your WordPress dashboard and go to Plugins > Add New.
Click the Upload Plugin button.
Click the Choose File button > find the plugin archive on your computer
Click Install Now
Click Activate
WP User Avatar
With the help of this WP User Avatar plugin you can easily use custom avatars that are uploaded through Gravatar. It allows you to upload the avatars right from the Media Library of your WordPress account.
Installing WP User Avatar
Download, install, and activate the WP User Avatar plugin.
On your profile edit page, click "Edit Image".
Choose an image, then click "Select Image".
Click "Update Profile".
Upload your own Default Avatar in your WP User Avatar settings (optional). You can also allow Contributors & Subscribers to upload avatars and disable Gravatar.
Choose a theme that has avatar support. In your theme, manually replace get_avatar with get_wp_user_avatar or leave get_avatar as-is.
You can also use the [avatar_upload] and [avatar] shortcodes in your posts. These shortcodes will work with any theme, whether it has avatar support or not.
Right after the installation, you will see a new tab on the left sidebar. Let's navigate to the "Settings" section.
Here you can see the list of settings that allow you to adjust the avatars in accordance with your preferences. Once the customization is complete, press the "Save Changes" button.