Agrilloc
Third-party Plugins
Easy Twitter Feed
Display tweets on your site without creating an API. With the help of this advanced Easy Twitter Feed Widget plugin. In this way, you can add tweets quickly and worry-free.
It will be a perfect solution for both experienced bloggers and begineers who only start working with the plugins.
Installing Easy Twitter Feed plugin
Upload the easy-twitter-feed-widget folder to the /wp-content/plugins/ directory
Activate the Easy Twitter Feed plugin through the 'Plugins' menu in WordPress
Configure the plugin by going to the Settings > Easy Twitter Feed Options
Use the Easy Twitter Feed by going to the Appearance > Widgets
Next you need to get Twitter Widget ID. Follow the steps listed below:
Sign In to your Twitter Account
Go to Settings > Widgets > Create new
Click Create Widget button
You can copy the Widget ID from Browser Address Bar e.g. 419173025219799552
OR You can copy the Widget ID from the given HTML under the Widget Preview i.e. data-widget-id="419173025219799552"
WooCommerce
Sell any products quickly and easily with the help of this professional WooCommerce plugin. It will be a perfect fit for both store owners and developers.
About 30% of all modern stores are powered by this plugin. It can be used for selling physical or digital products and even affiliate goods. It gives you access to hundreds of free and premium extensions that will help you optimize your business. Choose a proper extension to create bookings, memberships, recruiting subscriptions, various shipping and payment options and much more. This WooCommerce plugin gives you full controll of the store from managing taxes and customer accounts to changing the design.
Installing WooCommerce
Log in to your WordPress Admin panel
Go to: Plugins > Add New
Type ‘WooCommerce’ into the Search Plugins field and hit Enter. Once found, you can view details on the point release, rating and description
Click Install Now. After clicking the link, you’ll be asked to confirm this action
Click Yes, and WordPress completes the installation
WooCommerce Menu Items
-
- Orders
- This section allows you to see and manage all orders.
-
- Coupons
- In the "Couppons" sections site owners can create various kinds of discount campaigns and coupons to provide customers with the top of the line service.
-
- Coupons
- In the "Coupons" section, site-owners can create various kinds of discount campaigns and coupons to provide customers with the top of the line service.
-
- Reports
- "Reports" section gives you statistics on sales, coupons, campaigns, etc.
-
- Settings
- Configure the WooCommerce plugin from this section.
-
- System Status
- This section will become in hand during troubleshooting. The System Status Report gives you all information of the plugin setup and all potential conflicts.
-
- Add-Ons
- In this section you can browse for some new free and premium extensions that will bring even more functionality to your site.
-
- Booster Tools
- Information about all available WooCommerce tools can be found in this section. The enabled tools will be displayed in the right column.
Find more information about this plugin on the official homepage.
Woocommerce Social Media Share Buttons
Add all kinds of social share buttons with the help of this Woocommerce Social Media Share Buttons plugin. The plugin is quite flexible and can be adjusted in accordance with specifictions of your store.
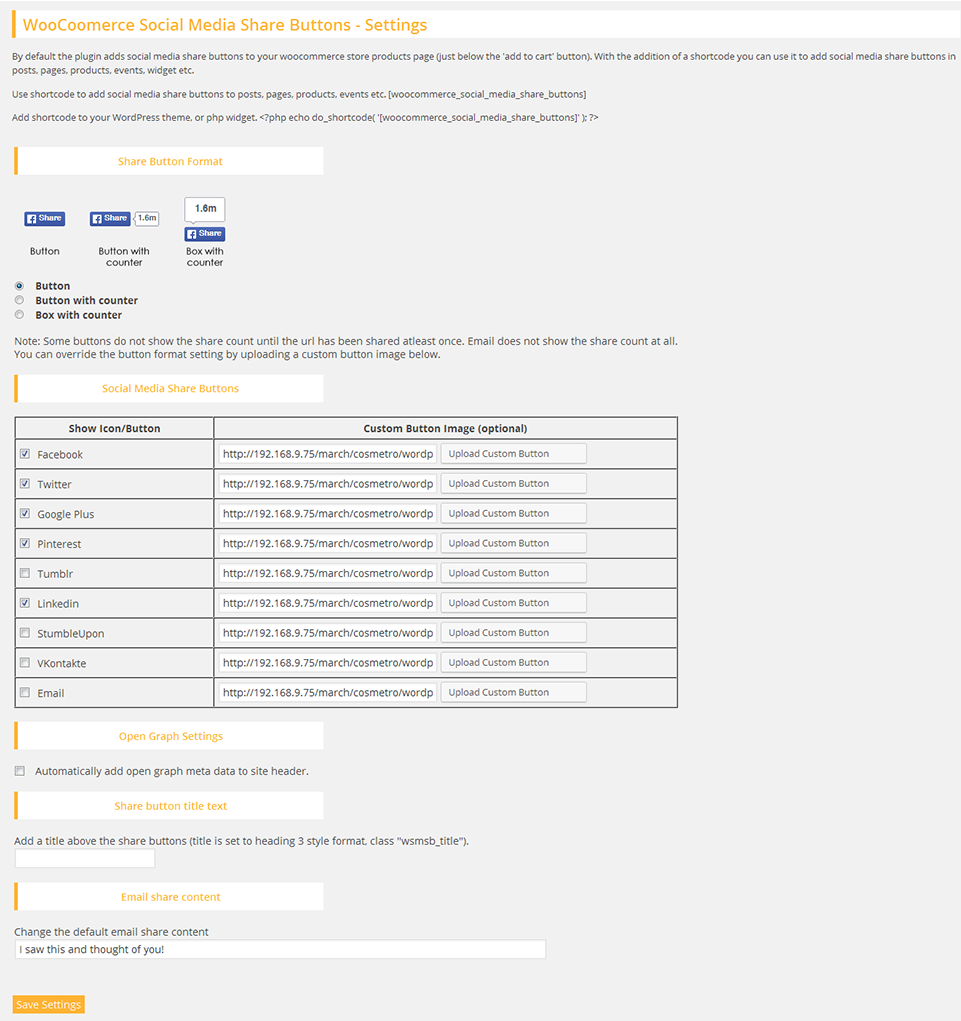
Installing Woocommerce Social Media Share Buttons
Download the Woocommerce Social Media Share Buttons plugin.(woocommerce-social-media-share-buttons.zip file)
Extract the zip file to the '/wp-content/plugins/' directory
Activate the plugin through the 'Plugins' menu in the WordPress admin area
Configur your share buttons via the 'Share Buttons' menu option in the left admin area menu
Tiny Grid
With the help of this Tiny Grid plugin you cann add Bootstrap grid to any section of your site.
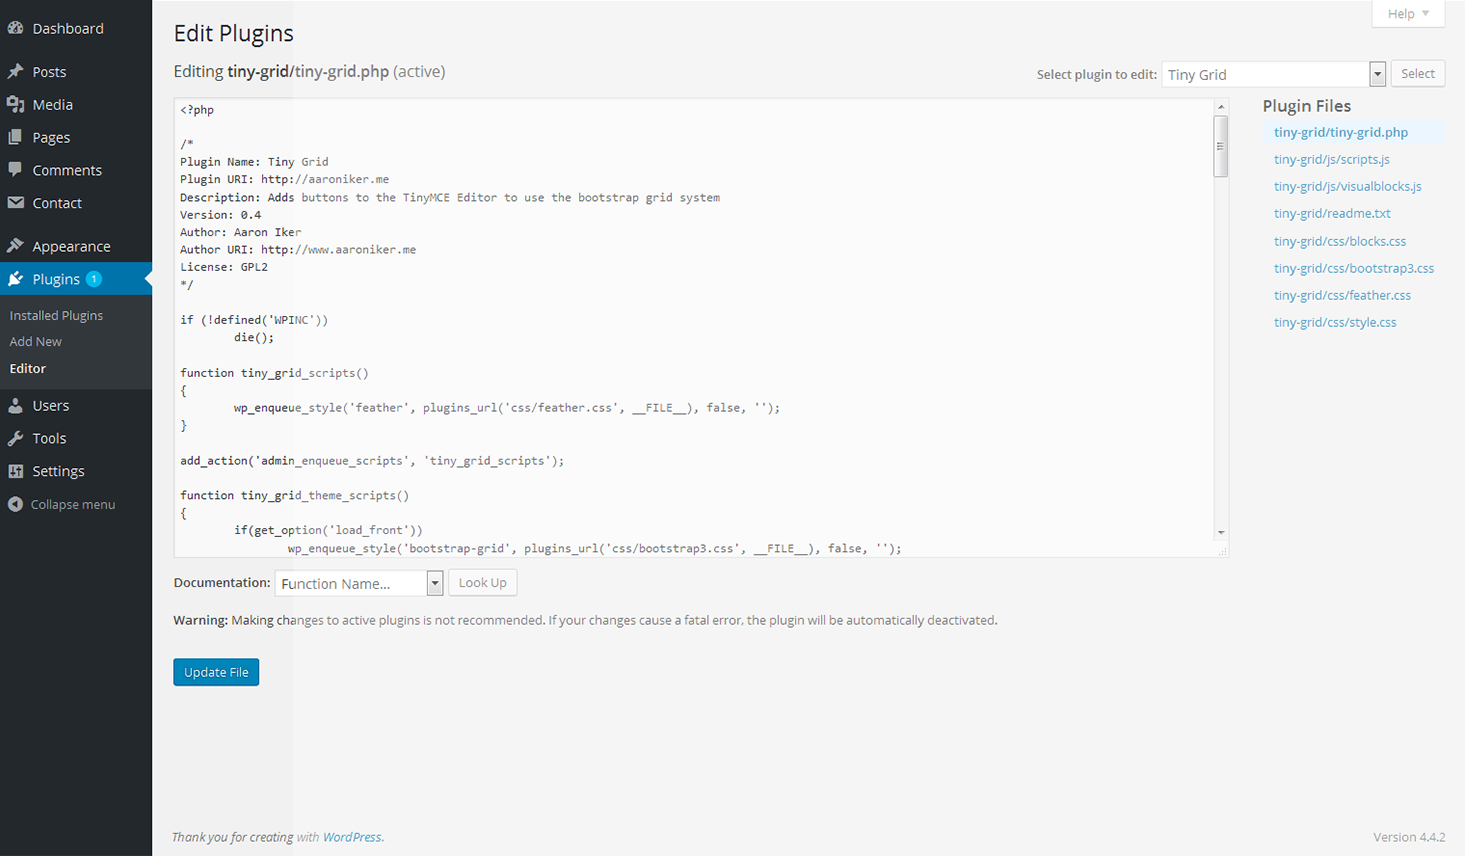
Installing Tiny Grid plugin
So, let's take a closer look at how to install this plugin
Upload the folder tiny-grid to the /wp-content/plugins/ directory
Activate the plugin through the 'Plugins' menu in WordPress
Use the grid buttons at the tinymce
Adding the grid
Let's create a new post and add new grid.Click the "Grid" icon at the top navigation panel
Choose the size and number of columns in a popup window

MailChimp for WordPress
MailChimp for WordPress plugin helps you add subscribers to your MailChimp lists using various methods. You can create good looking opt-in forms or integrate with any other form on your site, like your comment form or WooCommerce checkout.
Installing MailChimp for WordPress
Like other free WordPress plugins, installing the MailChimp for WordPress is quite an easy procedure. All you need is a MailChimp account and a self-hosted website.
In your WordPress admin panel, go to Plugins > New Plugin, search for MailChimp for WordPress and click "Install now"
Alternatively, download the plugin and upload the contents of mailchimp-for-wp.zip to your plugins directory, which usually is /wp-content/plugins/.
Activate the plugin.
Set your MailChimp API key in the plugin settings.

Forms
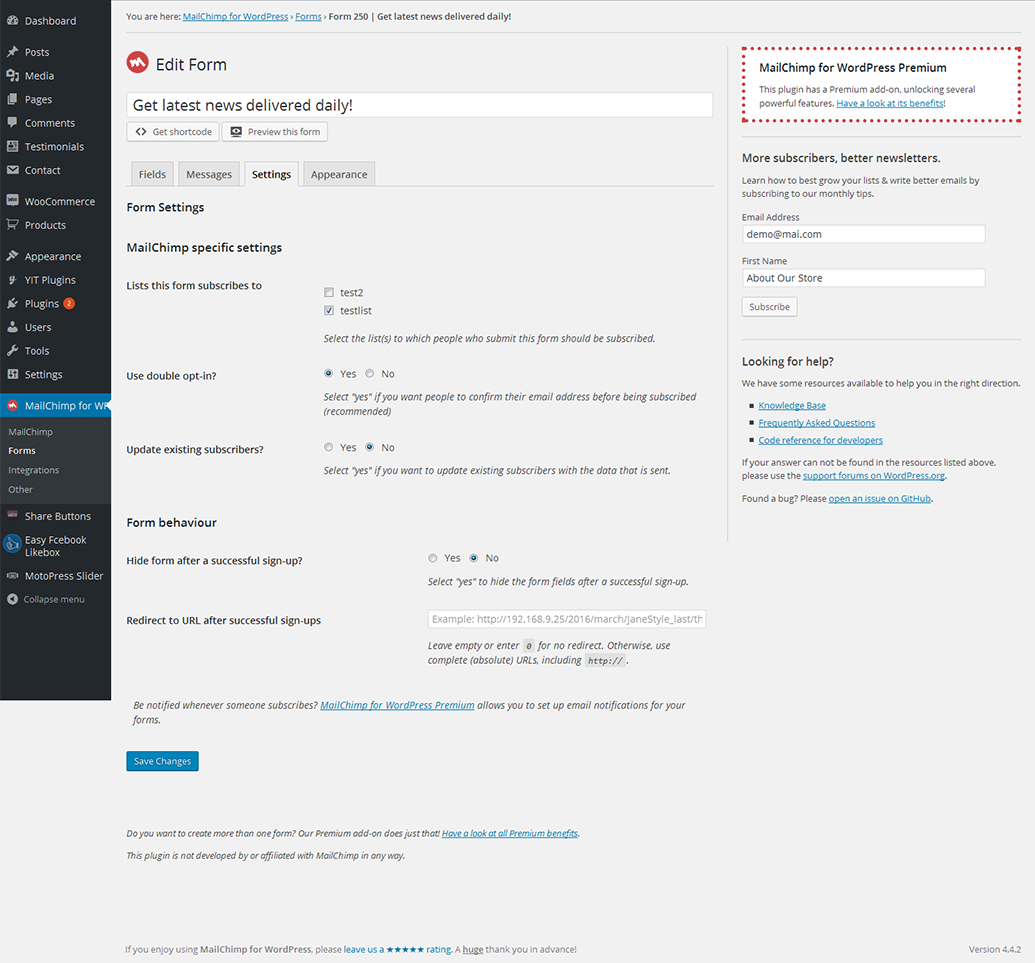
MailChimp specific settings
-
- Lists this form subscribes to
- Choose the list.
-
- Use double opt-in?
- Select "yes" if you want people to confirm their email address before being subscribed (recommended).
-
- Update existing subscribers?
- Select "yes" if you want to update existing subscribers (instead of showing the "already subscribed" message). This option is only available in MailChimp for WordPress Pro.
-
- Replace interest groups?
- Select "yes" if you want to replace the interest groups with the groups provided instead of adding the provided groups to the member's interest groups (only when updating a subscriber). This option is only available in MailChimp for WordPress Pro.
Form behaviour
-
- Hide form after a successful sign-up?
- Select "yes" to hide the form fields after a successful sign-up.
-
- Redirect to URL after successful sign-ups
- Leave empty or enter 0 for no redirect. Otherwise, use complete (absolute) URLs, including http://.
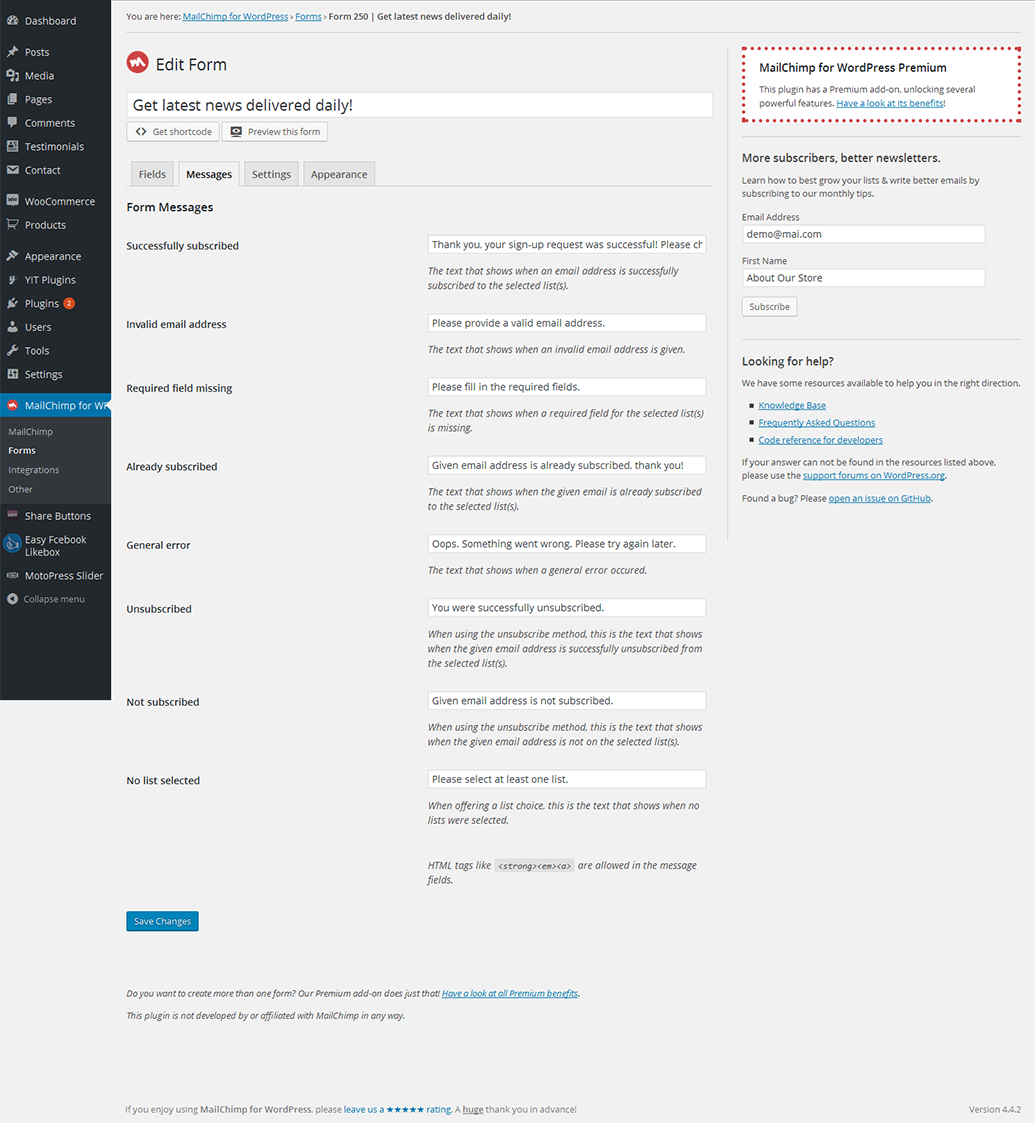
Form Messages
-
- Successfully subscribed
- The text that shows when an email address is successfully subscribed to the selected list(s).
-
- Invalid email address
- The text that shows when an invalid email address is given.
-
- Required field missing
- The text that shows when a required field for the selected list(s) is missing.
-
- Already subscribed
- The text that shows when the given email is already subscribed to the selected list(s).
-
- General error
- The text that shows when a general error occured.
-
- Unsubscribed
- When using the unsubscribe method, this is the text that shows when the given email address is successfully unsubscribed from the selected list(s).
-
- Not subscribed
- When using the unsubscribe method, this is the text that shows when the given email address is not on the selected list(s).
-
- No list selected
- WWhen offering a list choice, this is the text that shows when no lists were selected.